
To install Django first you need to install python3.10 on your server. For that, change the Python priority version with the step7 command in the link:Python3.11 on Ubuntu
- Create a directory and change created directory,
mkdir ~/django-dev
cd ~/django-dev
- Create a virtual environment
$ python3 -m venv dev_django_env

3. Activate the environment
$ source dev_django_env/bin/activate
4. Install Django using pip
$ pip install django
5. To verify the installation version
$ django-admin –version
To build the project, we need to use the startproject command. This command creates another directory that includes:
- A management script, manage.py, is used to administer Django-specific tasks.
- A directory with the same name as the project that includes the project code.
6. We will create the project directory in our current working directory. To do that, use the dot(.) character at the end of the following command.
$ django-admin startproject demoproject .
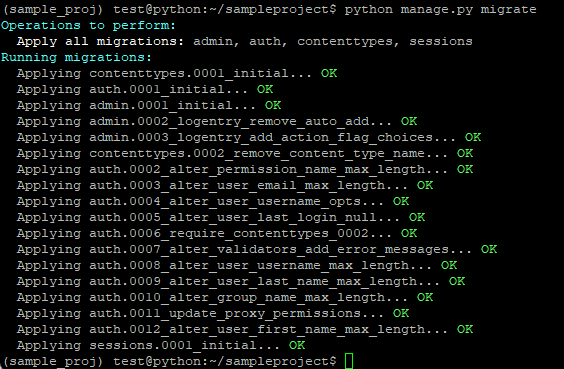
7. Next, we need to migrate the database using the migrate command.
Migrations in Django propagate changes you make to your models into your database schema. Python uses SQLite database by default.
$ python manage.py migrate
With the above migration command, you will get the output like the below screenshot
8. Create an administrative user to access Django's admin interface next.
$ python manage.py createsuperuser
Then, you will be prompted for below screenshot to create a superuser

To test the development server
For that, you need to modify the ALLOWED_HOSTS directive in the Django settings. This directive defines the list of IP addresses and domain names that are given access to the Django application.
9. Open the settings file using the following command.
$ nano demoproject/settings.py
Find the following entry
ALLOWED_HOSTS = []
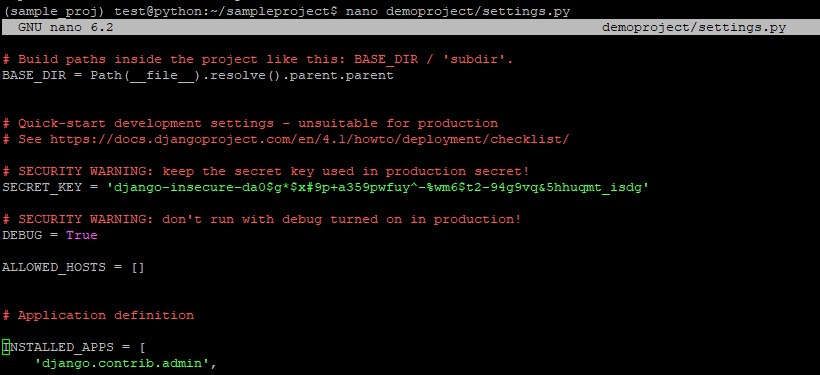
10. Enter your server IP address in the square brackets. Each entry should be enclosed within quotations and multiple entries need to be separated via commas.
ALLOWED_HOSTS = ['<yourserver_ip_address>']
11. Before you test the development server, you need to configure the firewall to allow Django to work. Open the port using the Uncomplicated Firewall (UFW).
$ sudo ufw allow 8080
12. Start the development server
$ python manage.py runserver 0.0.0.0:8080
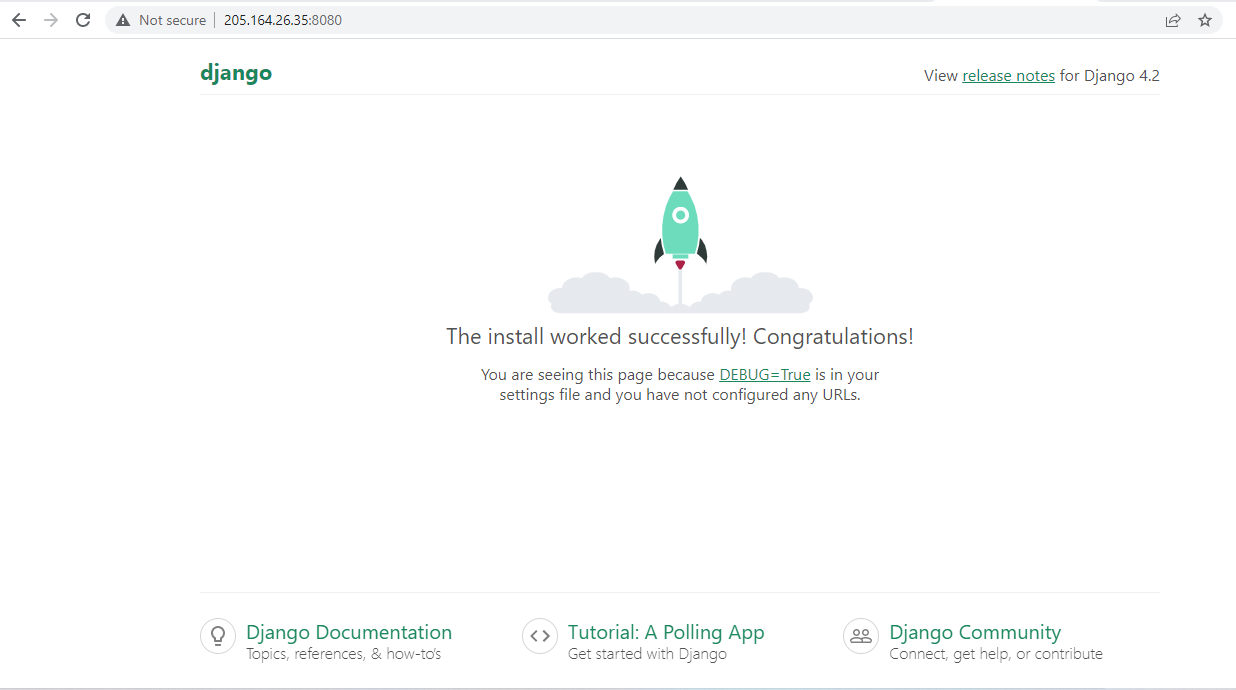
13. Launch the URL http://<yourserver_ip_address>:8080 in your browser and you will get the following screen.
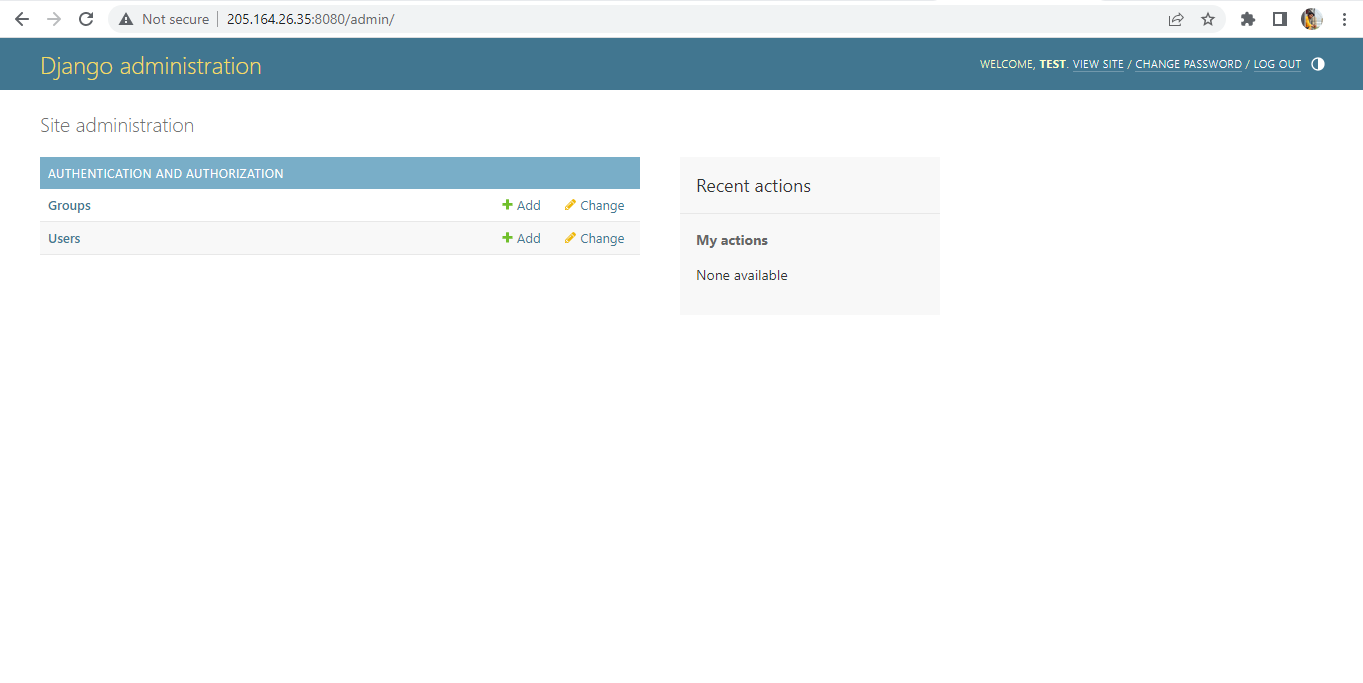
14. You can access the admin interface by following the URL http://<yourserver_ip_address>:8000/admin/ and you will see the following login screen.
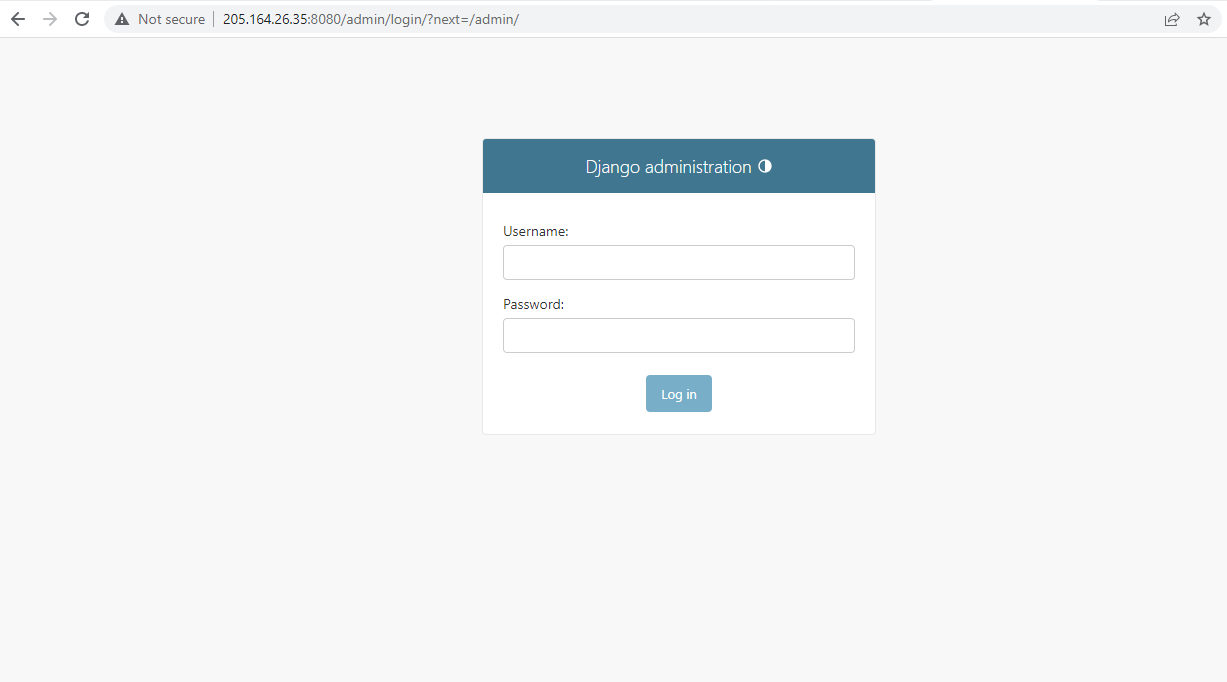
Enter the credentials created to login to the admin panel shown below
Once you finish your demo project, you can close the server by pressing Ctrl + C in your terminal.
