
To add Domain / Sub-Domain Login to cPanel
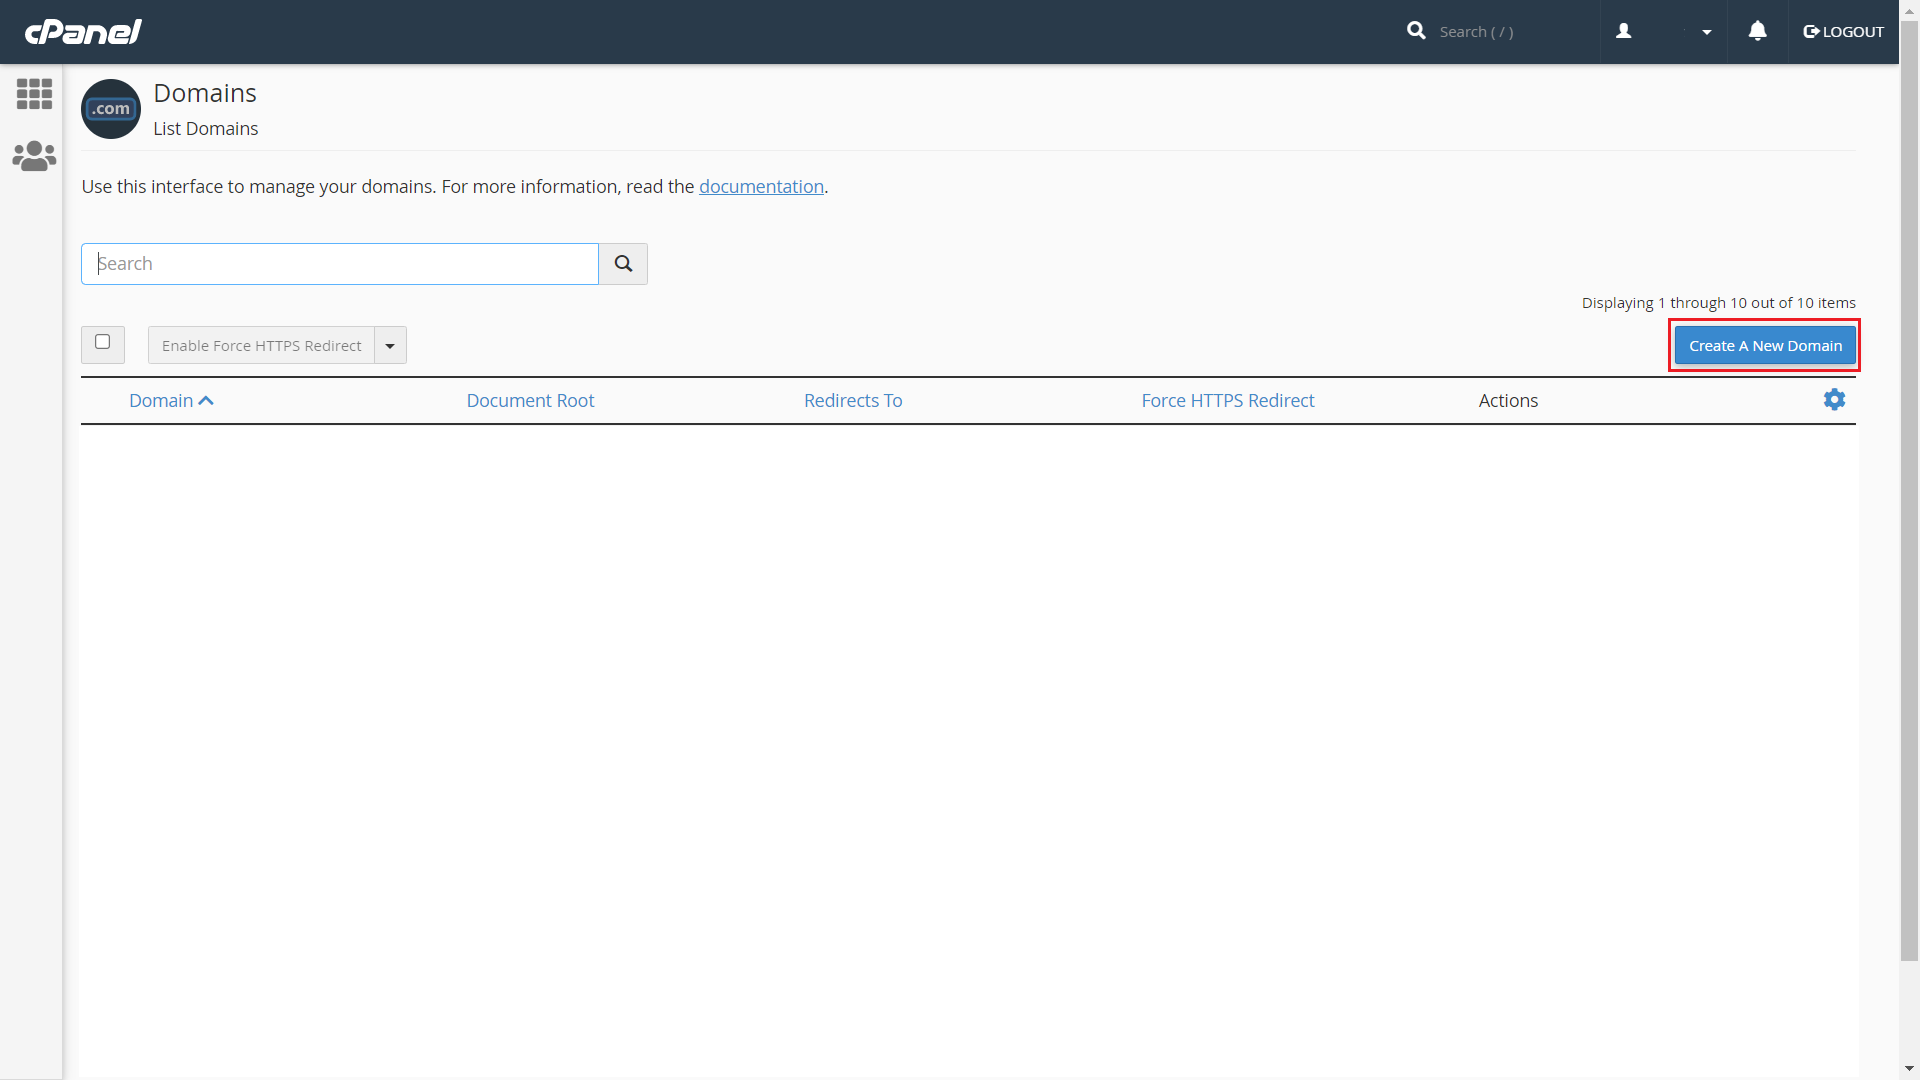
- Under Domains Section, Click Domains to add Domain in cPanel

- Click Create A New Domain
- Enter the Domain, select the Root Folder for Domain and add sub-domain to complete the process

- Click Submit to add Domain in cPanel
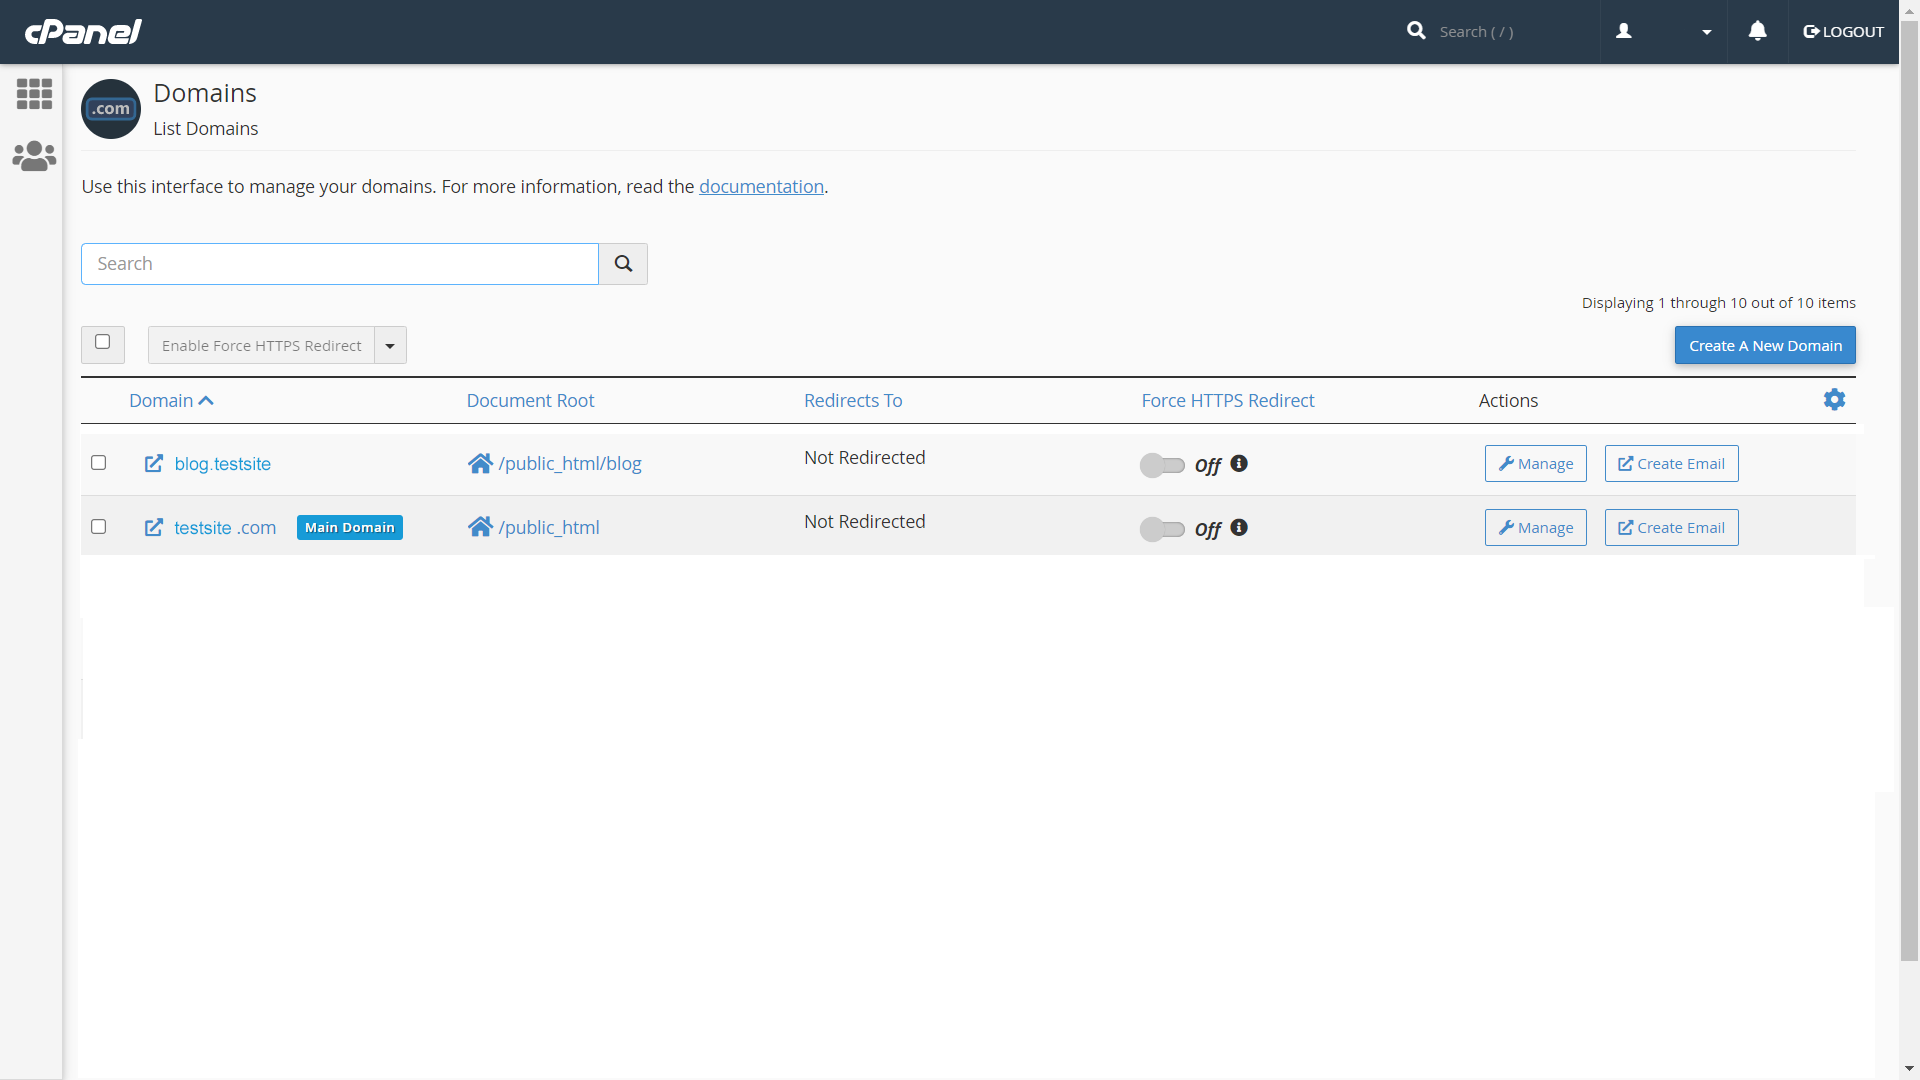
- Added Domain will display under Domains
To Create a Wordpress Site for the Domain
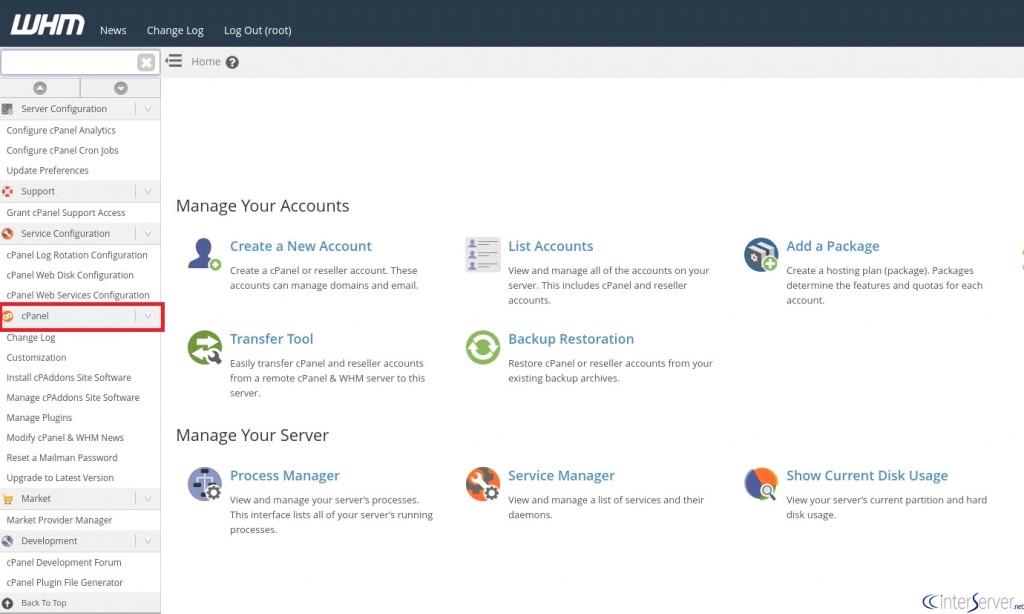
- Login to WHM panel
- Navigate to cPanel Section
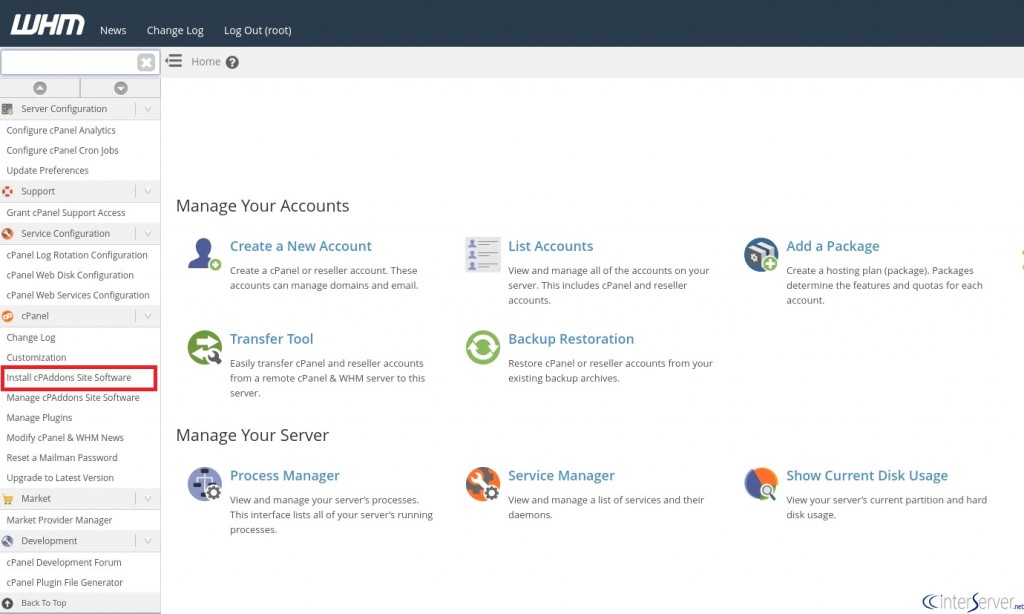
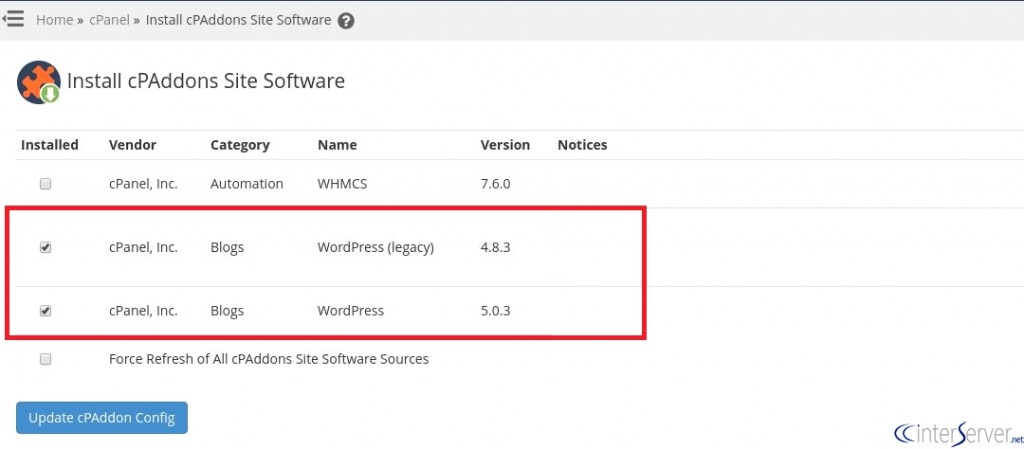
- Click “Install CPAddons Site Software”
- Select the WordPress latest version from Check Box and click Update CPAddon Config
- Now go to cPanel and scroll down to Application Section
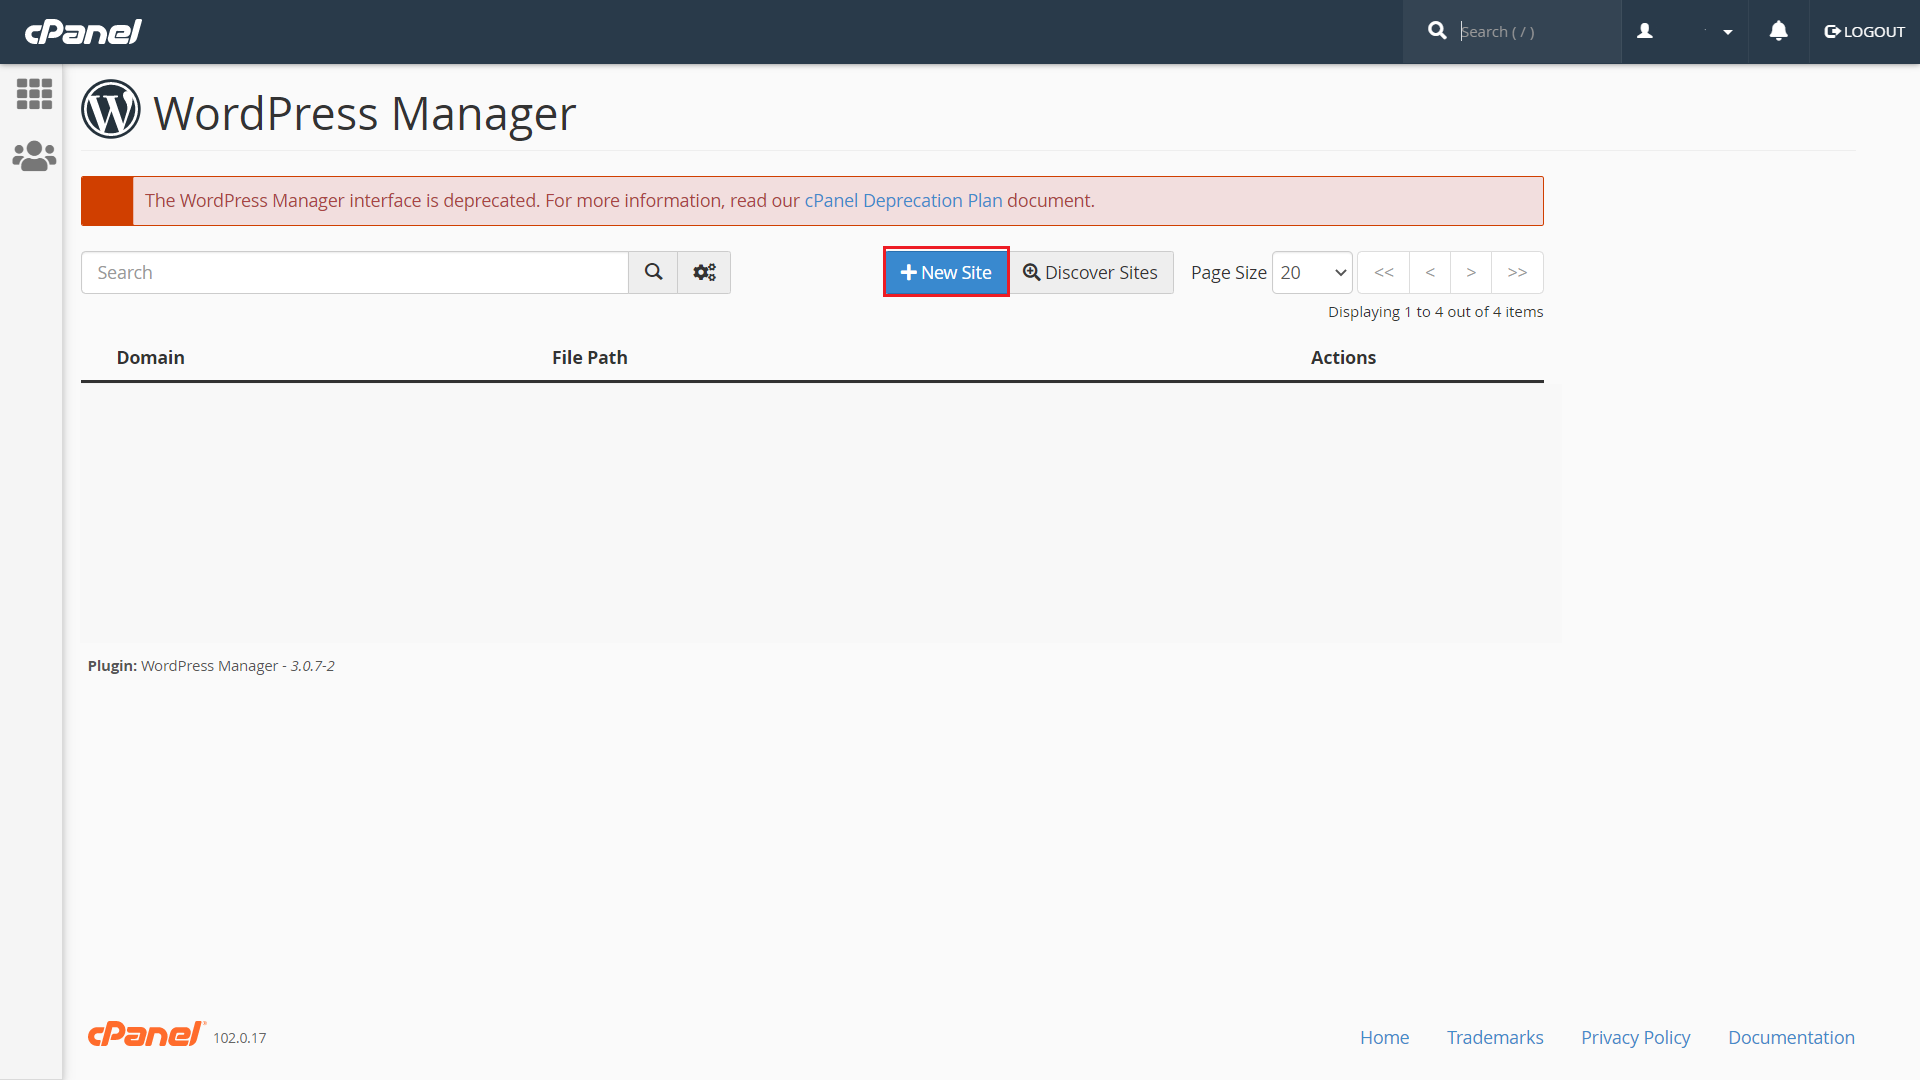
- Click WordPress Manager

- Click New Site option
- Select the Domain from Dropdown list box
- Set Database name and password
- Set WordPress login user name and password and click install
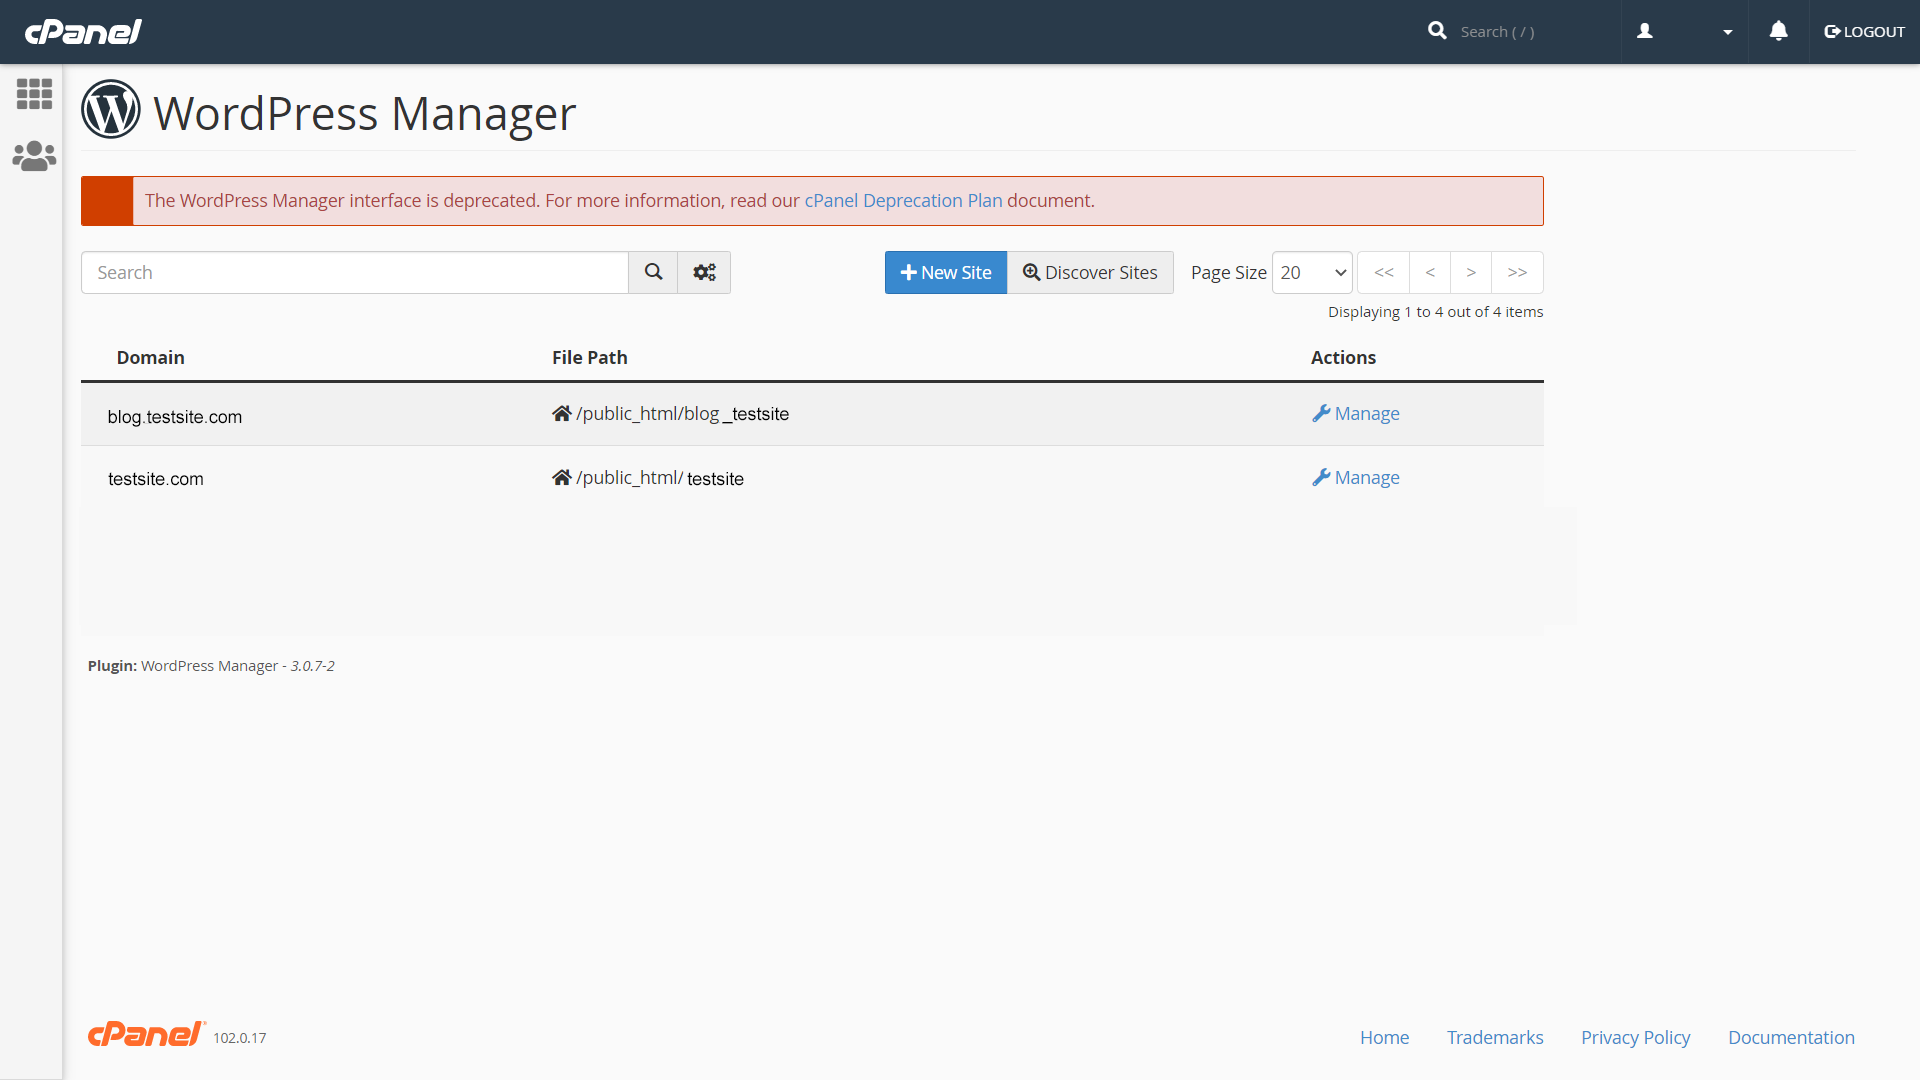
- After installation list of created site will be displayed
- After installing Go-to domain.com in any web browser and start the complete the Wordpress installation steps
