IPMI interface is a very useful tool in the setup, configuring and troubleshooting of your server and its processes.
One of the feature is that OS installation remotely through IPMI.
Following are the steps to install OS using IPMI
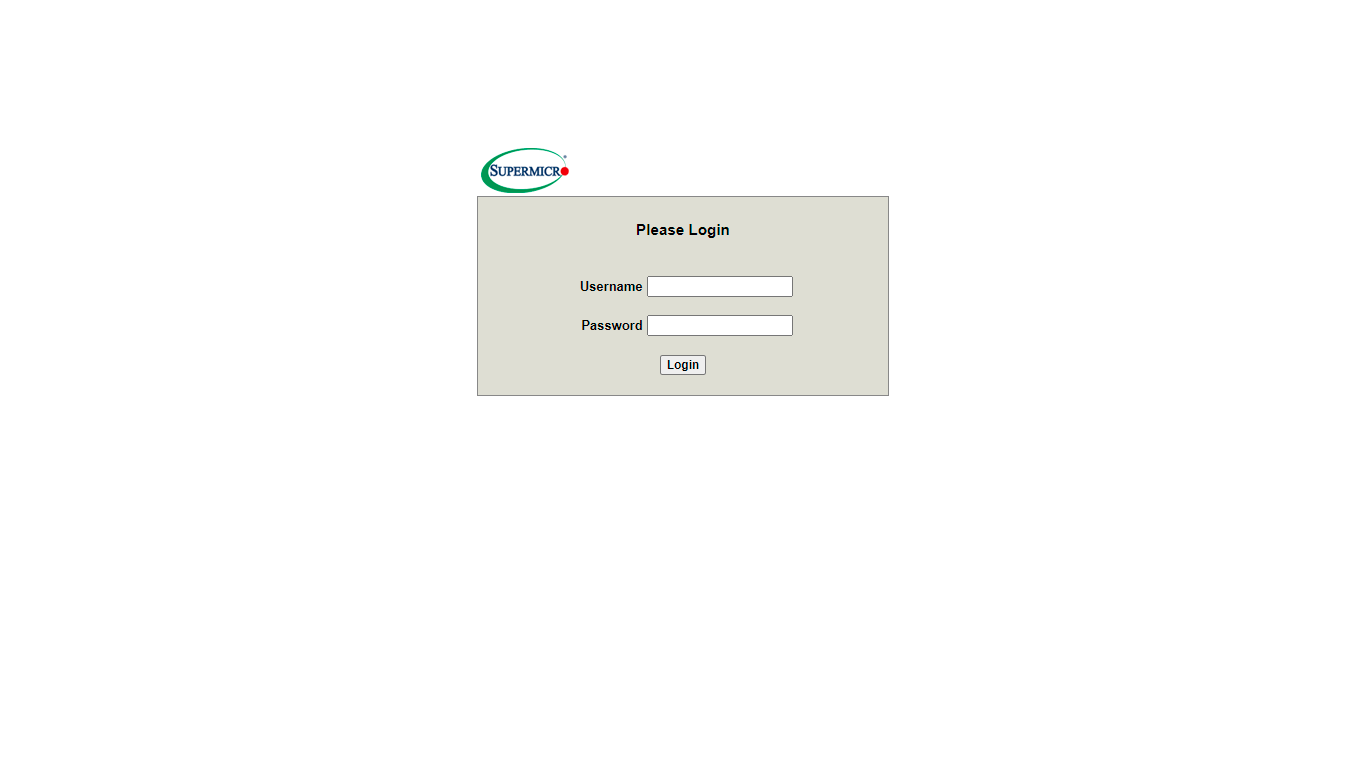
Step 1: Open the IPMI login interface with the dedicated IP provided

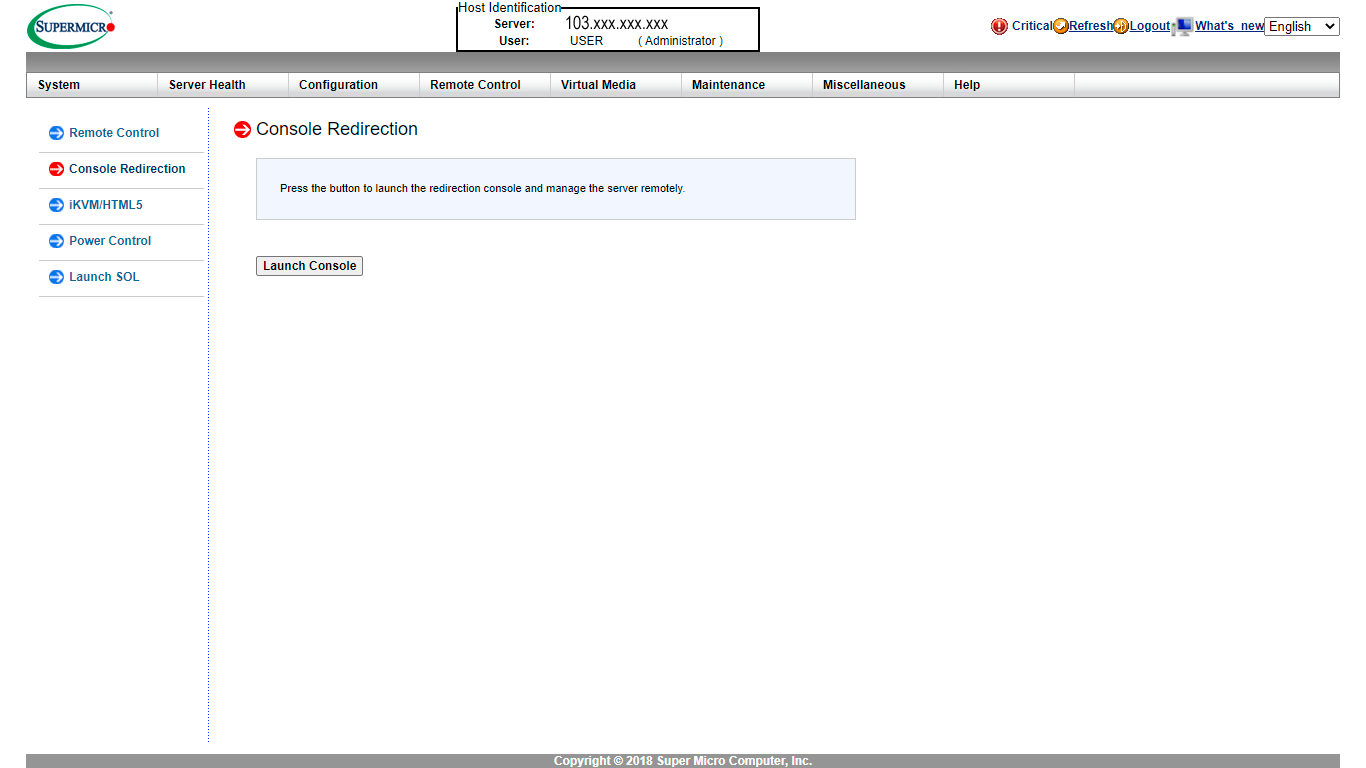
Step 2: Login to IPMI and select remote control from the menu tab

Step 3: Choose the console redirection and select launch console to download java (.jnlp) file.
(To open .jnlp file , java application has to be installed in your machine.)
Step 4: open the downloaded lauch.jnlp file using java
(Java console in some cases you may need to add a security exception from the Security tab within the Java Control Panel or Java will prevent access to the IPMI console)
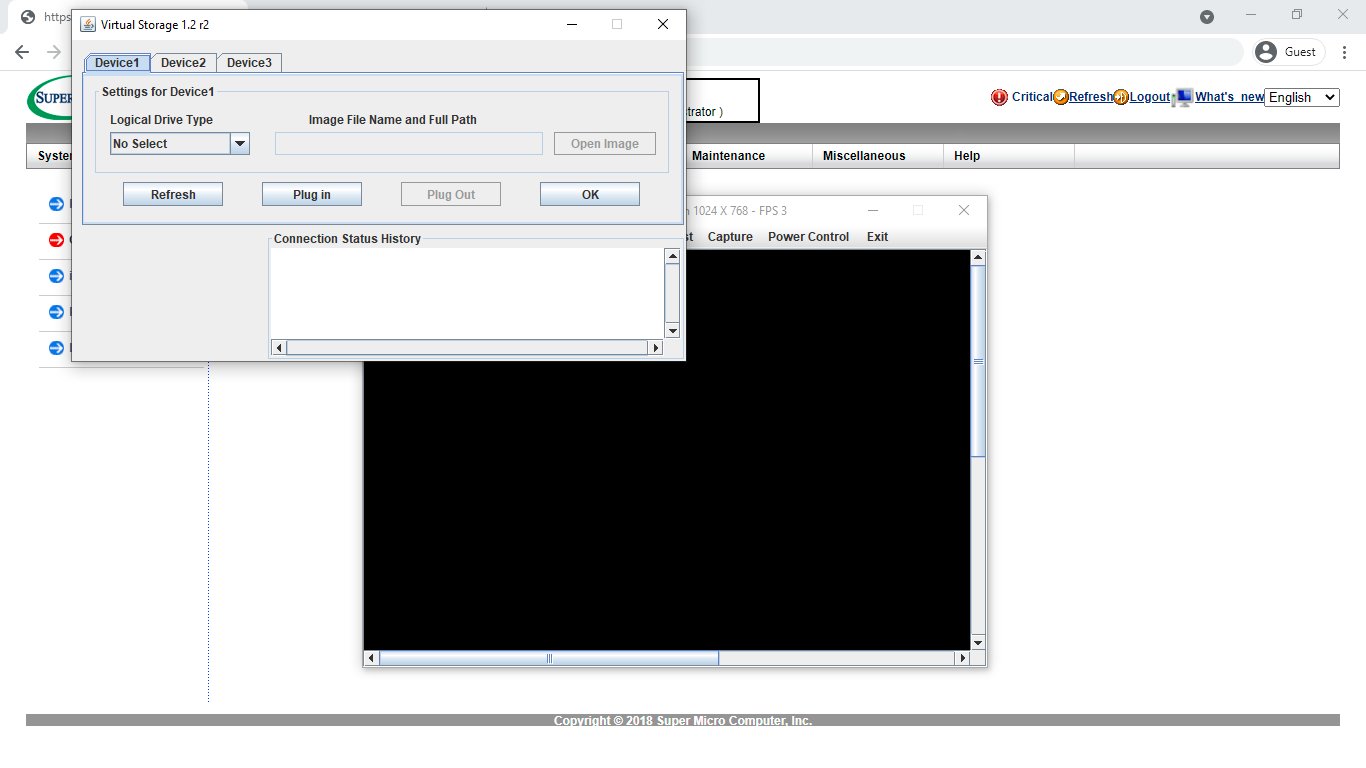
Step 5: once console opens, select virtual media -> Virtual storage

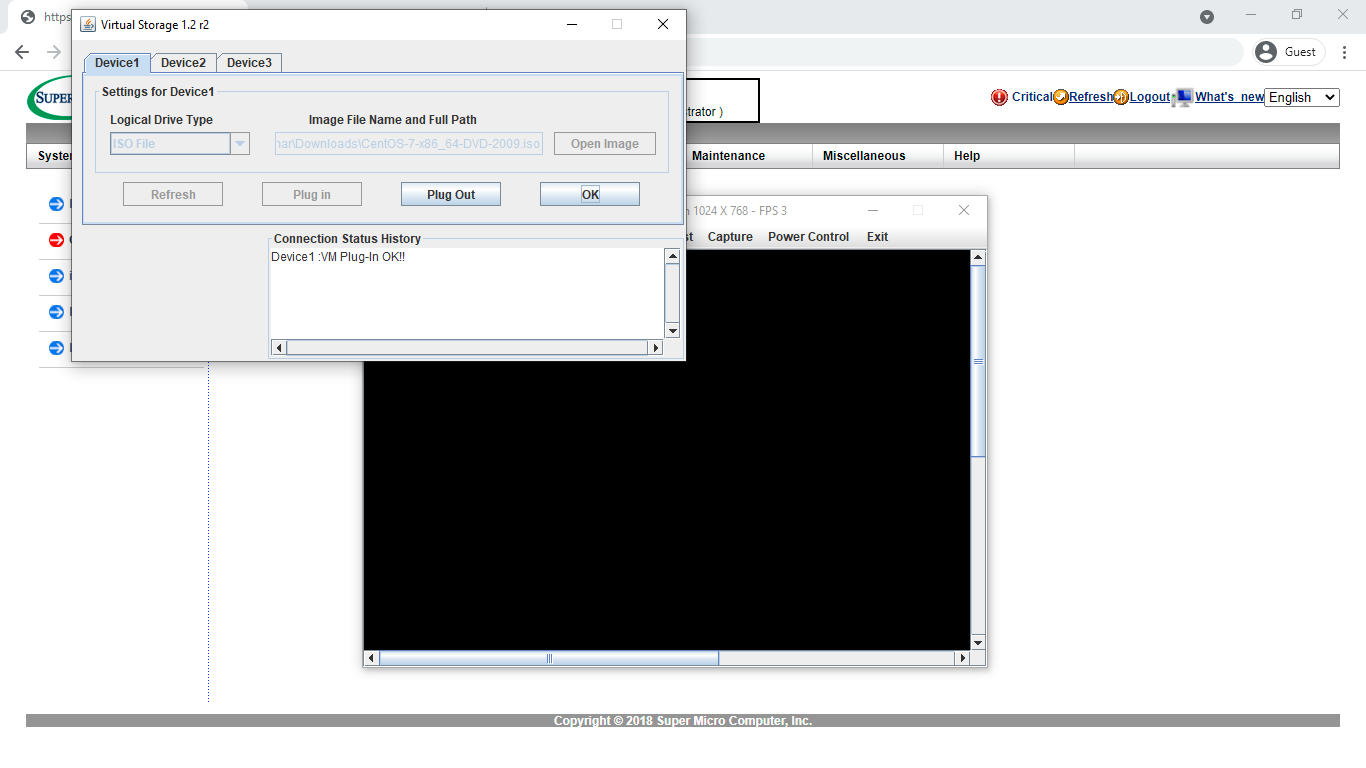
Step 6: A box will pop up for the Virtual Storage selection. From the dropdown select “ISO” and then click “Open Image” to browse your local computer for the ISO you wish to mount and click PLUG IN to mount in virtual storage.

Restart to Boot Menu, select the Virtual Storage which we created and start the OS installation process.

