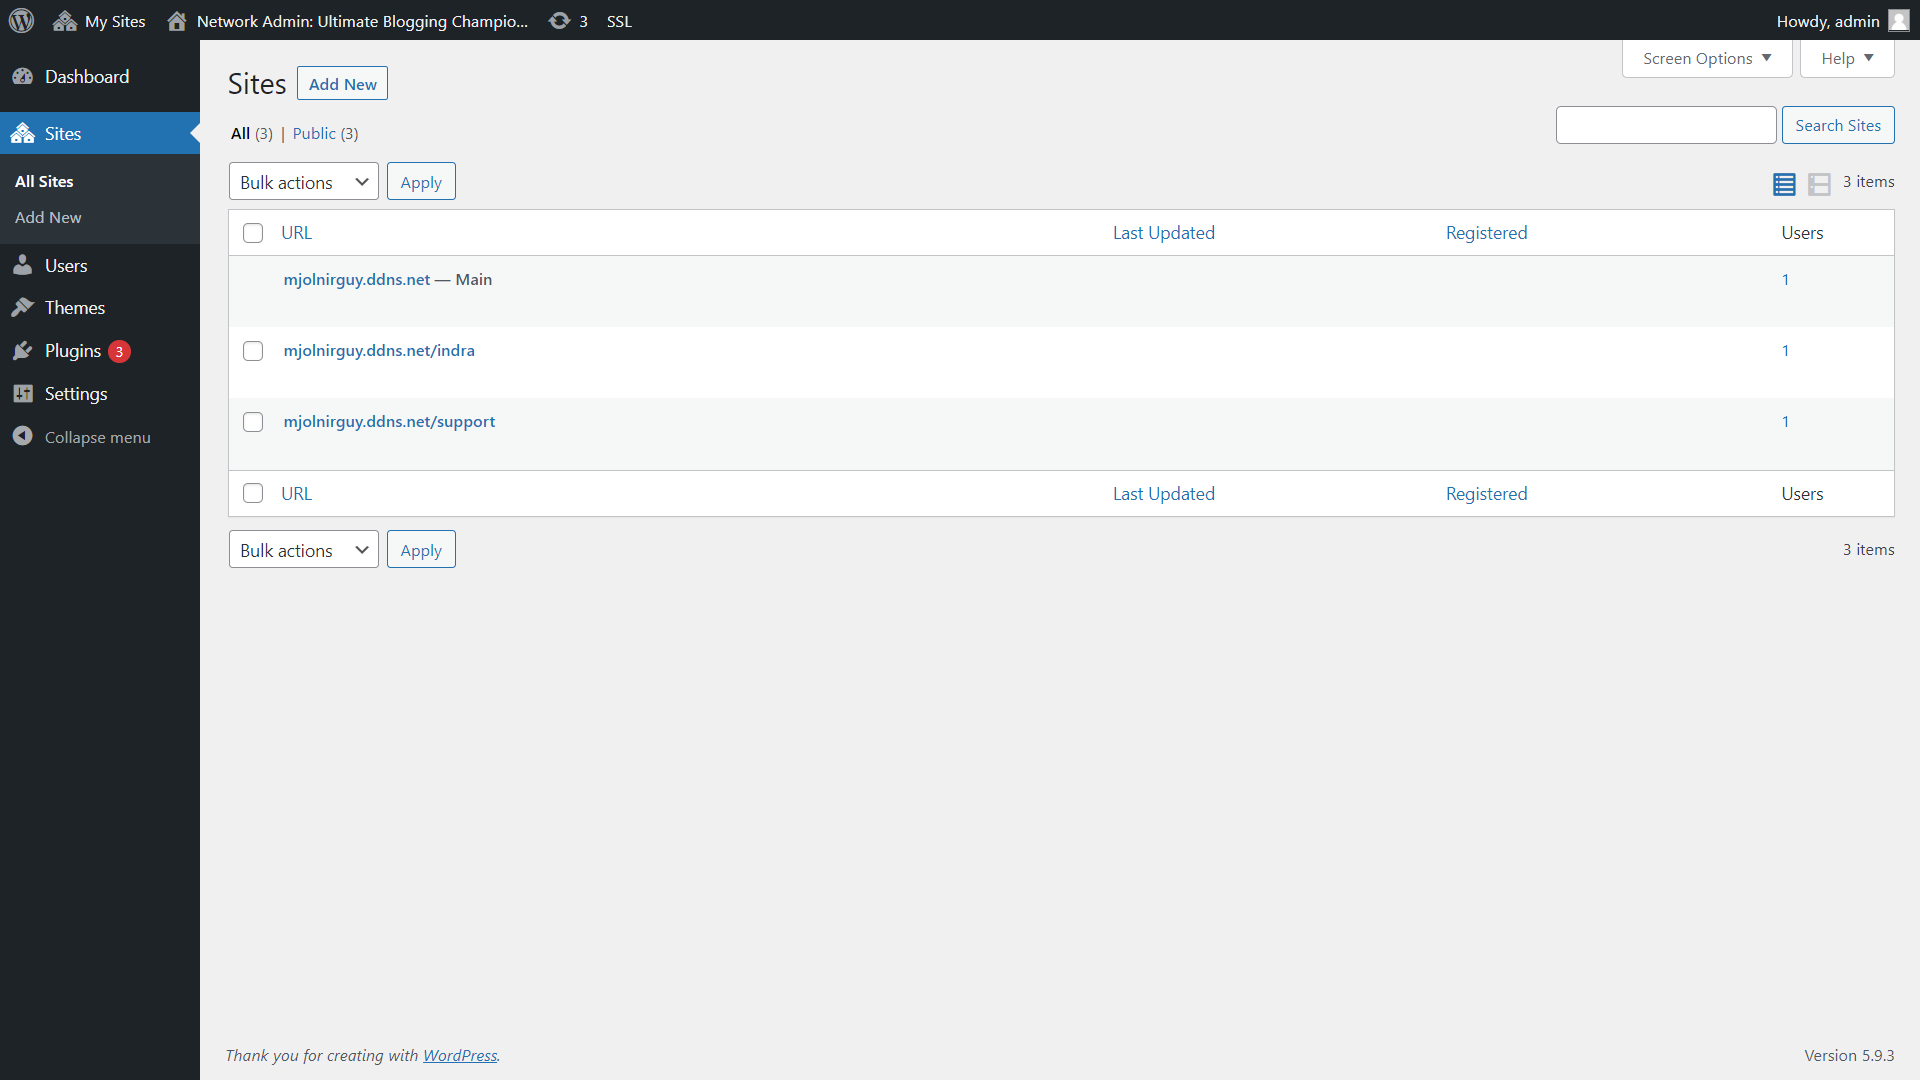
This article will tell us how to install multidomain on a single WordPress without installing multiple WordPress installation for individual sites
Please follow the below steps.
- Log-in to your control panel (in this article we will be using cPanel as control panel), same process for all control panels.
- Select File Manager from Dashboard and go to public_html folder or the folder where WordPress is installed.
- Select wp-config.php -> Edit (Take a backup of wp-config and .htaccess file)
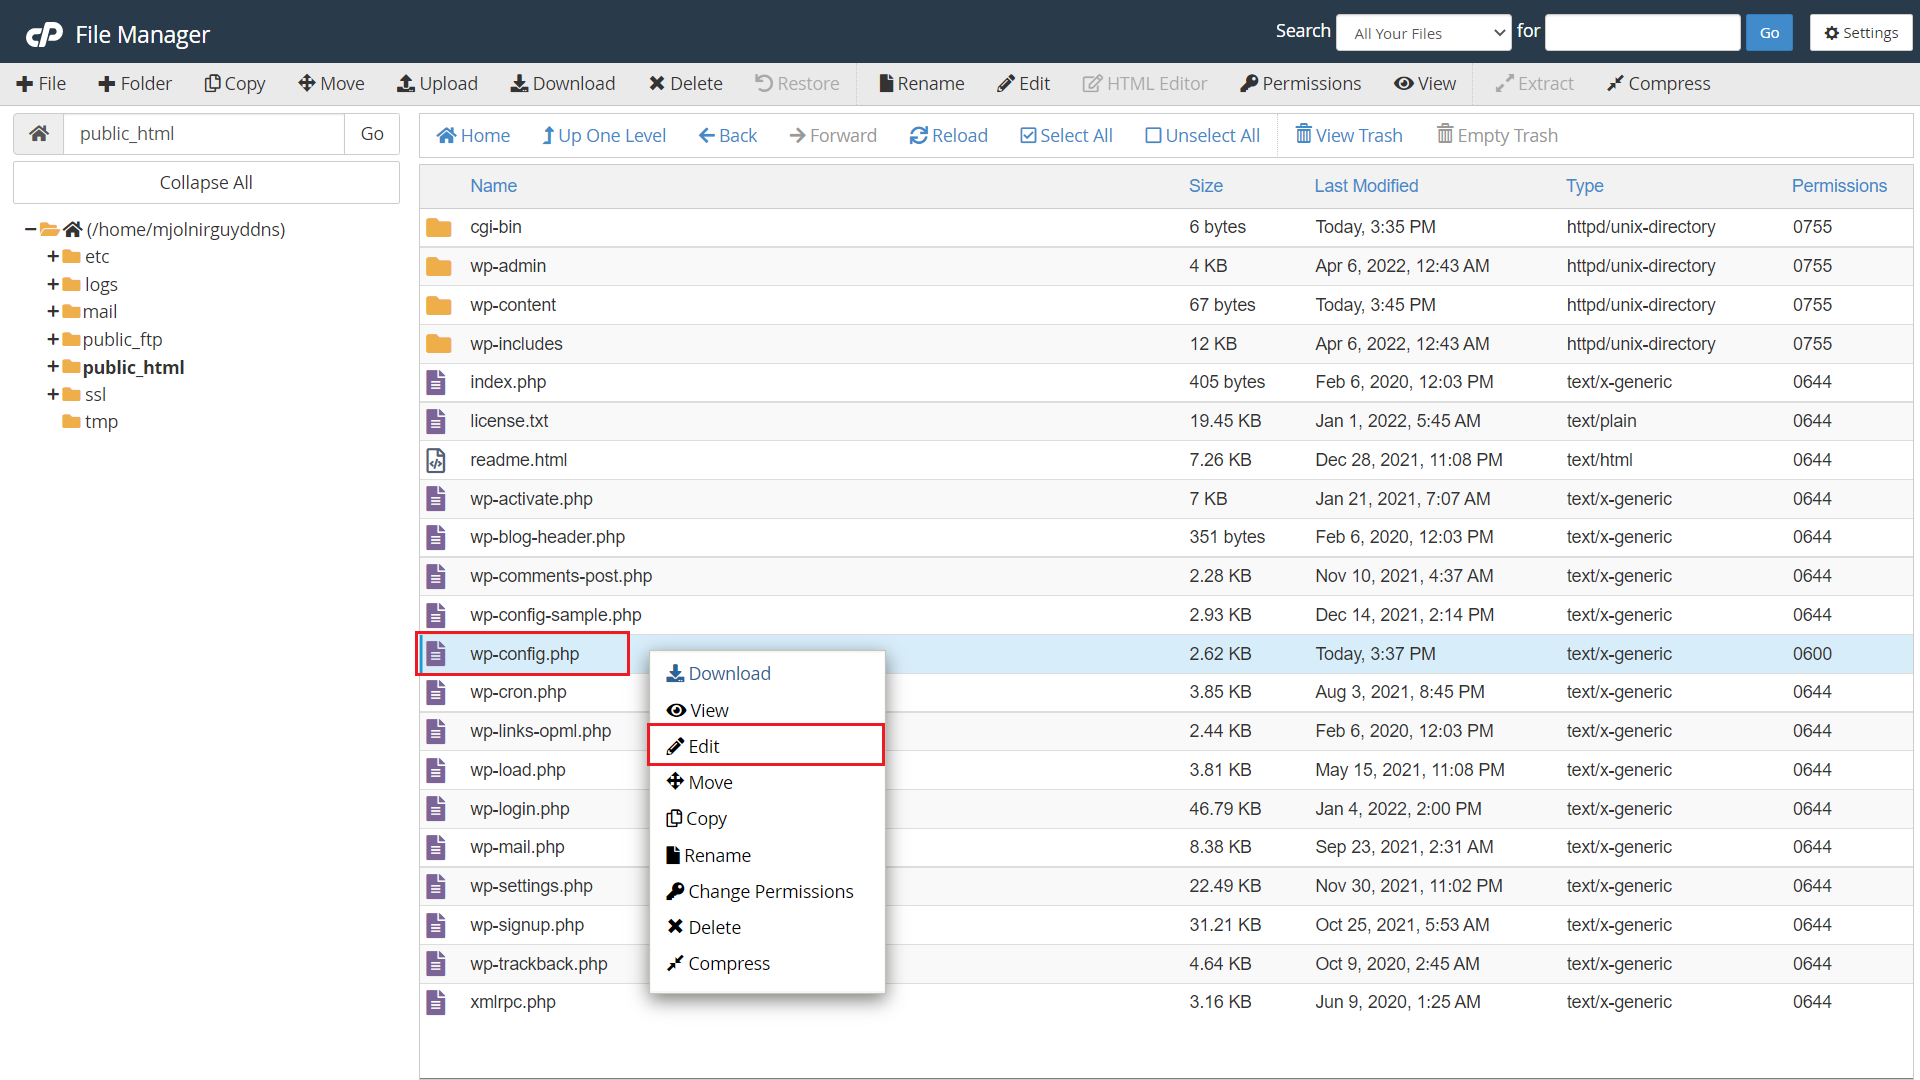
- Scroll down to the edit until “/* That’s it, Stop editing! Happy publishing. */”
- Add: define(‘WP_ALLOW_MULTISITE’, TRUE); and save the wp-config.php
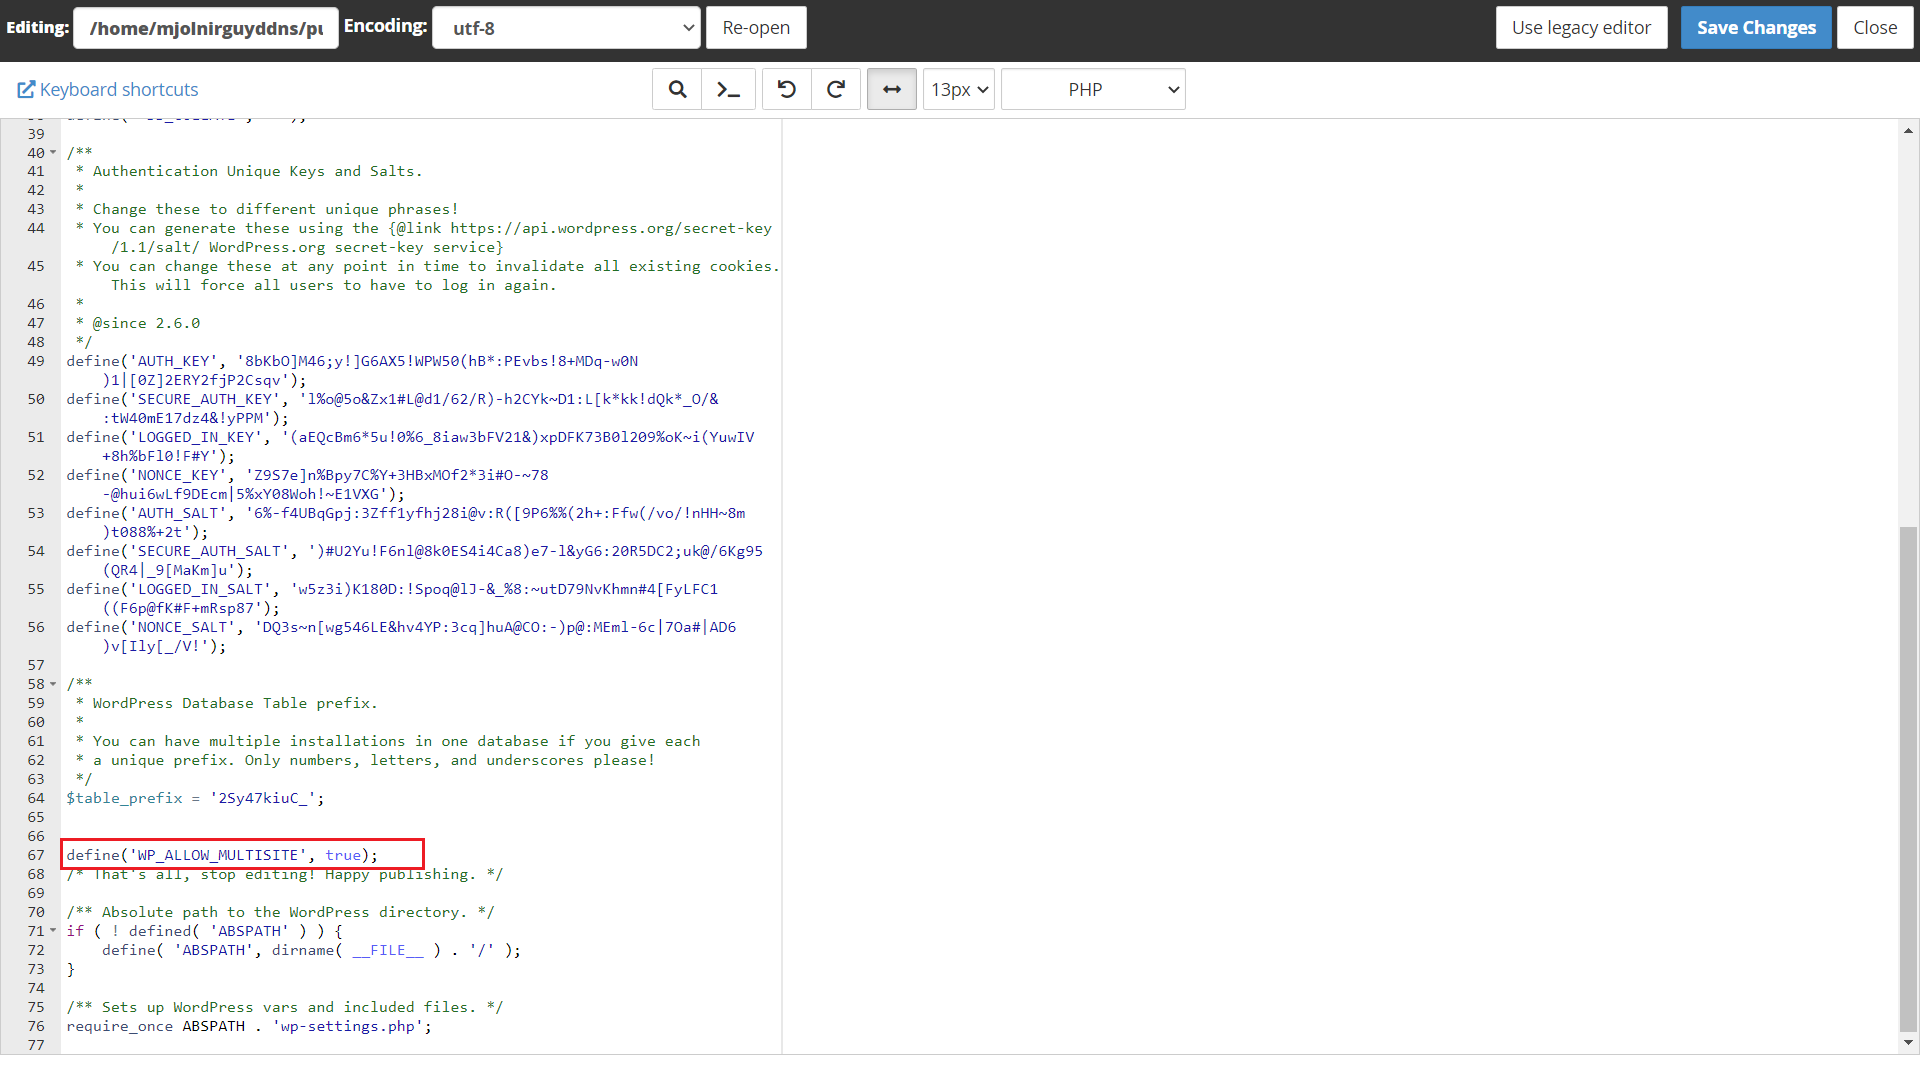
- Login to your WordPress site dashboard
- Now a new option will appear in Tools - > Network Setup
- This will open a Create a Network of WordPress sites page where you have to select the multi-domain configuration whether it should be sub-domain or sub-directories and click install
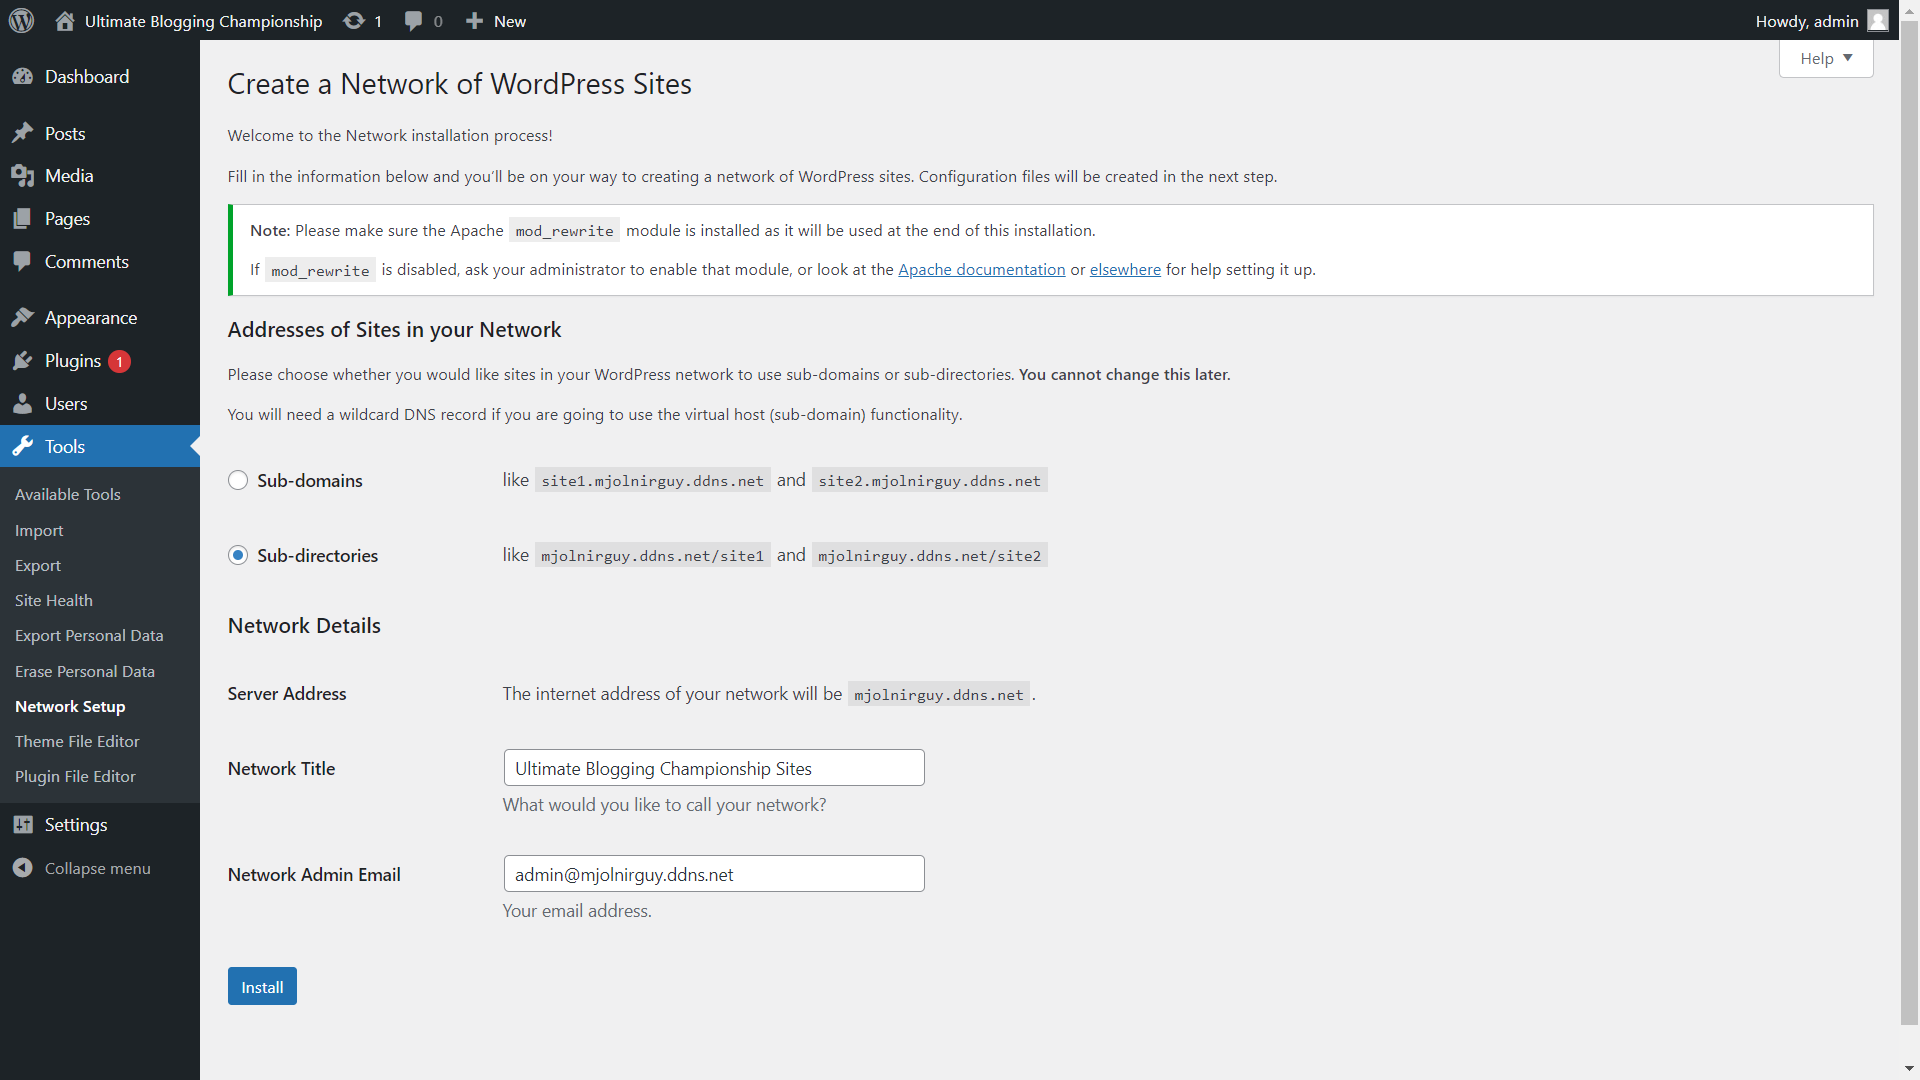
- Once install is done, it creates html tags that has to be added to your existing wp-config and .htaccess files
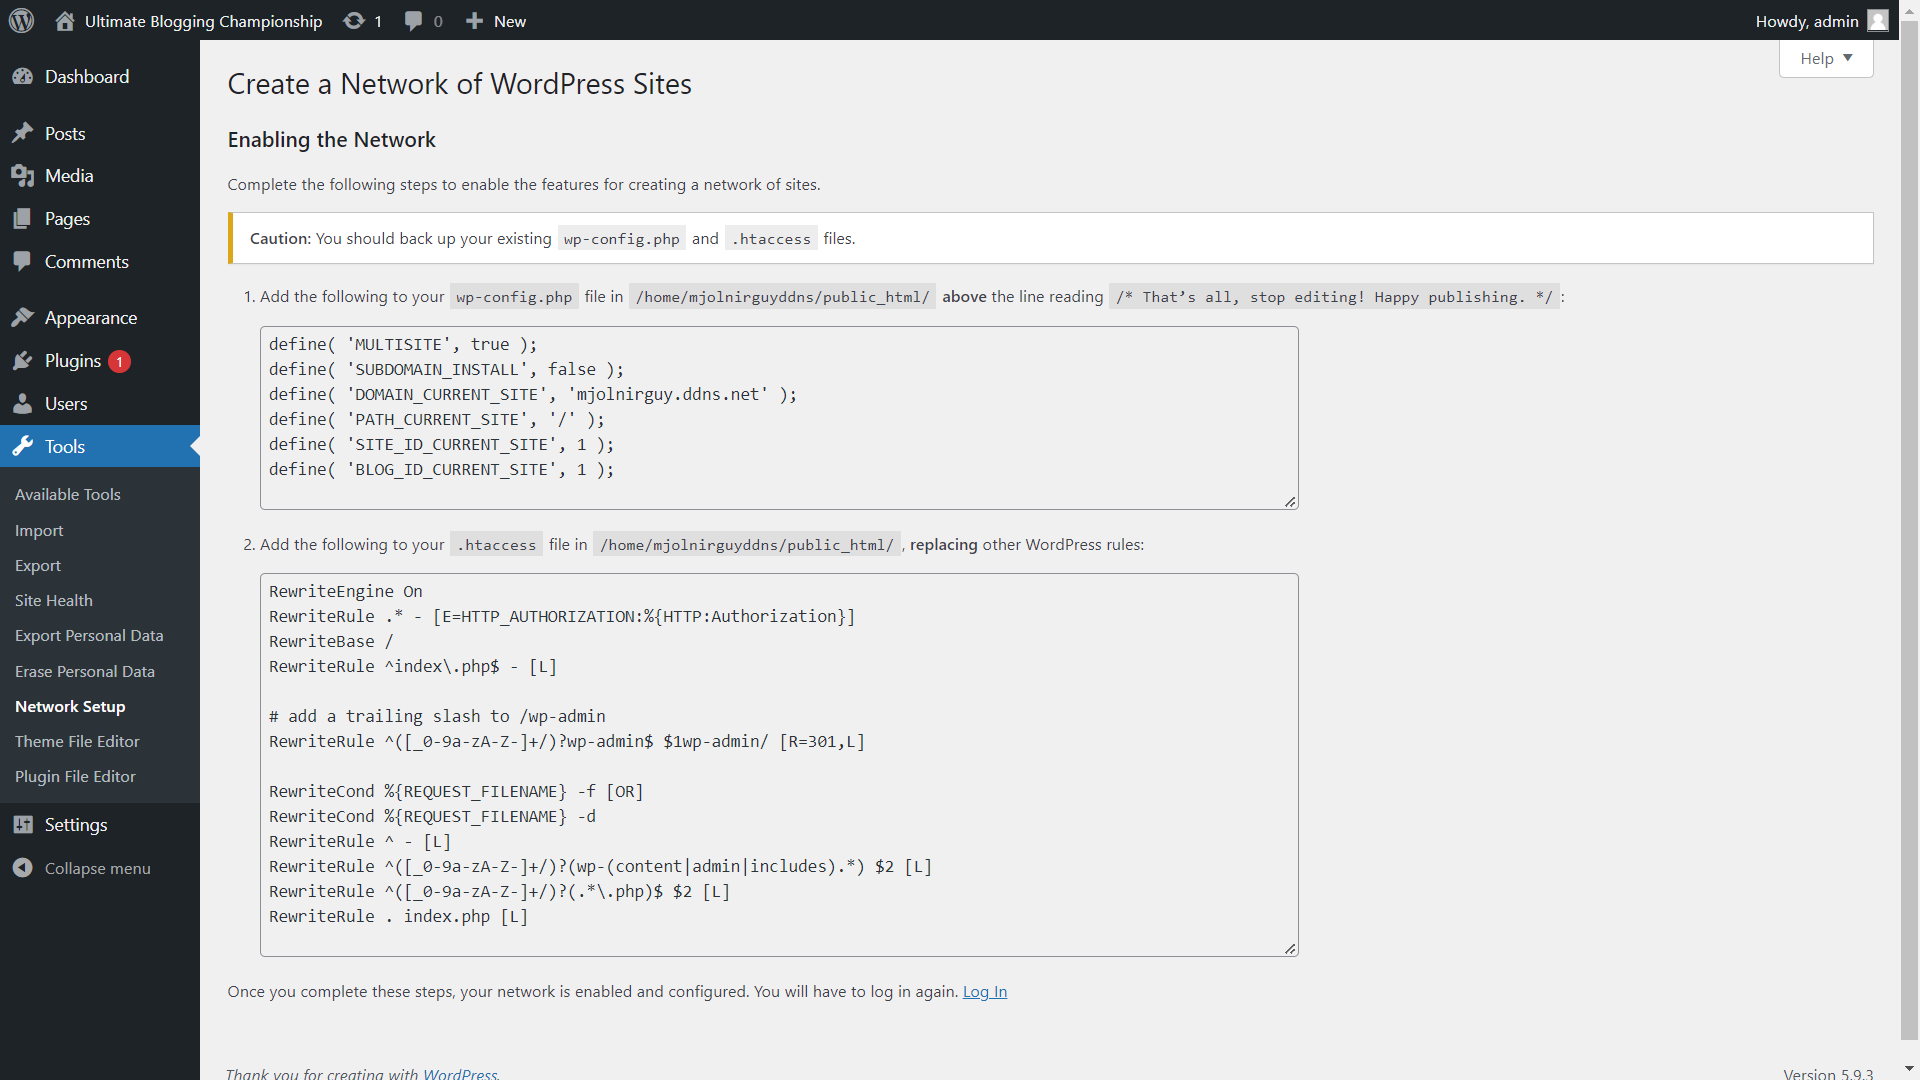
- Copy the wp-config html tags and paste below “define(‘WP_ALLOW_MULTISITE’, TRUE)” and save.
- Copy the .htaccess rules and rewrite the entire .htaccess file and save
- Once saved, WordPress dashboard will auto logout and login to see multidomain option in dashboard
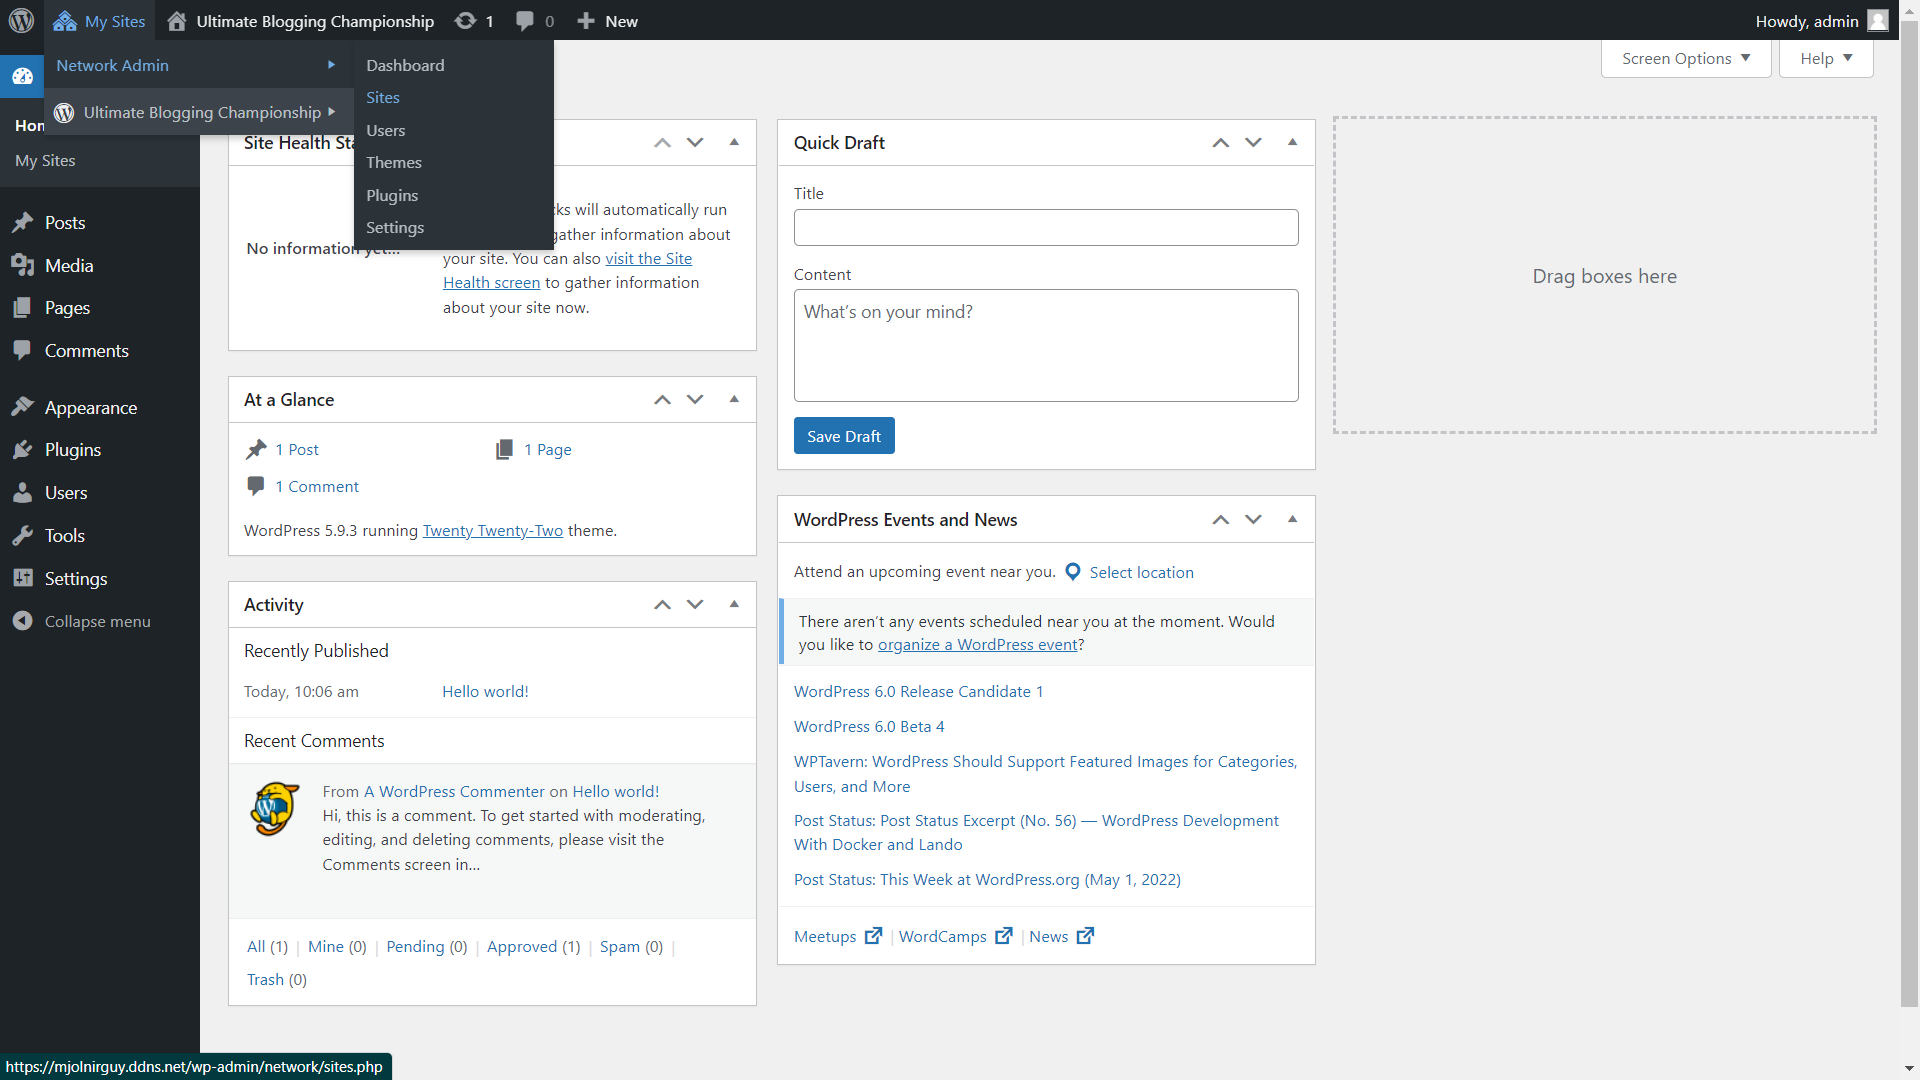
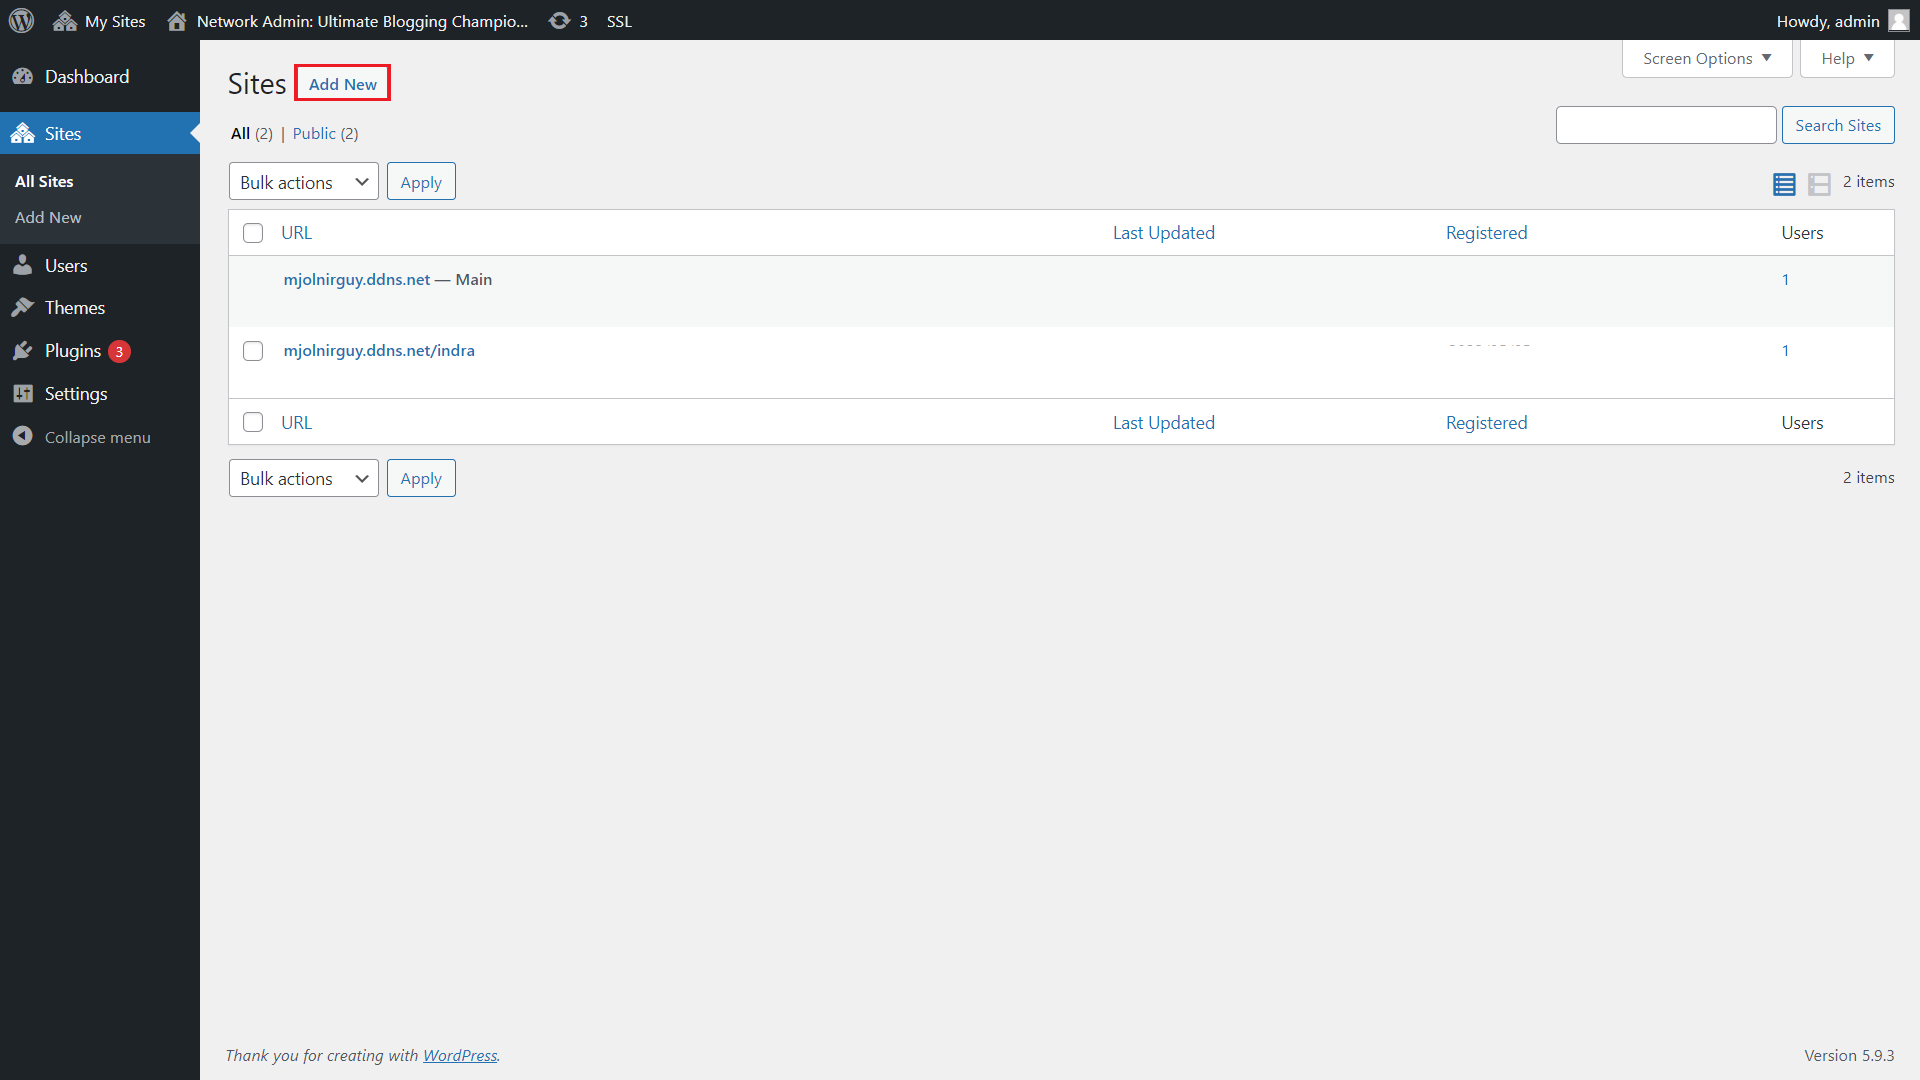
- Go-to My Sites -> Network Admin -> Sites to display multidomain installed on WordPress
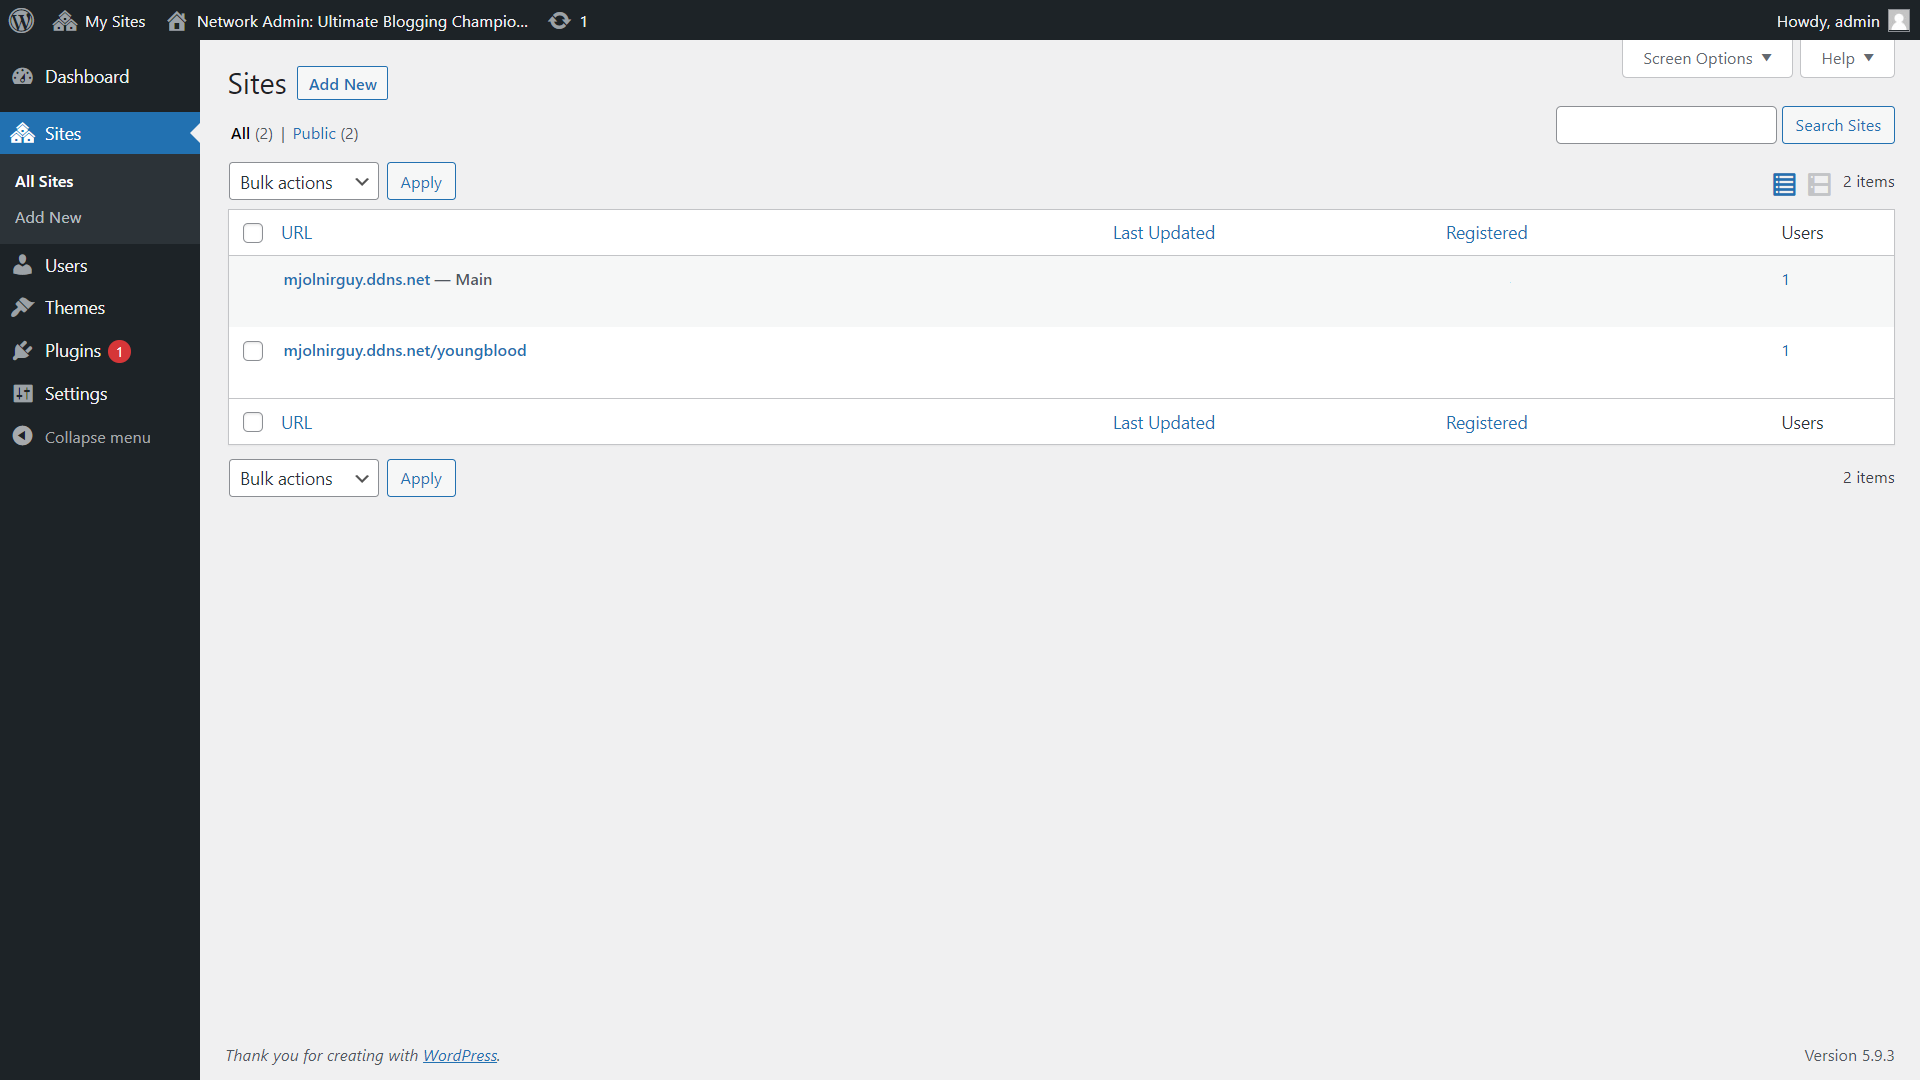
- You can also edit multidomain and can run another domain instead of sub-domain
(Note: SSL for new domain won’t work unless you have wildcard SSL, for sub-domain and sub-directories Domain Main site SSL will work)
- To Add New, click Add New in Sites
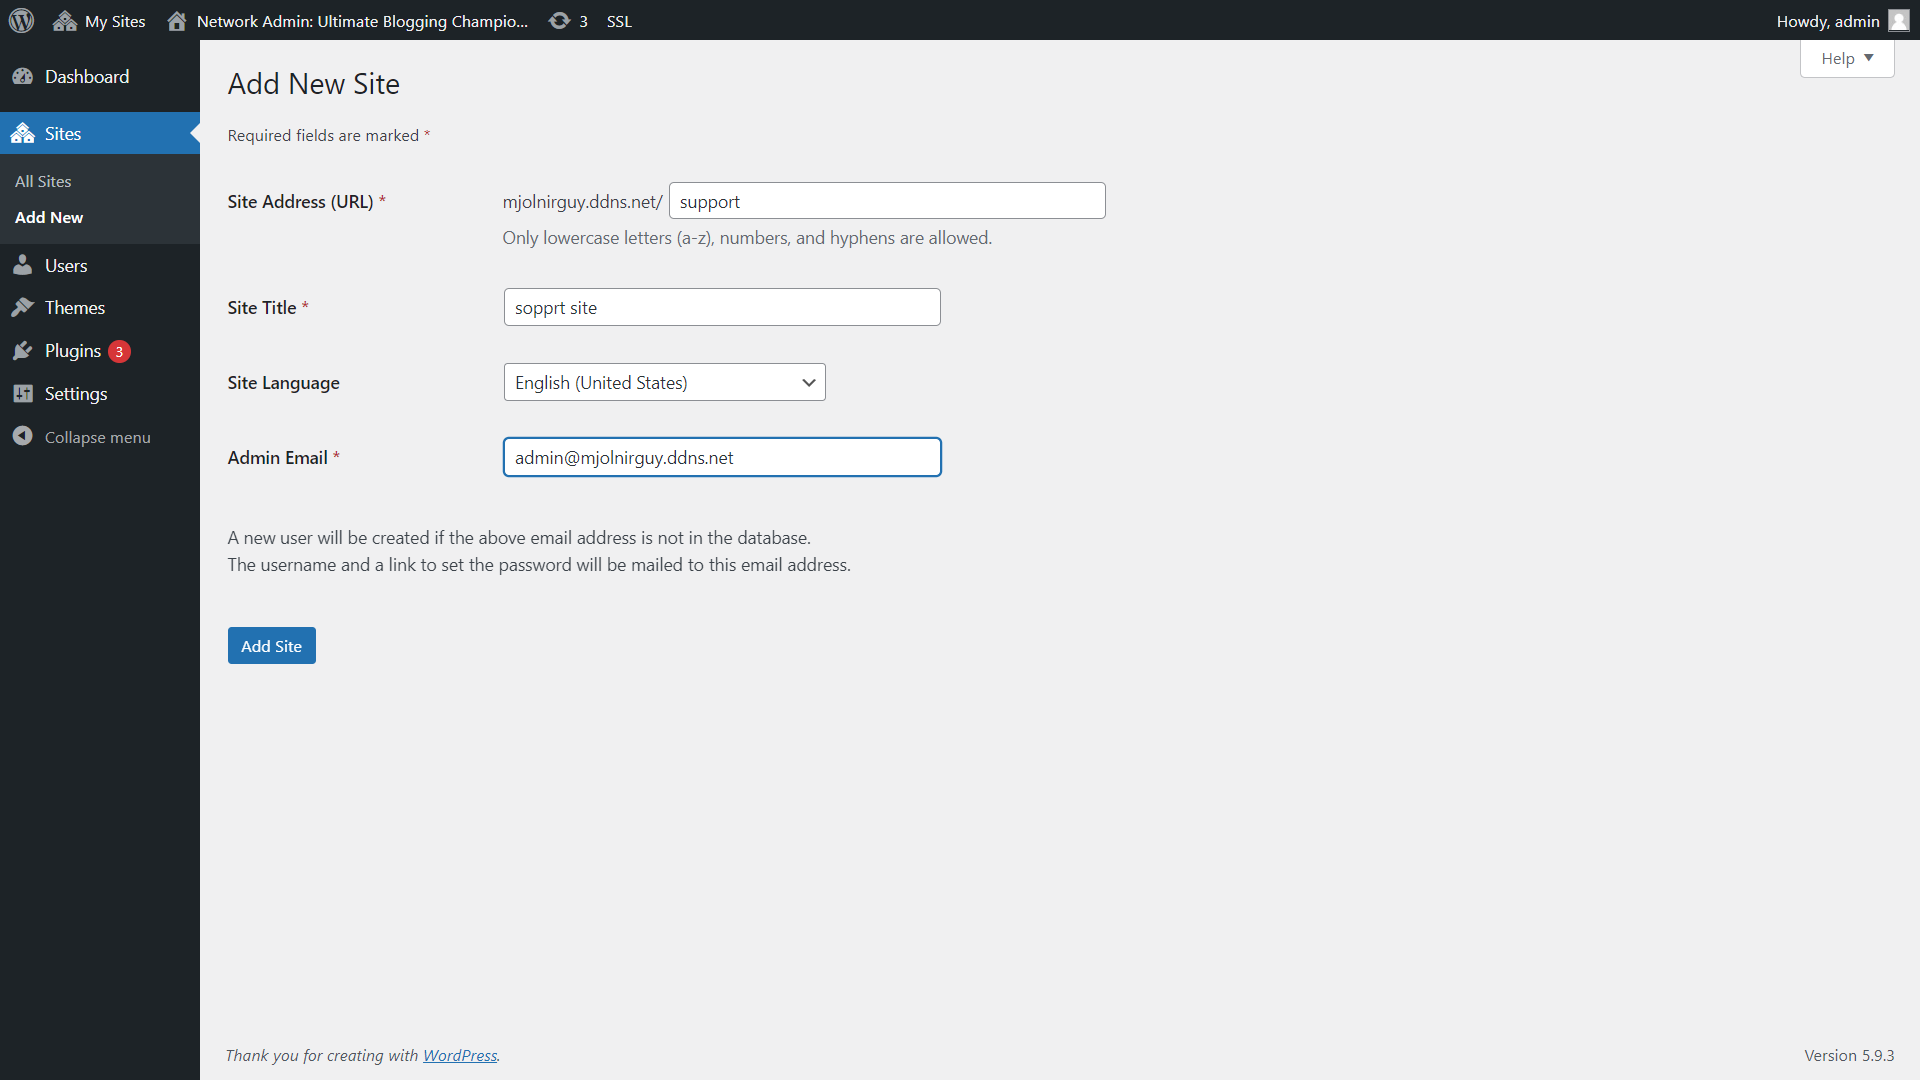
- Enter site URL, title, Language and admin email and click Add Site
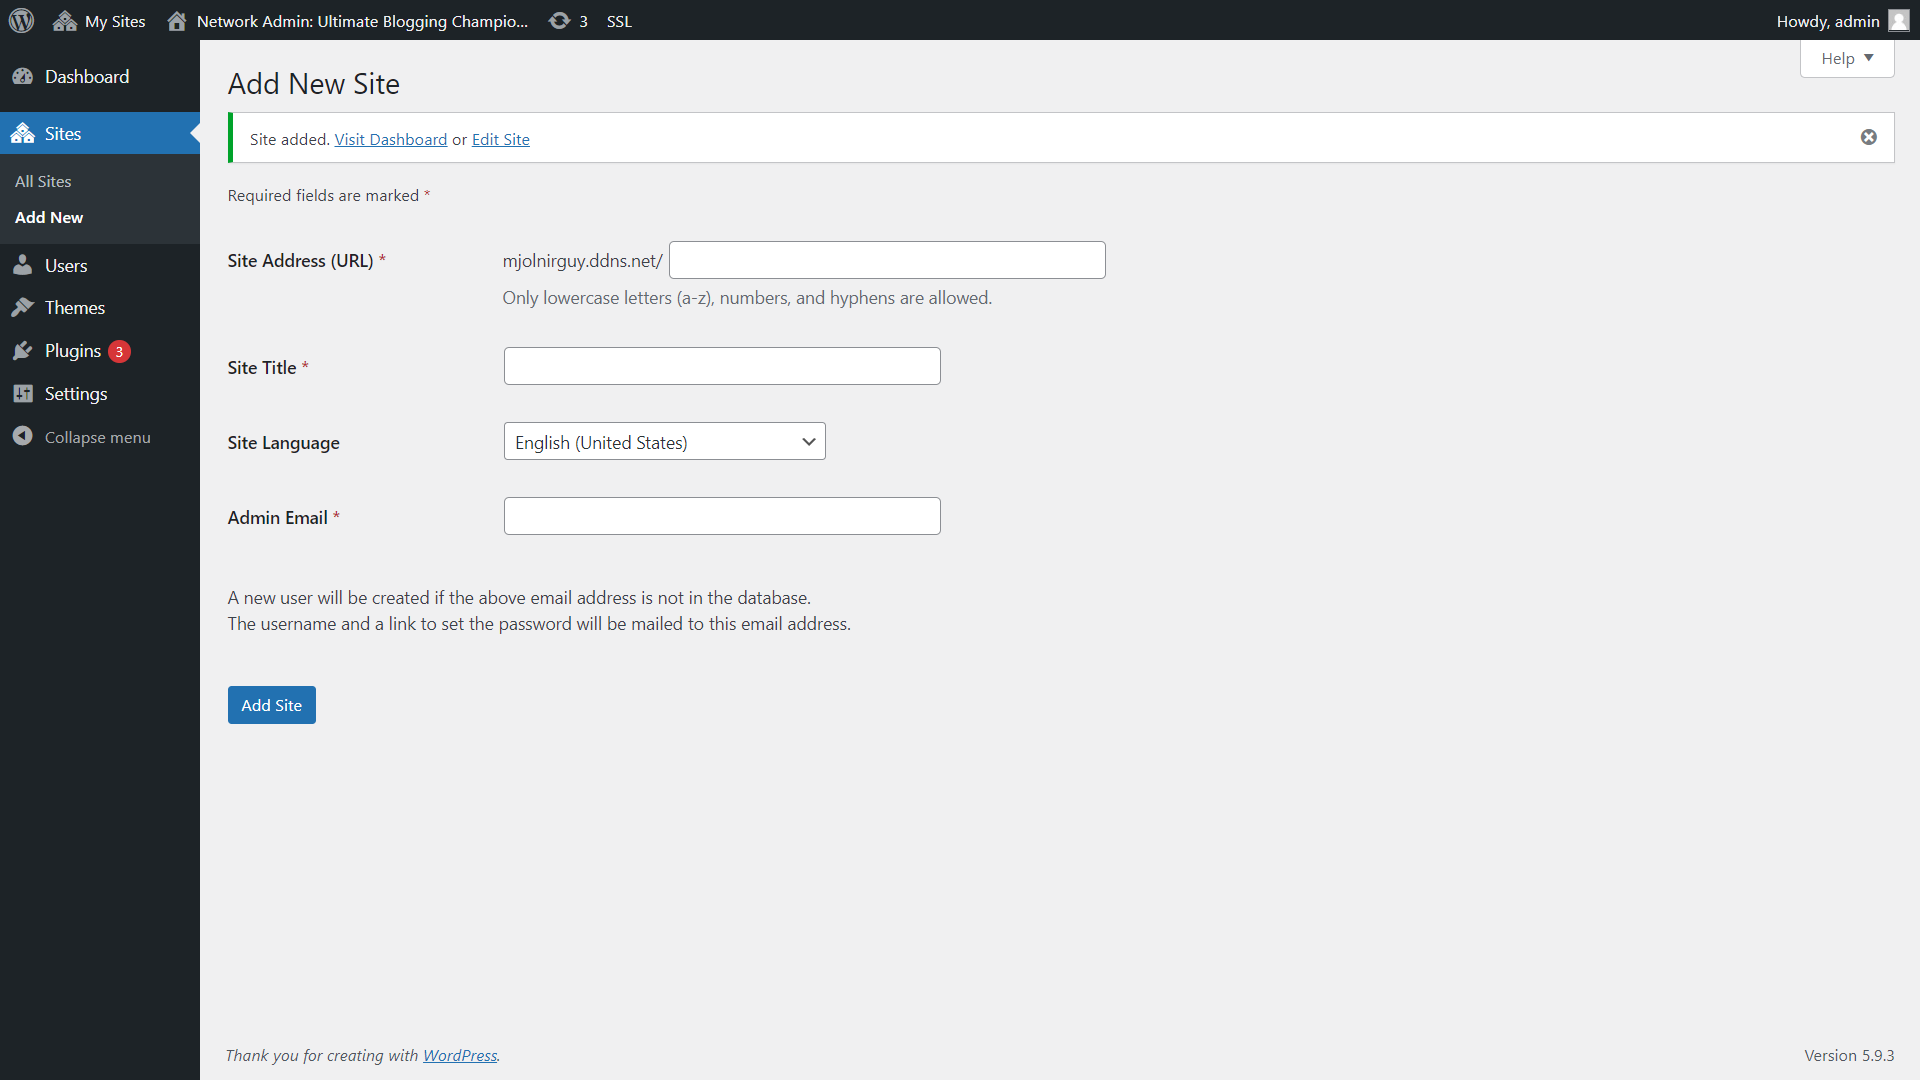
- Added sites will appear on Sites
