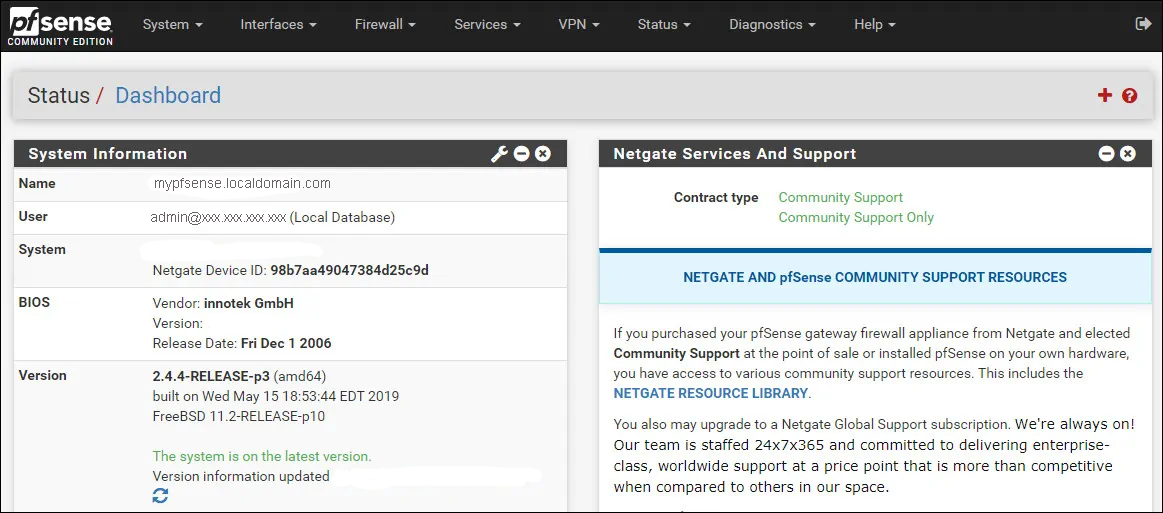
- Download the latest Pfsense zip from the official website
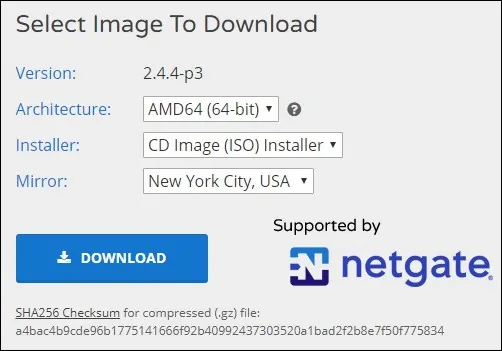
- Extract the zip file to obtain iso file
- Mount the iso in installation media on a server or mount bootable disk to virtual machine
- Reboot machine to boot into Pfsense installation wizard/process
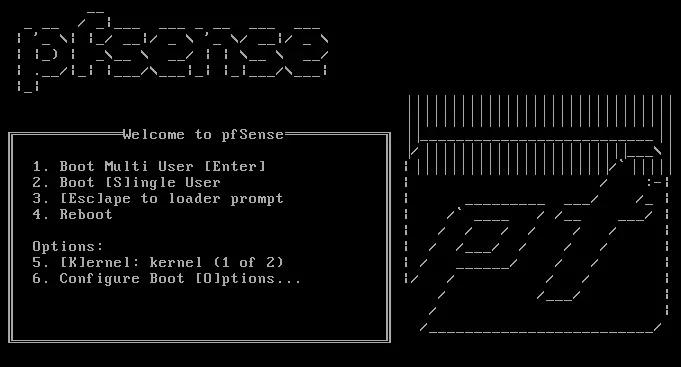
- Accent the Pfsense End User License Agreement

- Select Install option from welcome screen

- Select the keyboard layout
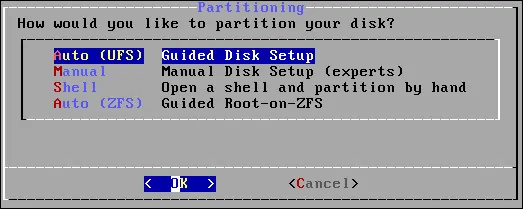
- Select Auto(UFS) to perform automatic Disk Partition
- The machine will start the installation of Pfsense server, Wait for the installation to complete

- In Manual Configuration Screen select ->No
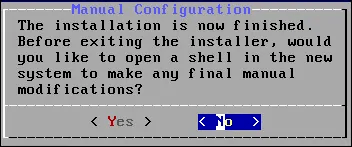
- Remove the installation media or unmount boot disk and reboot the computer.

- After Reboot, Pfsense Console will ask if you need VLAN to be configured.
- Next, the system will detect list of network interfaces
- Select an interface for external interface (WAN)
- Select an interface for internal interface (VAN)
- After completion of above steps pfsense console will appear as

- By default pfsense login console is set to local DHCP, if you want an Static IP select option 2 and enter the static IP with network mask and gateway.
- The web-configuration will auto reboot and switches to static ip and login page can be accesses through static IP
Pfsense Admin Panel Login
After finishing the IP address configuration, you are able to access the PFsense Web interface.
Open a browser, enter the IP address of your Pfsense firewall and access web interface.

Pfsense Default login credentials
- Username : admin
- Password : pfsense
After login you will be direct to pfsense setup wizard

Click on the next button and perform the hostname and DNS configuration.
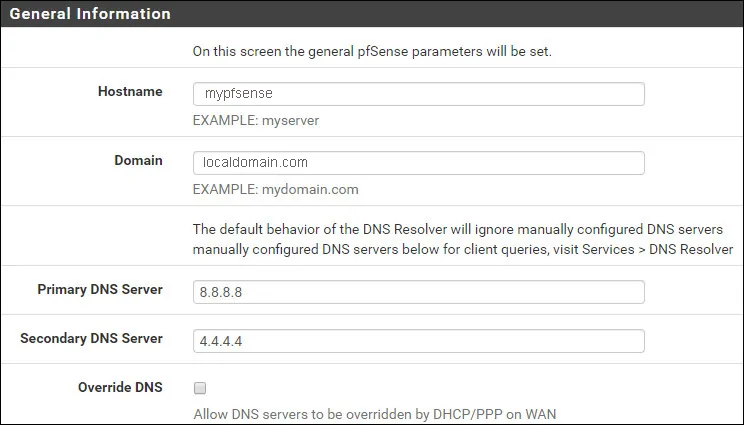
Change the Pfsense default administrative password and click on the Next button.

The system will reload the Pfsense configuration.
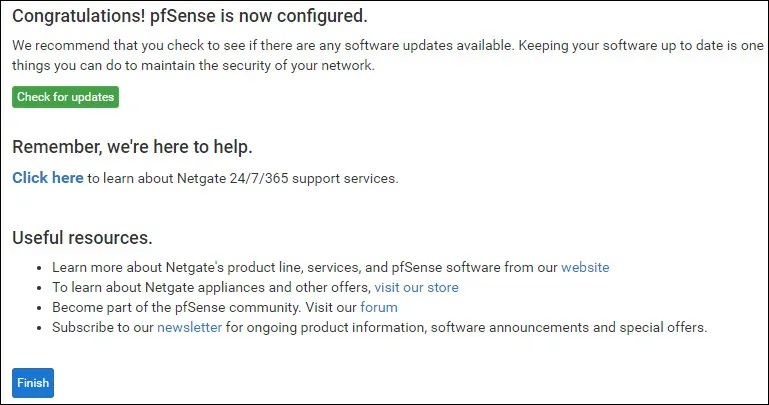
The pfsense installation was finished successfully and Panel Dashboard will appear as
