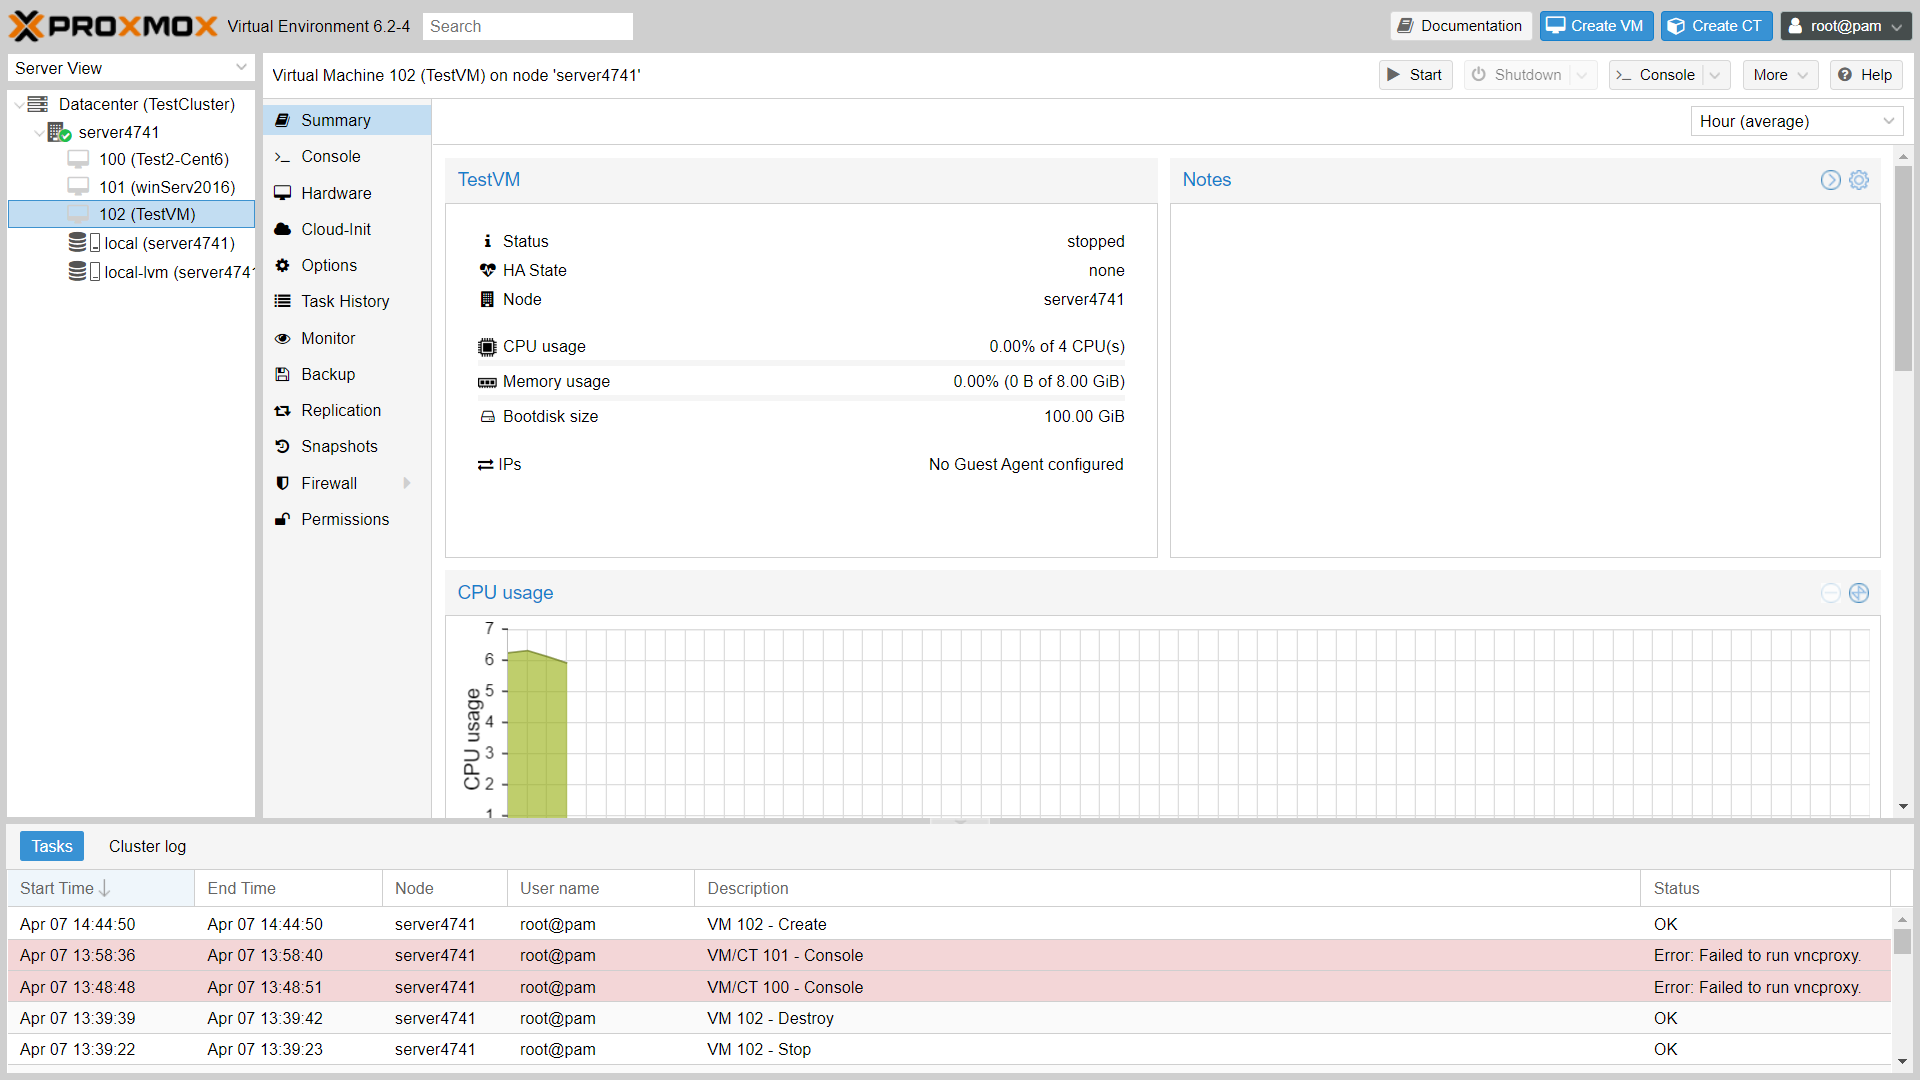
To create a VM on Proxmox Virtual Environment
- Go-to the proxmox VE dashboard using the server IP followed by port number on any Browser, Eg., 123.456.789.100:8006
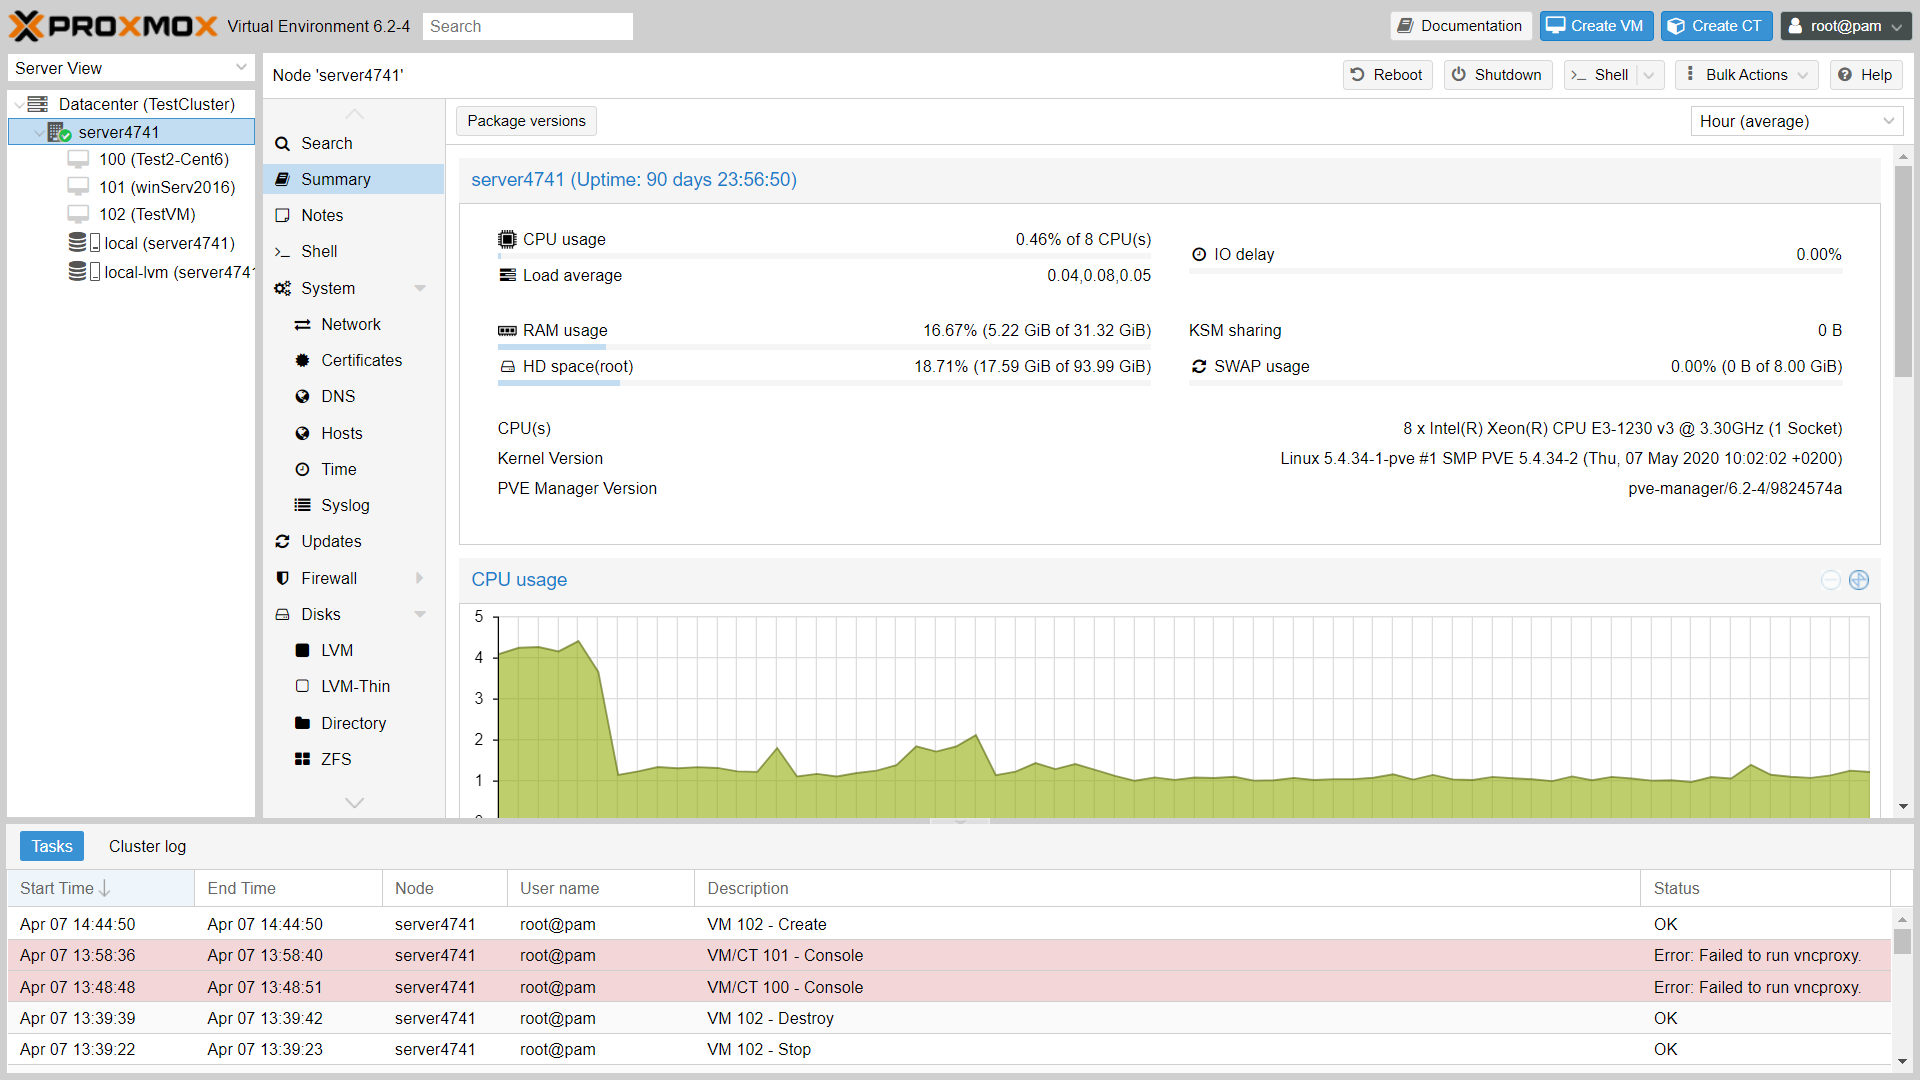
- Login using the Server Credentials and Proxmox VE Dashboard will look like below image
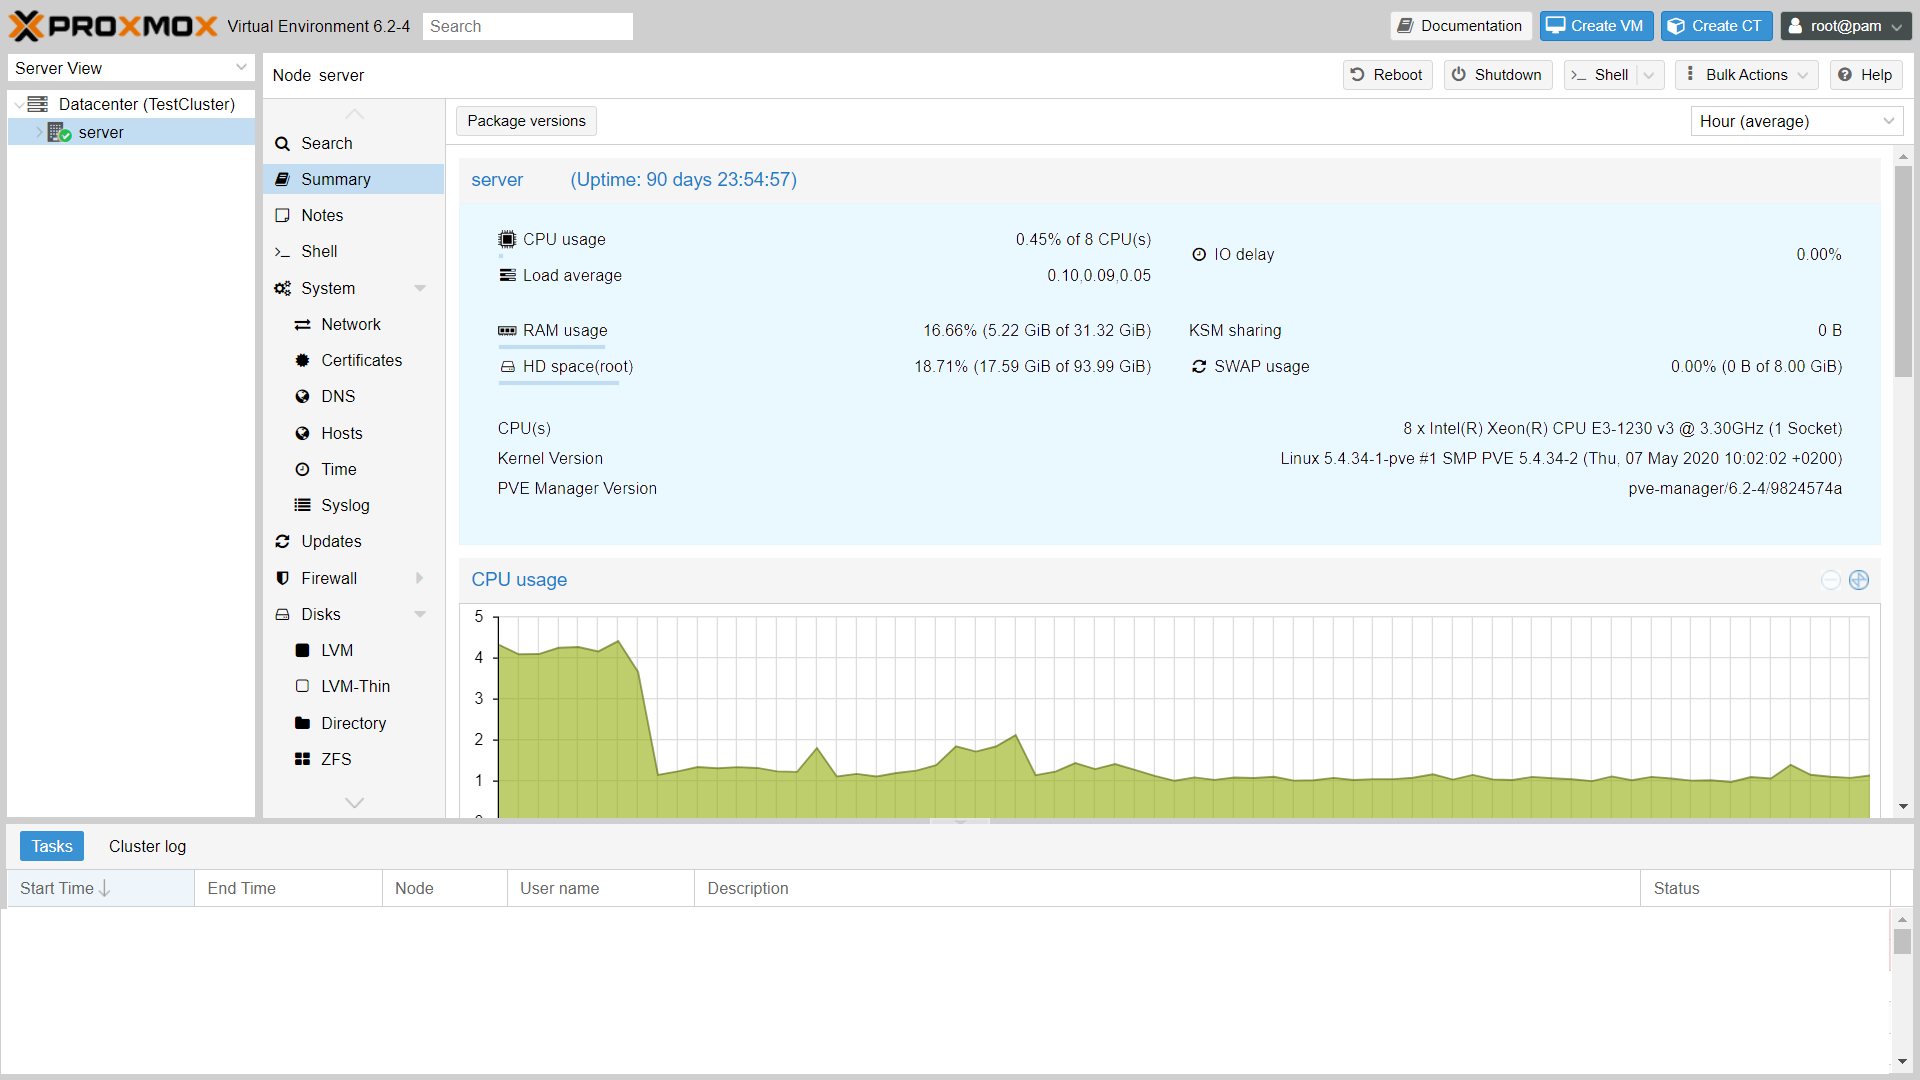
- To create VM, Click Create VM Button on the Top right of the console Highlighted in Blue Color
- A create virtual machine pop box will appear as below
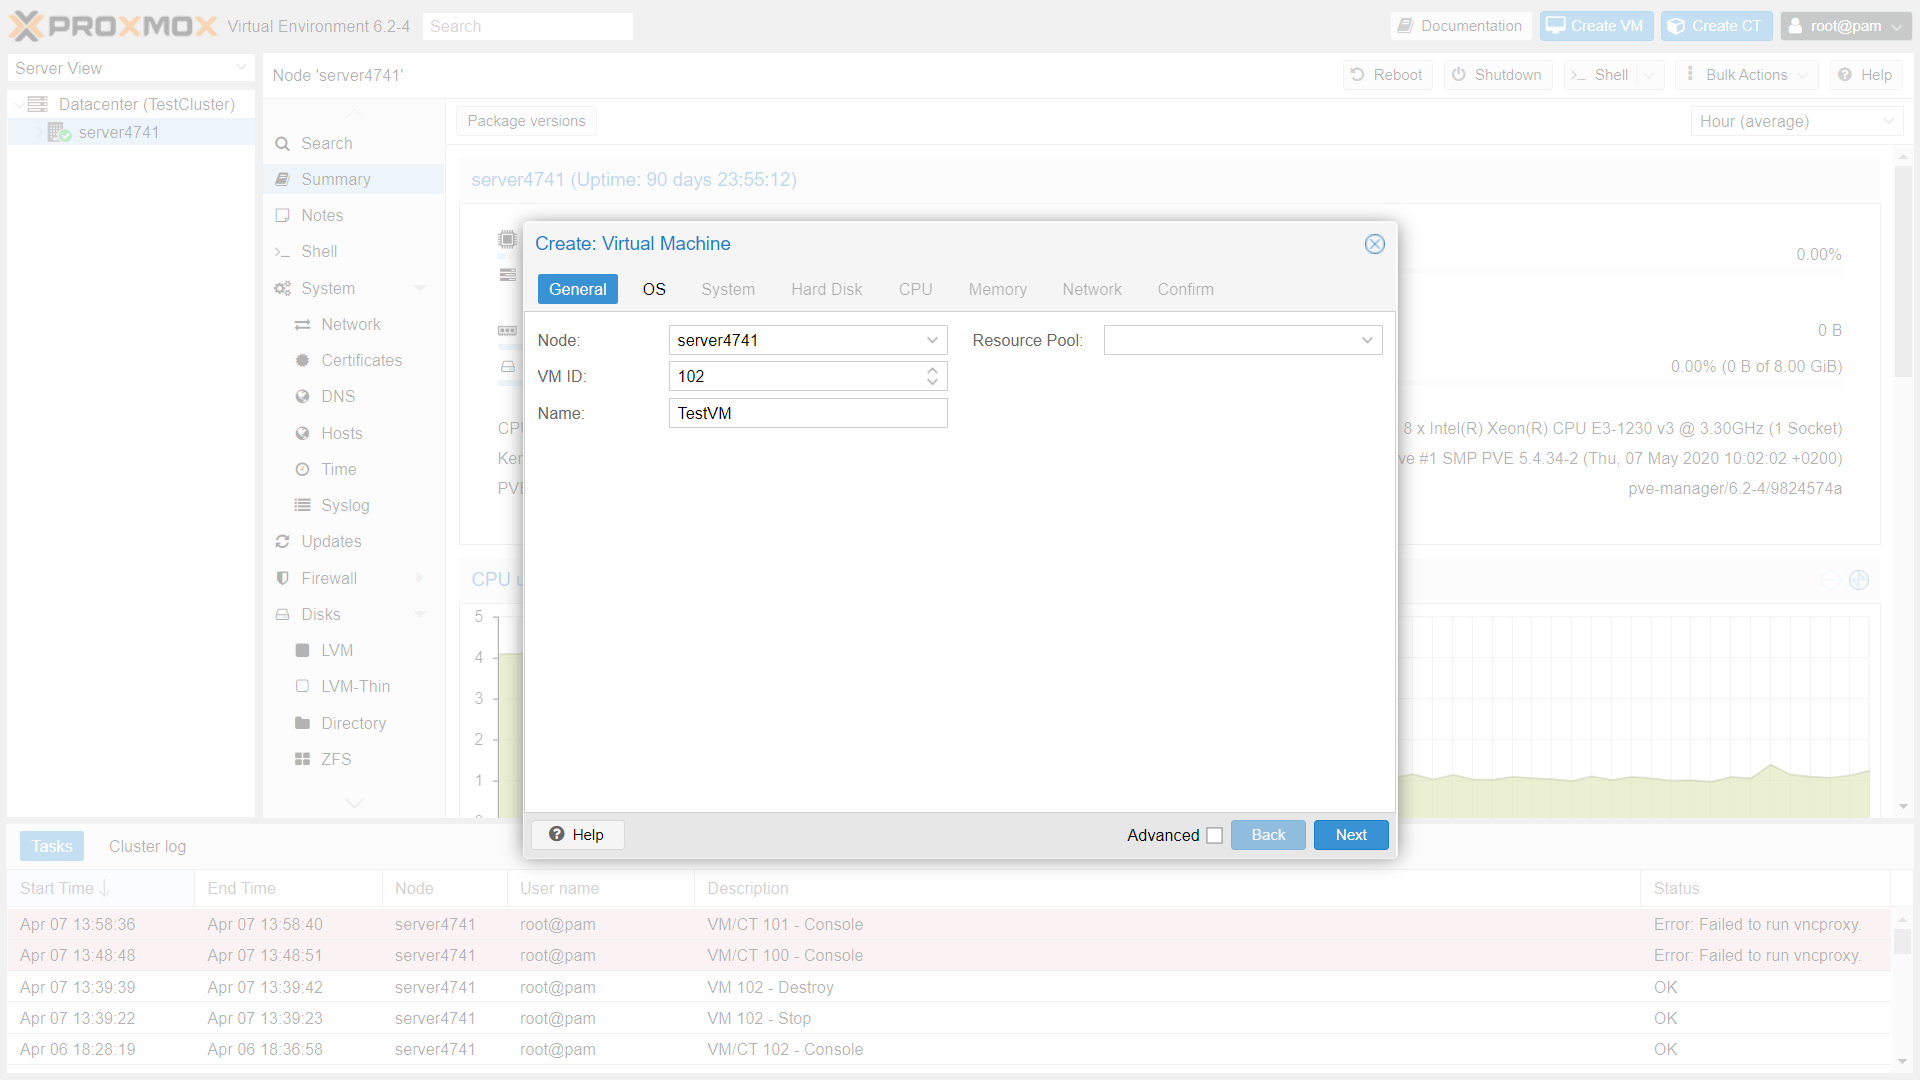
- Type a name of VM and click next
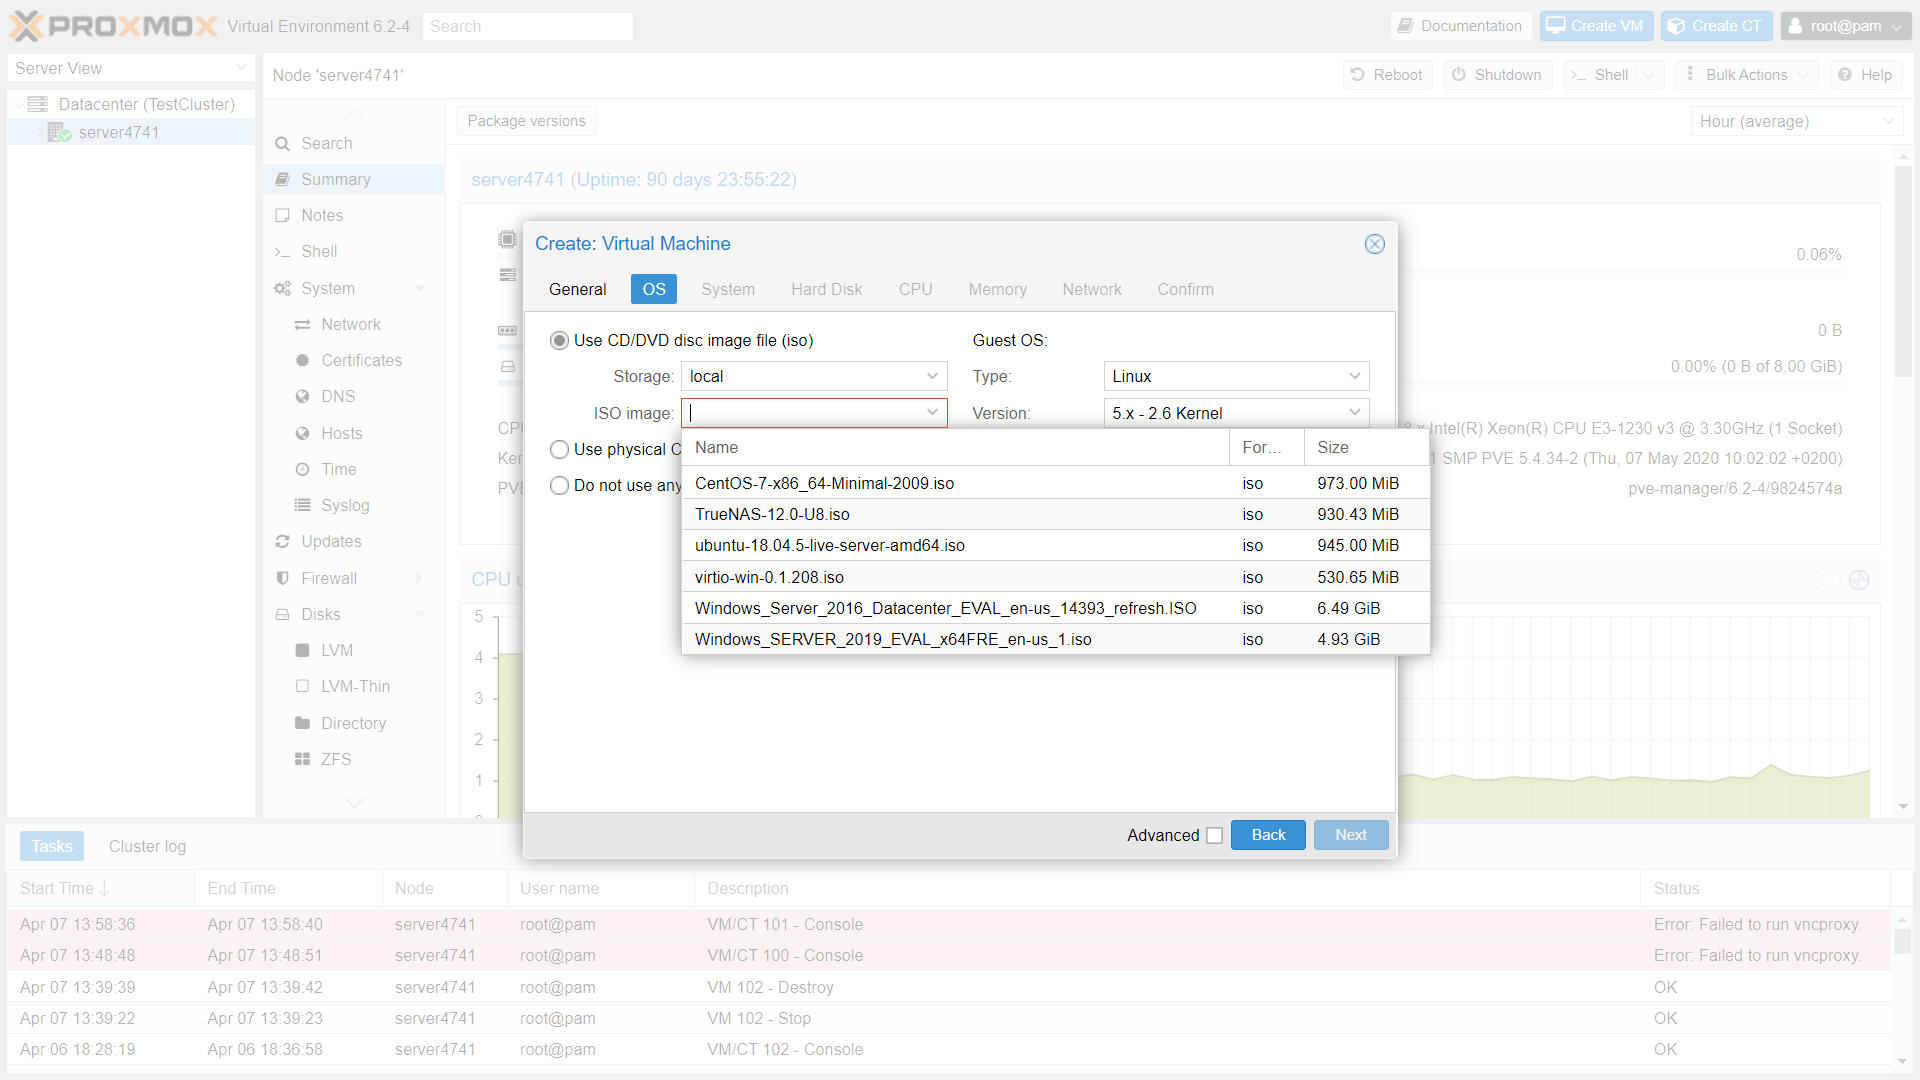
- Select the ISO file uploaded to server Local Storage which has to be installed on VM and Click Next
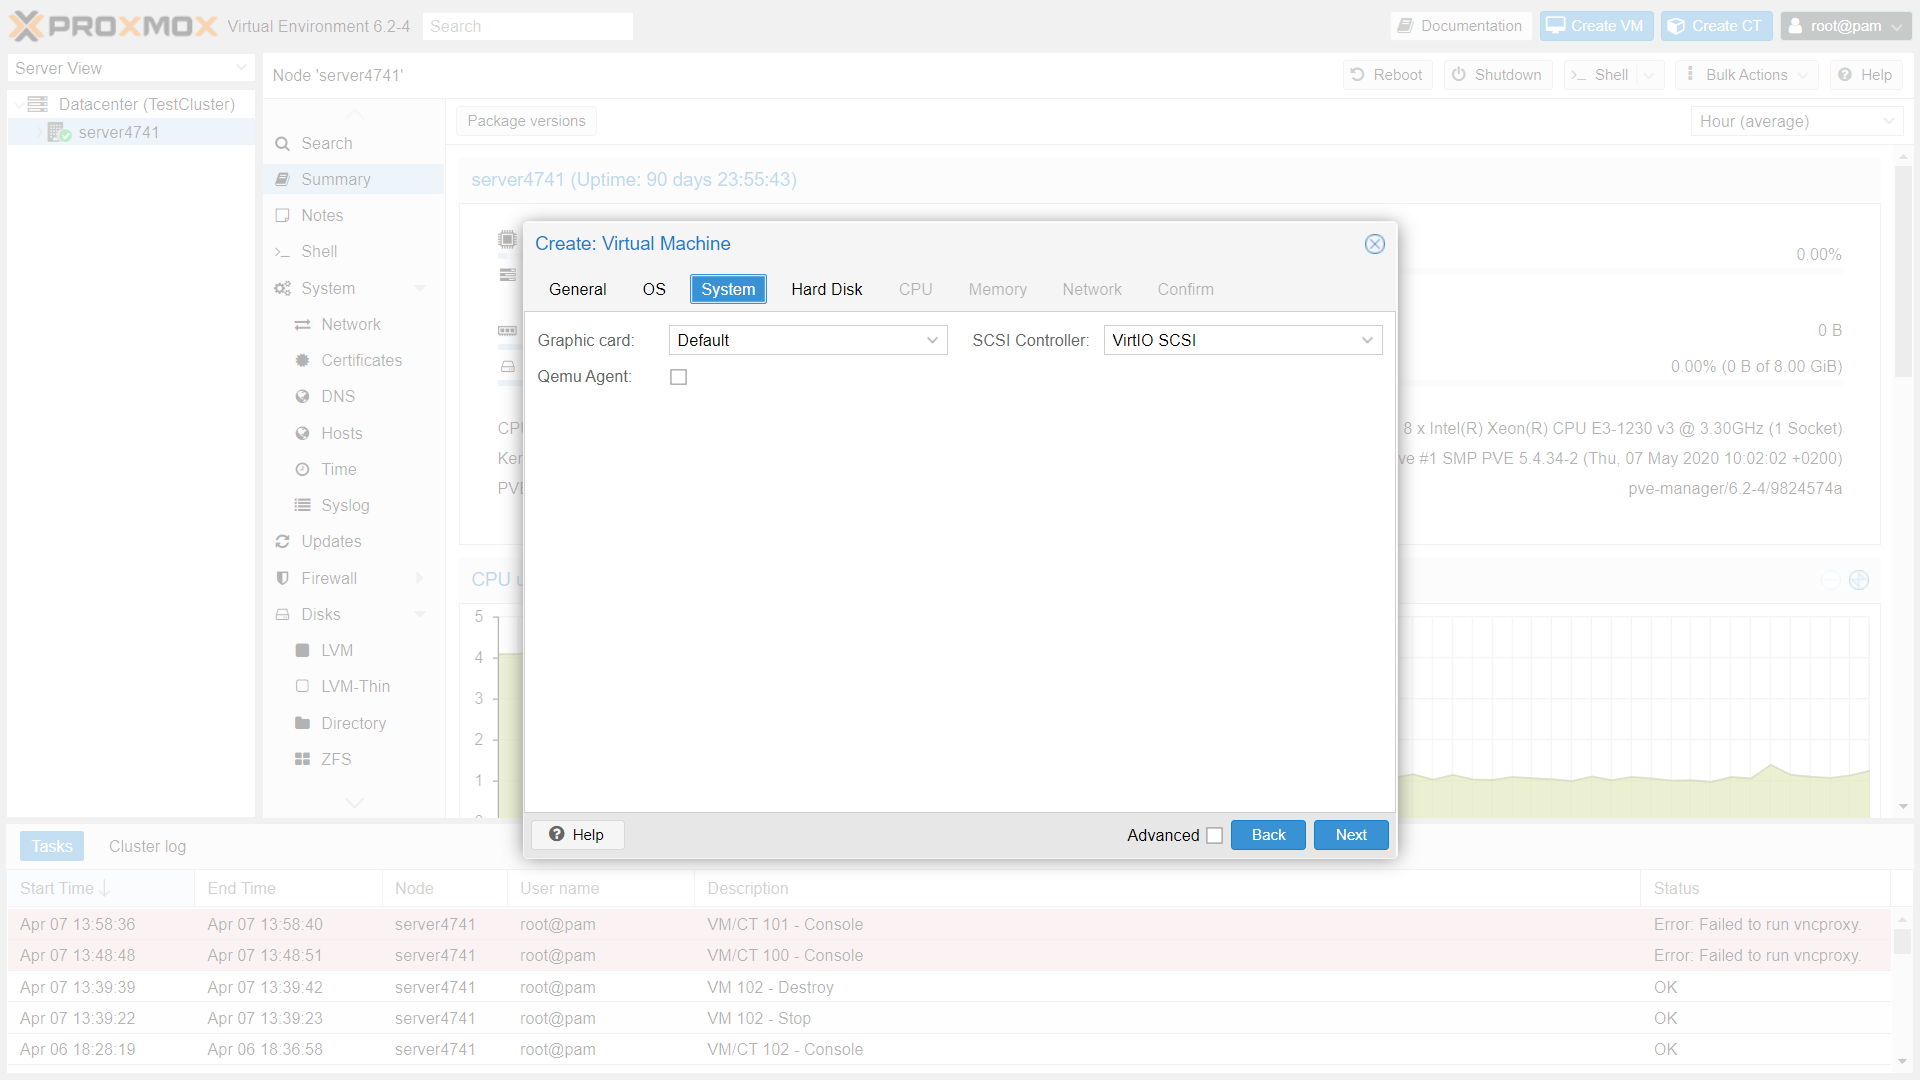
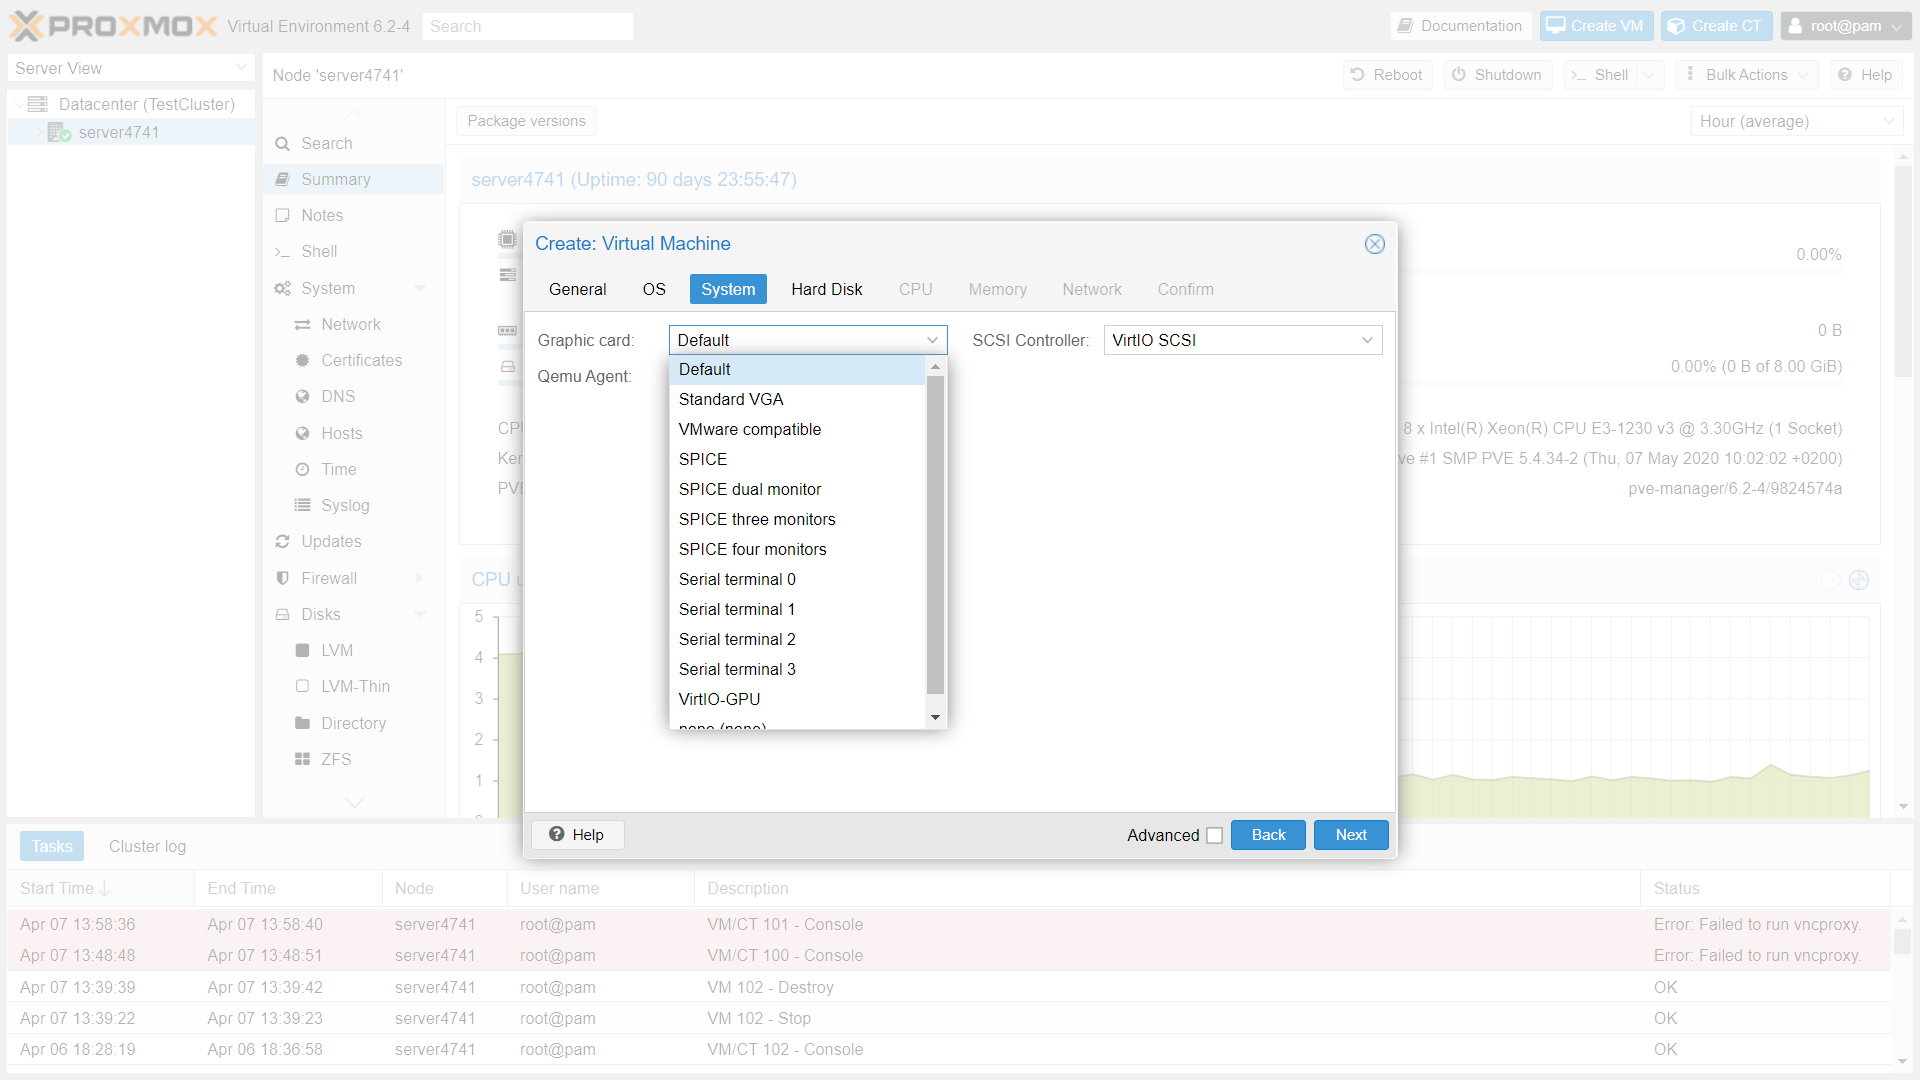
- Select the Graphics Card to Default or if any Graphics Card installed on Server select from the Drop-Down list box and Click Next
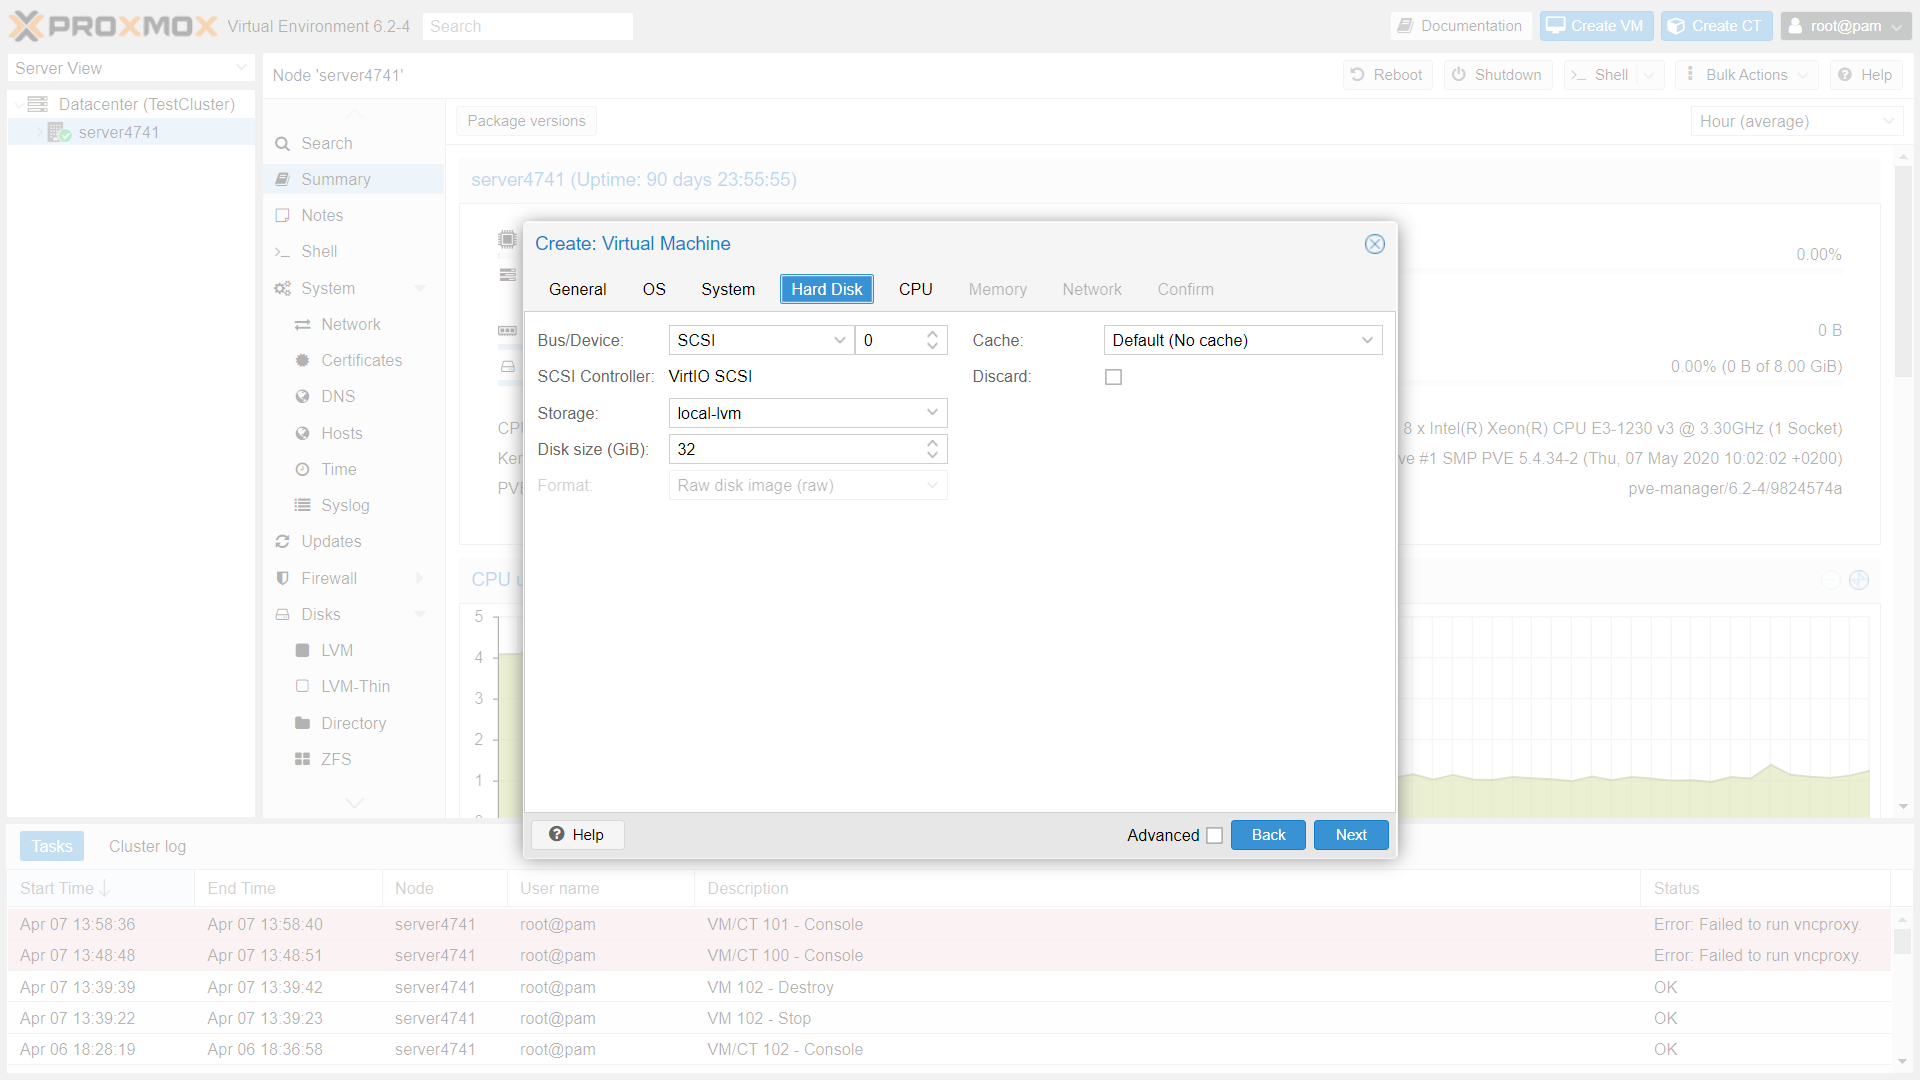
- Assign the Root Volume for the VM and click Next
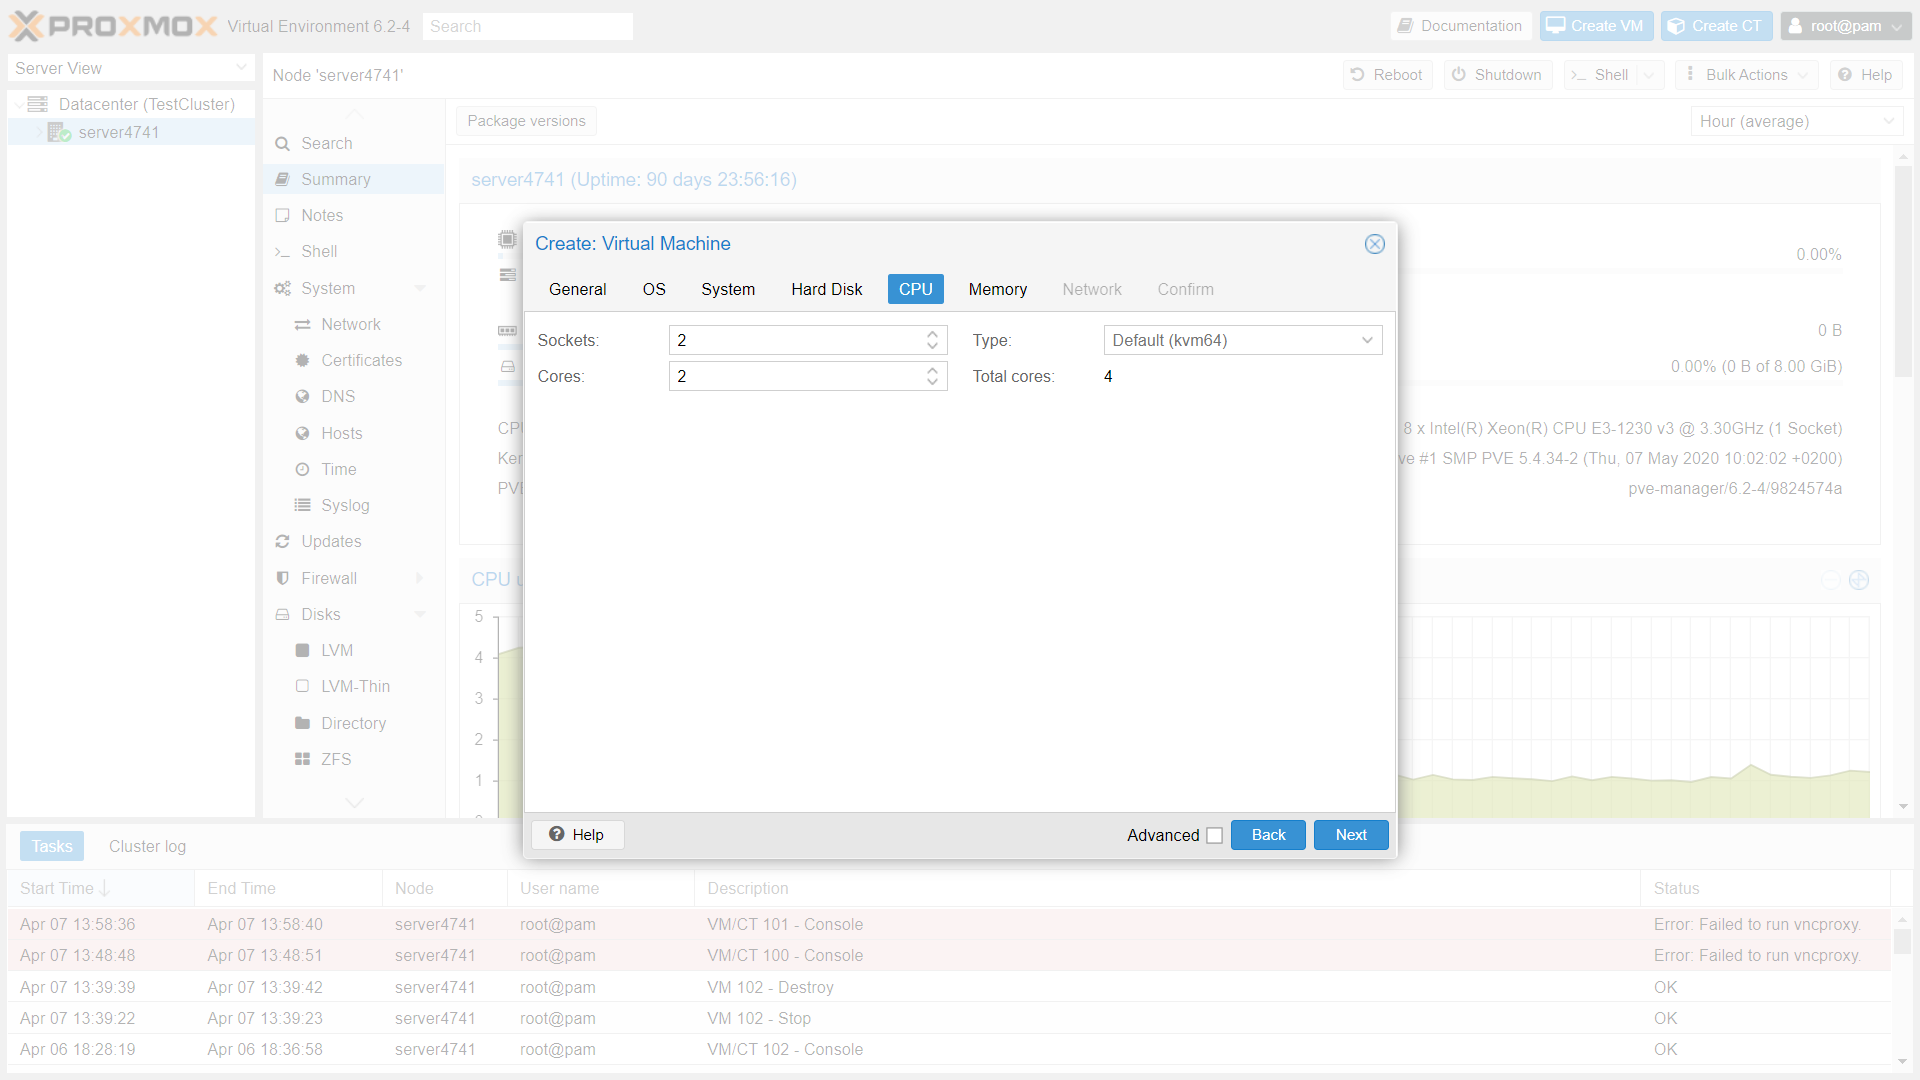
- Assign number of sockets and cores for the VM but not exceeding the Main Server Resources
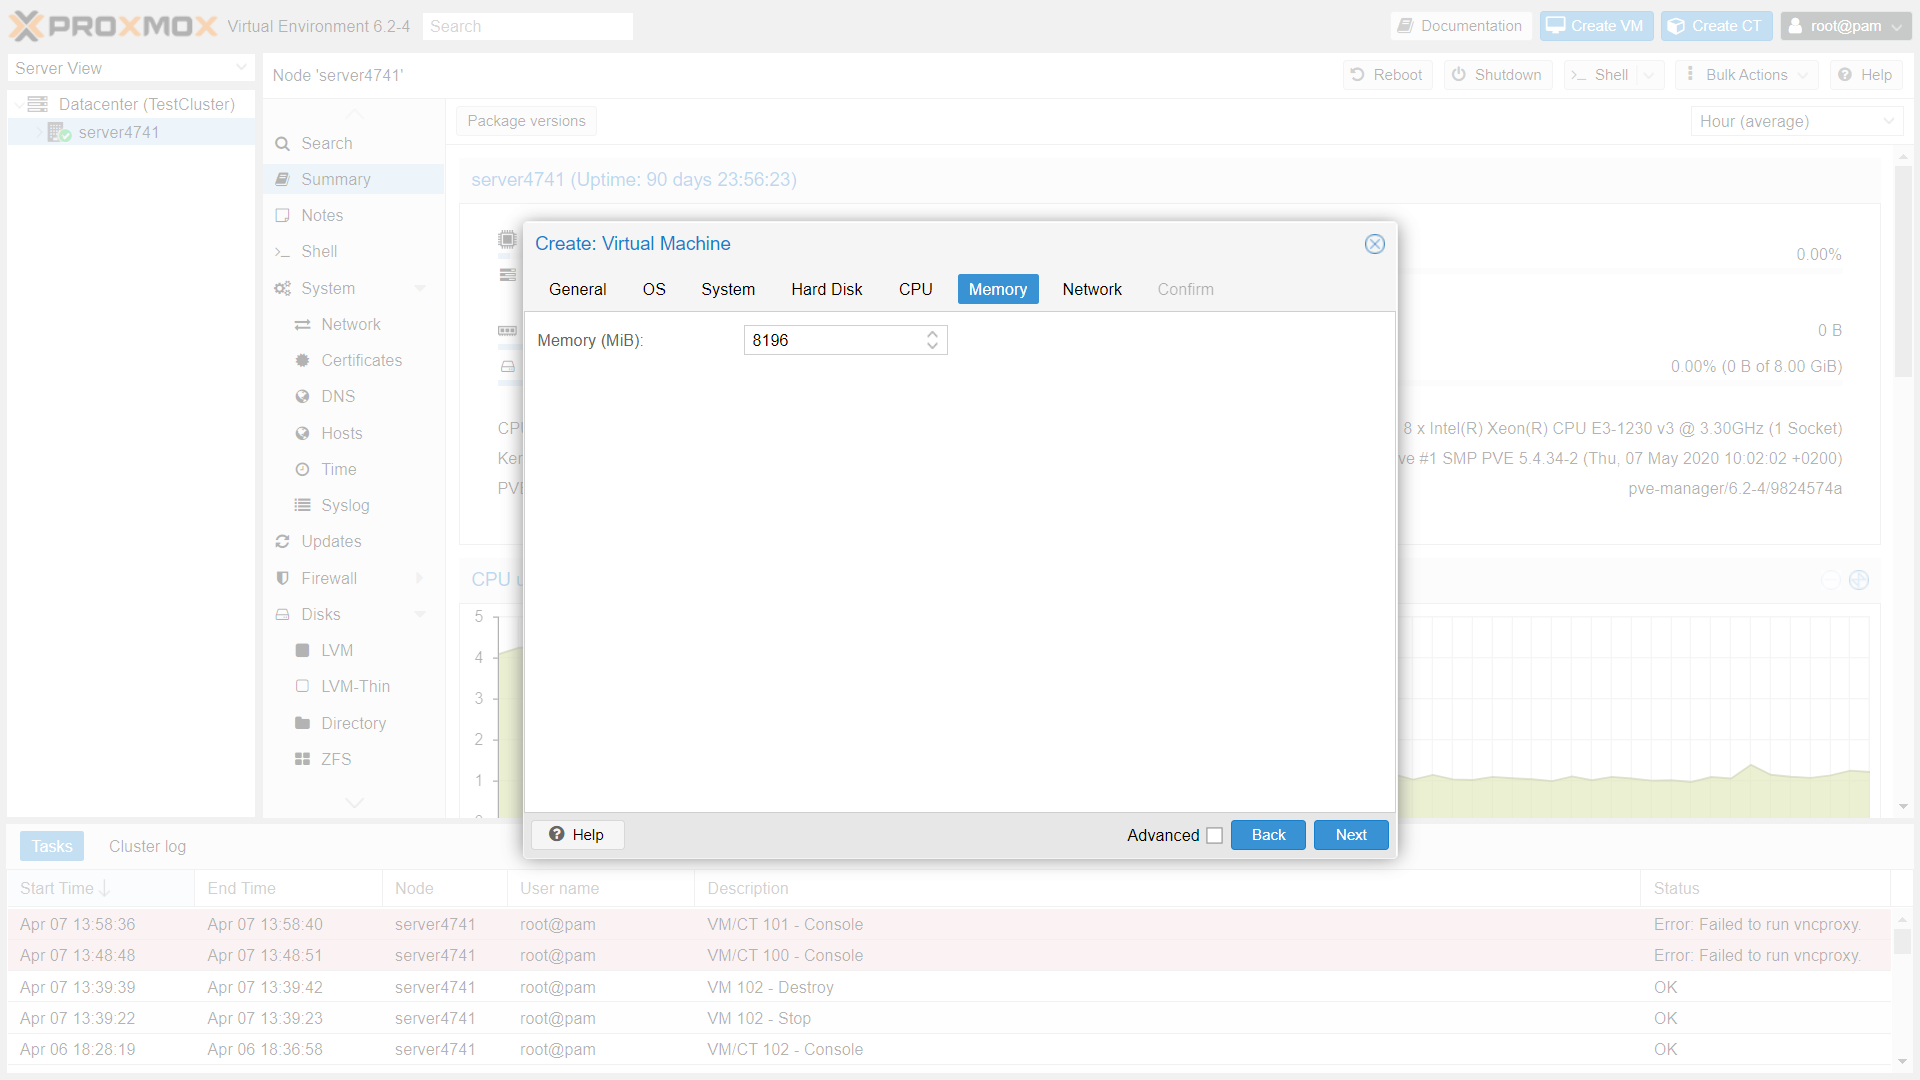
- Assign the memory for the VM but not exceeding the Main Server Resources
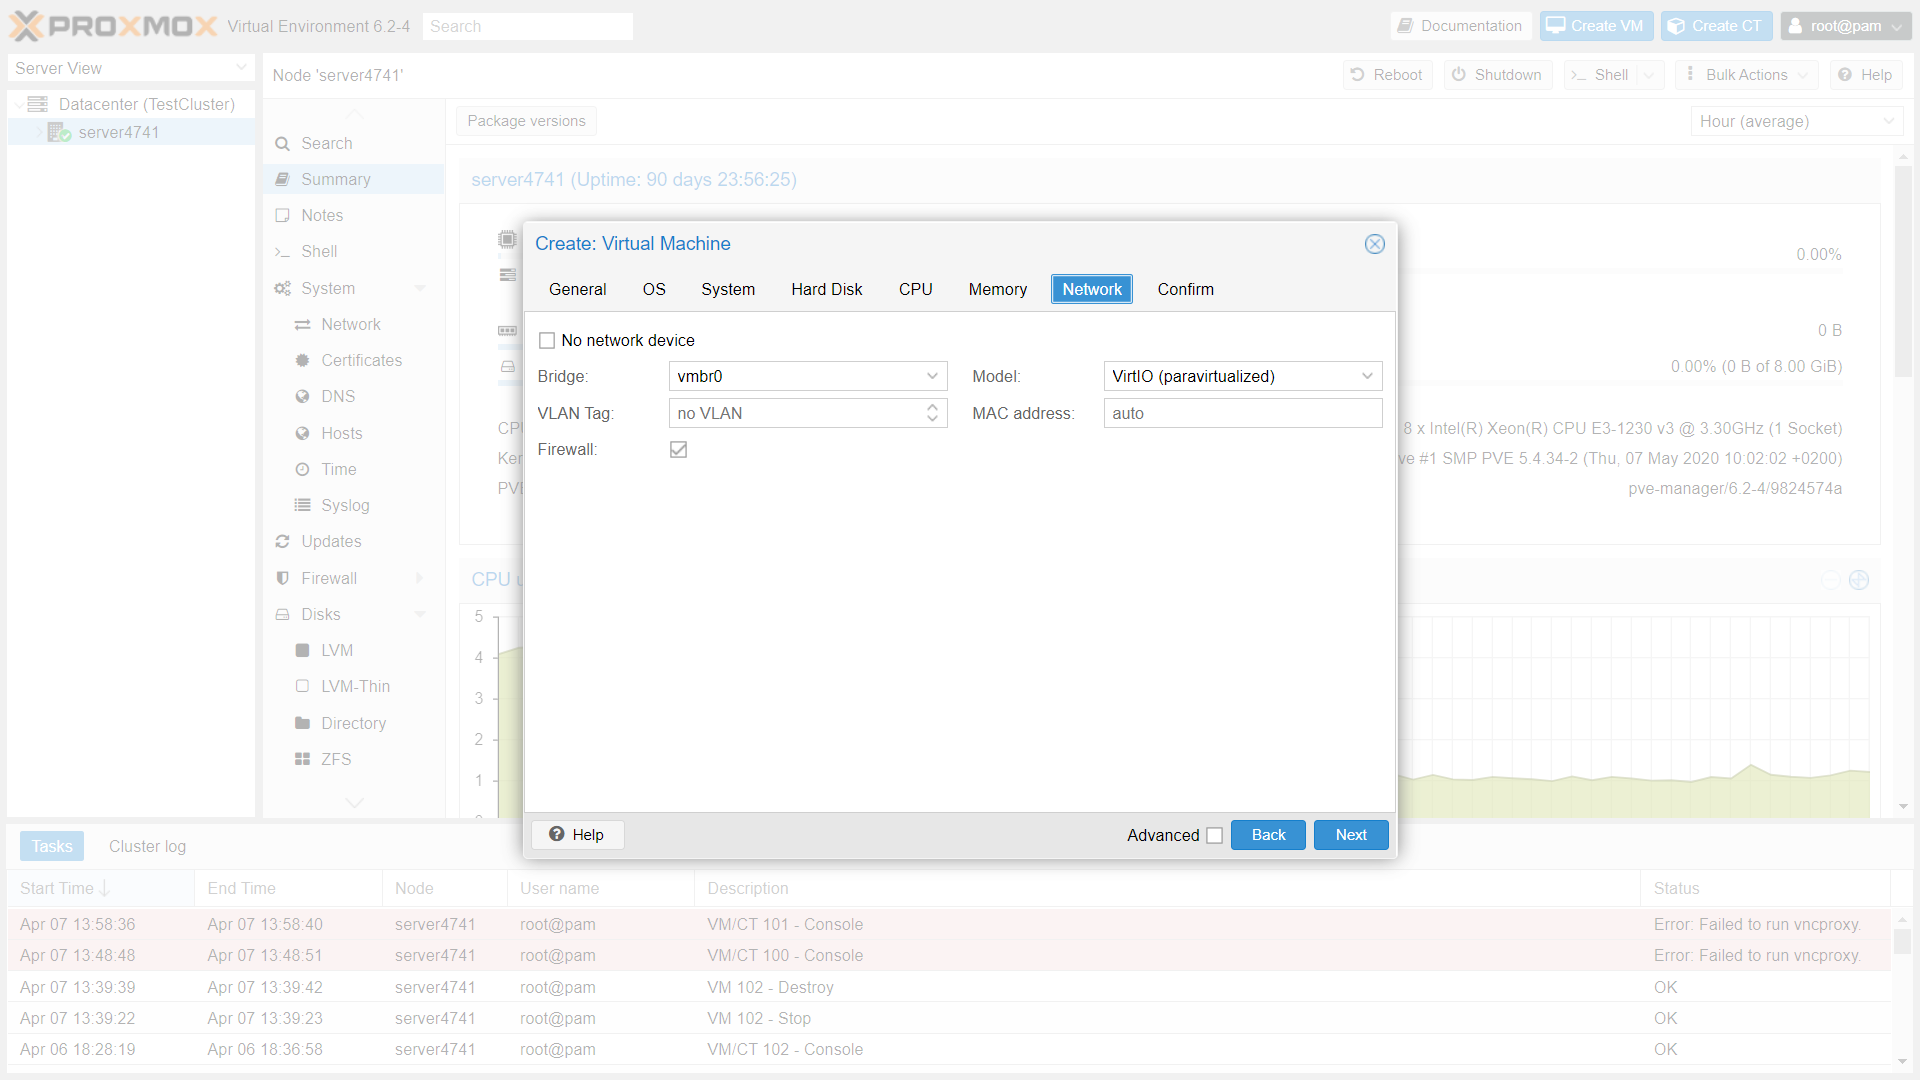
- Click No Network Device to choose VM to Run without internet and if internet needed assign the network device and click next
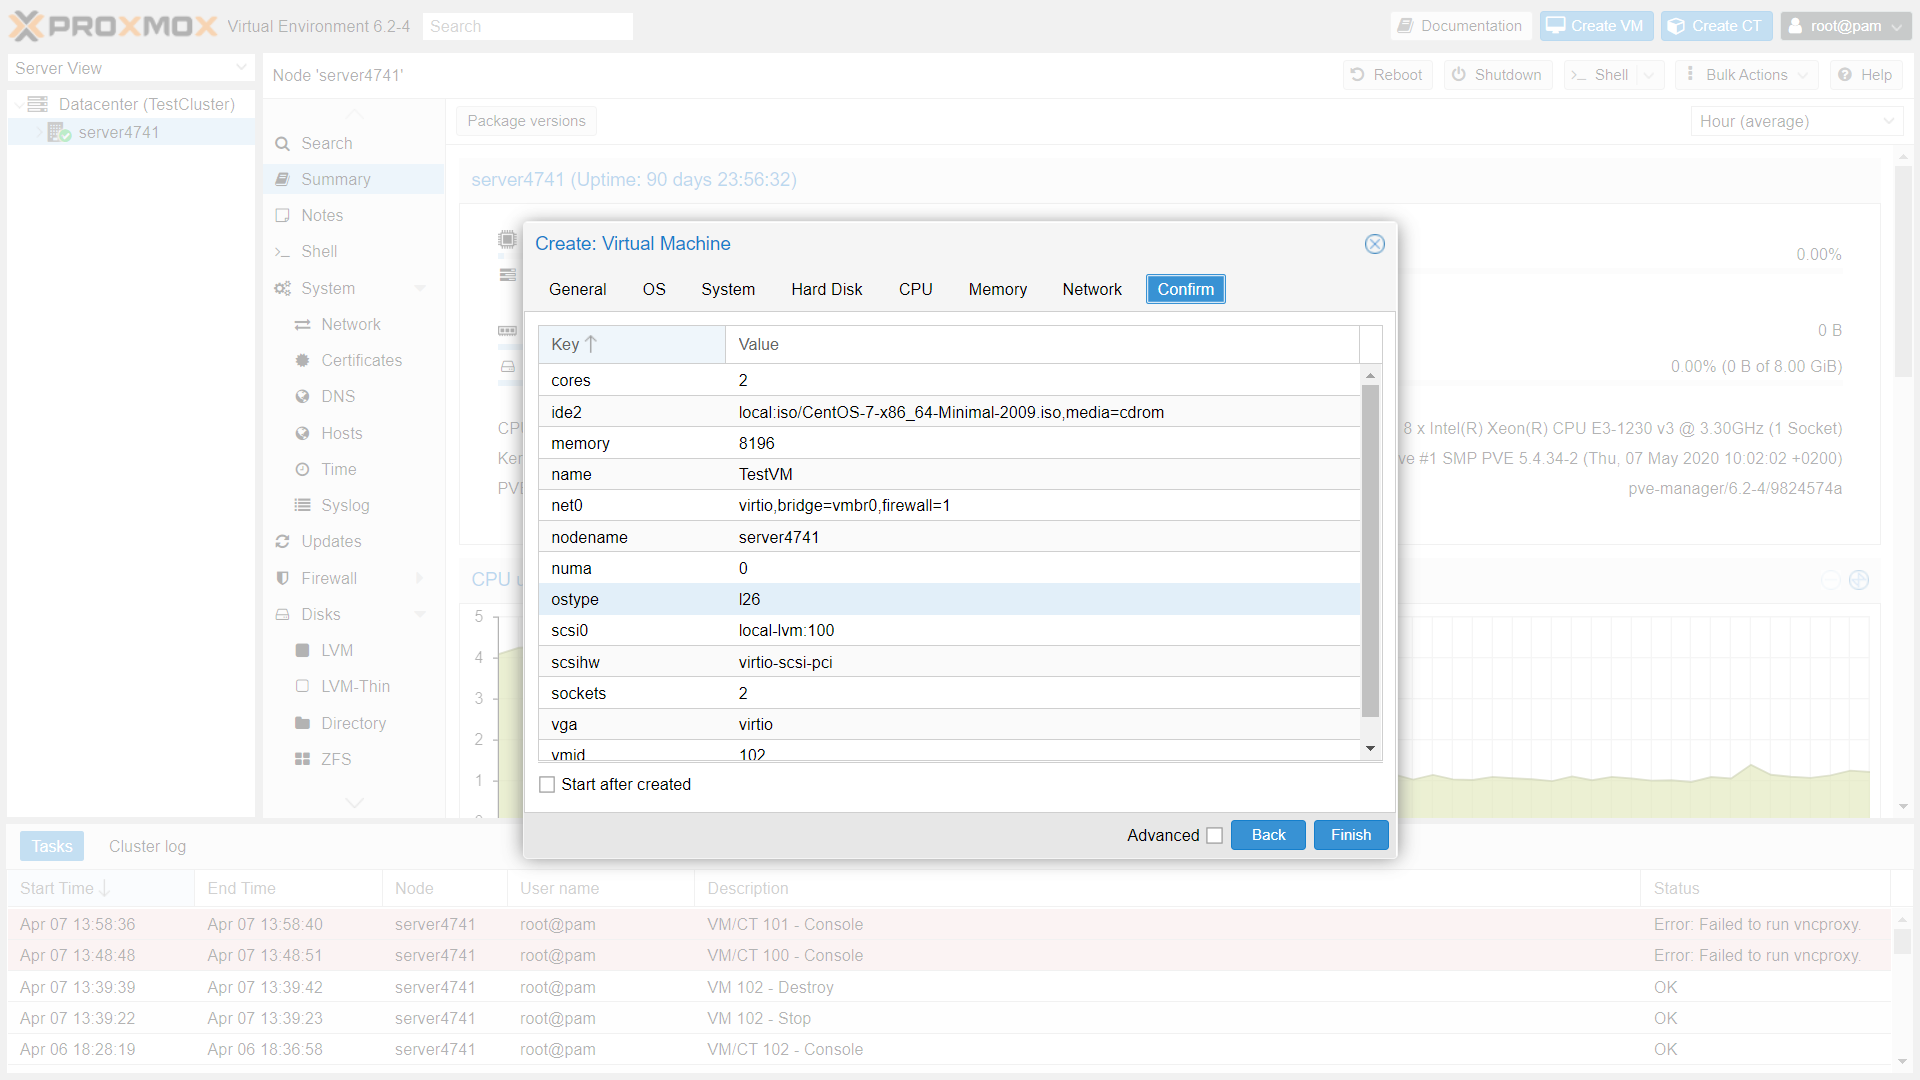
- This Pop-up Shows the configuration on VM which is going to be created if changes required fall back to previous Pop-Ups and make the changes and click Confirm
- Once the VM is created it will appear in the Cluster as below image
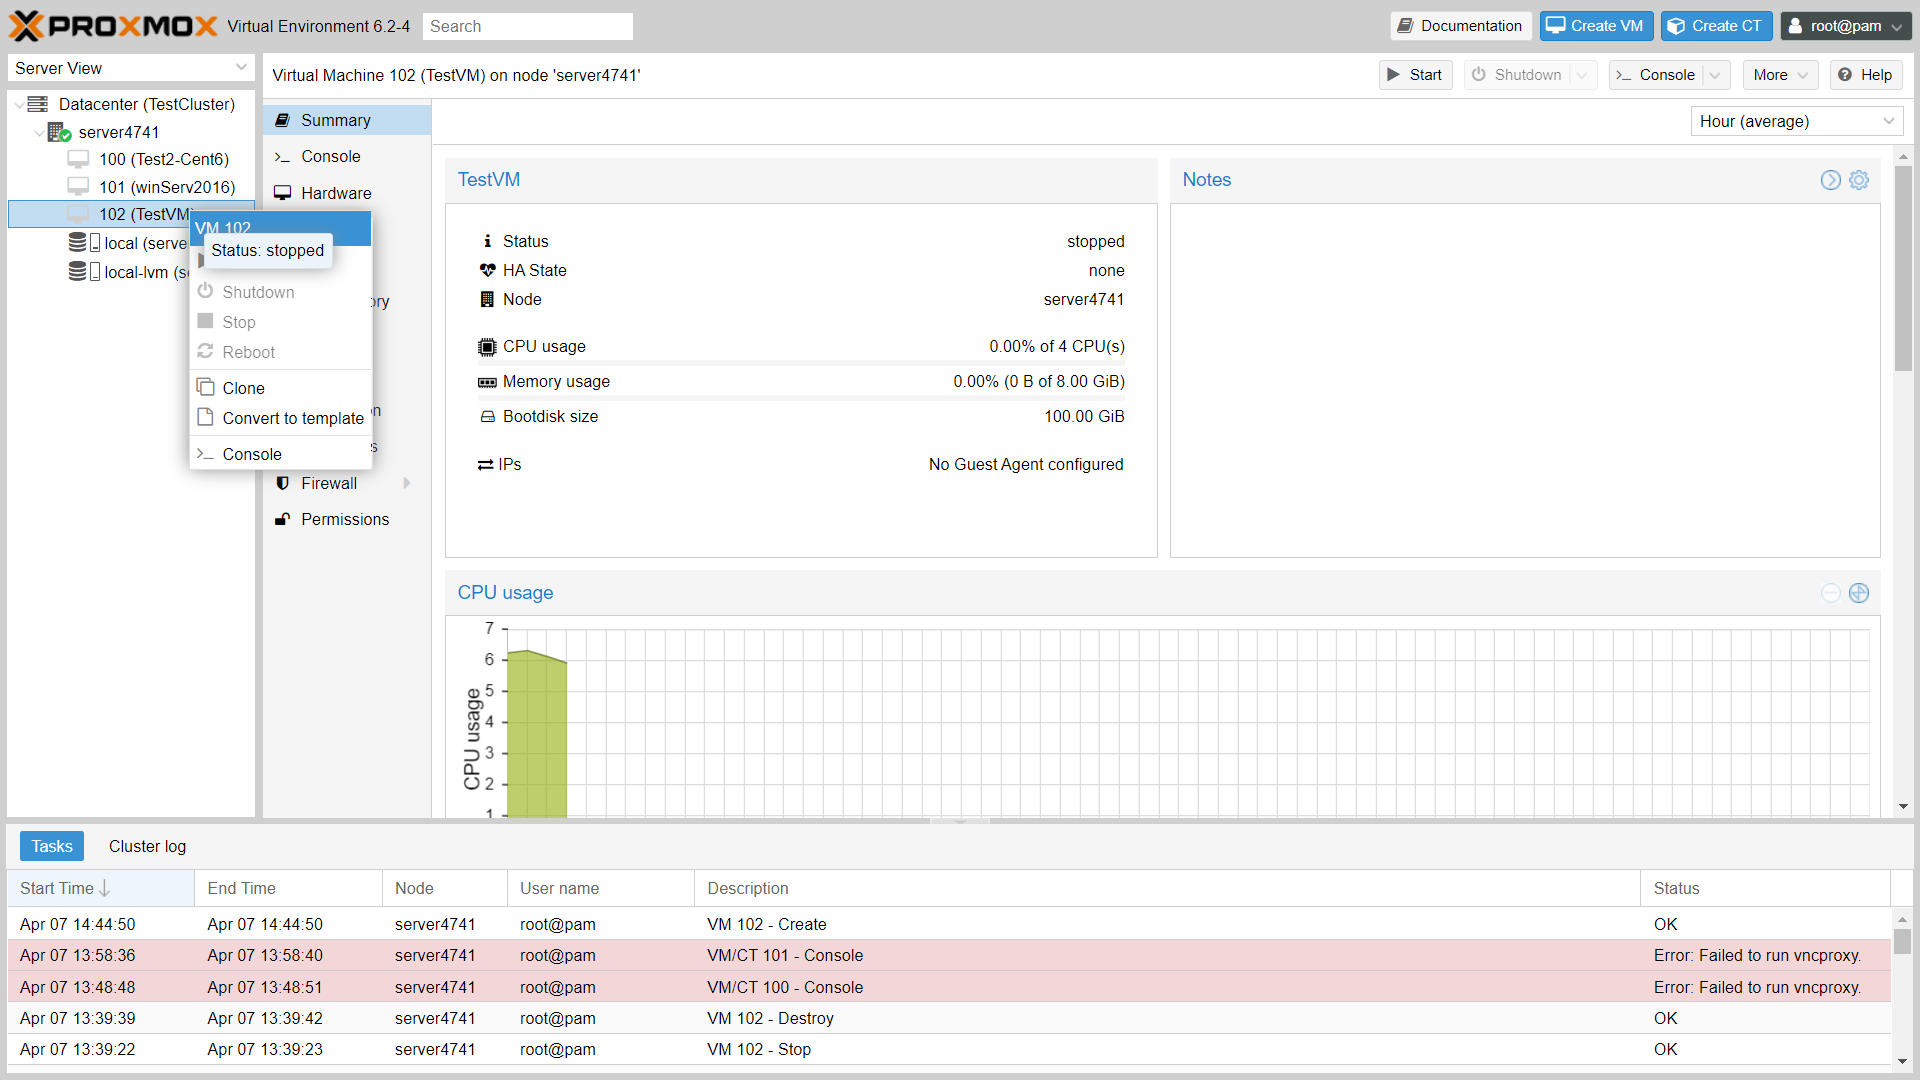
- To start the VM click on Start button on the Top Right of VM console or simply right-click on VM name and click Start
