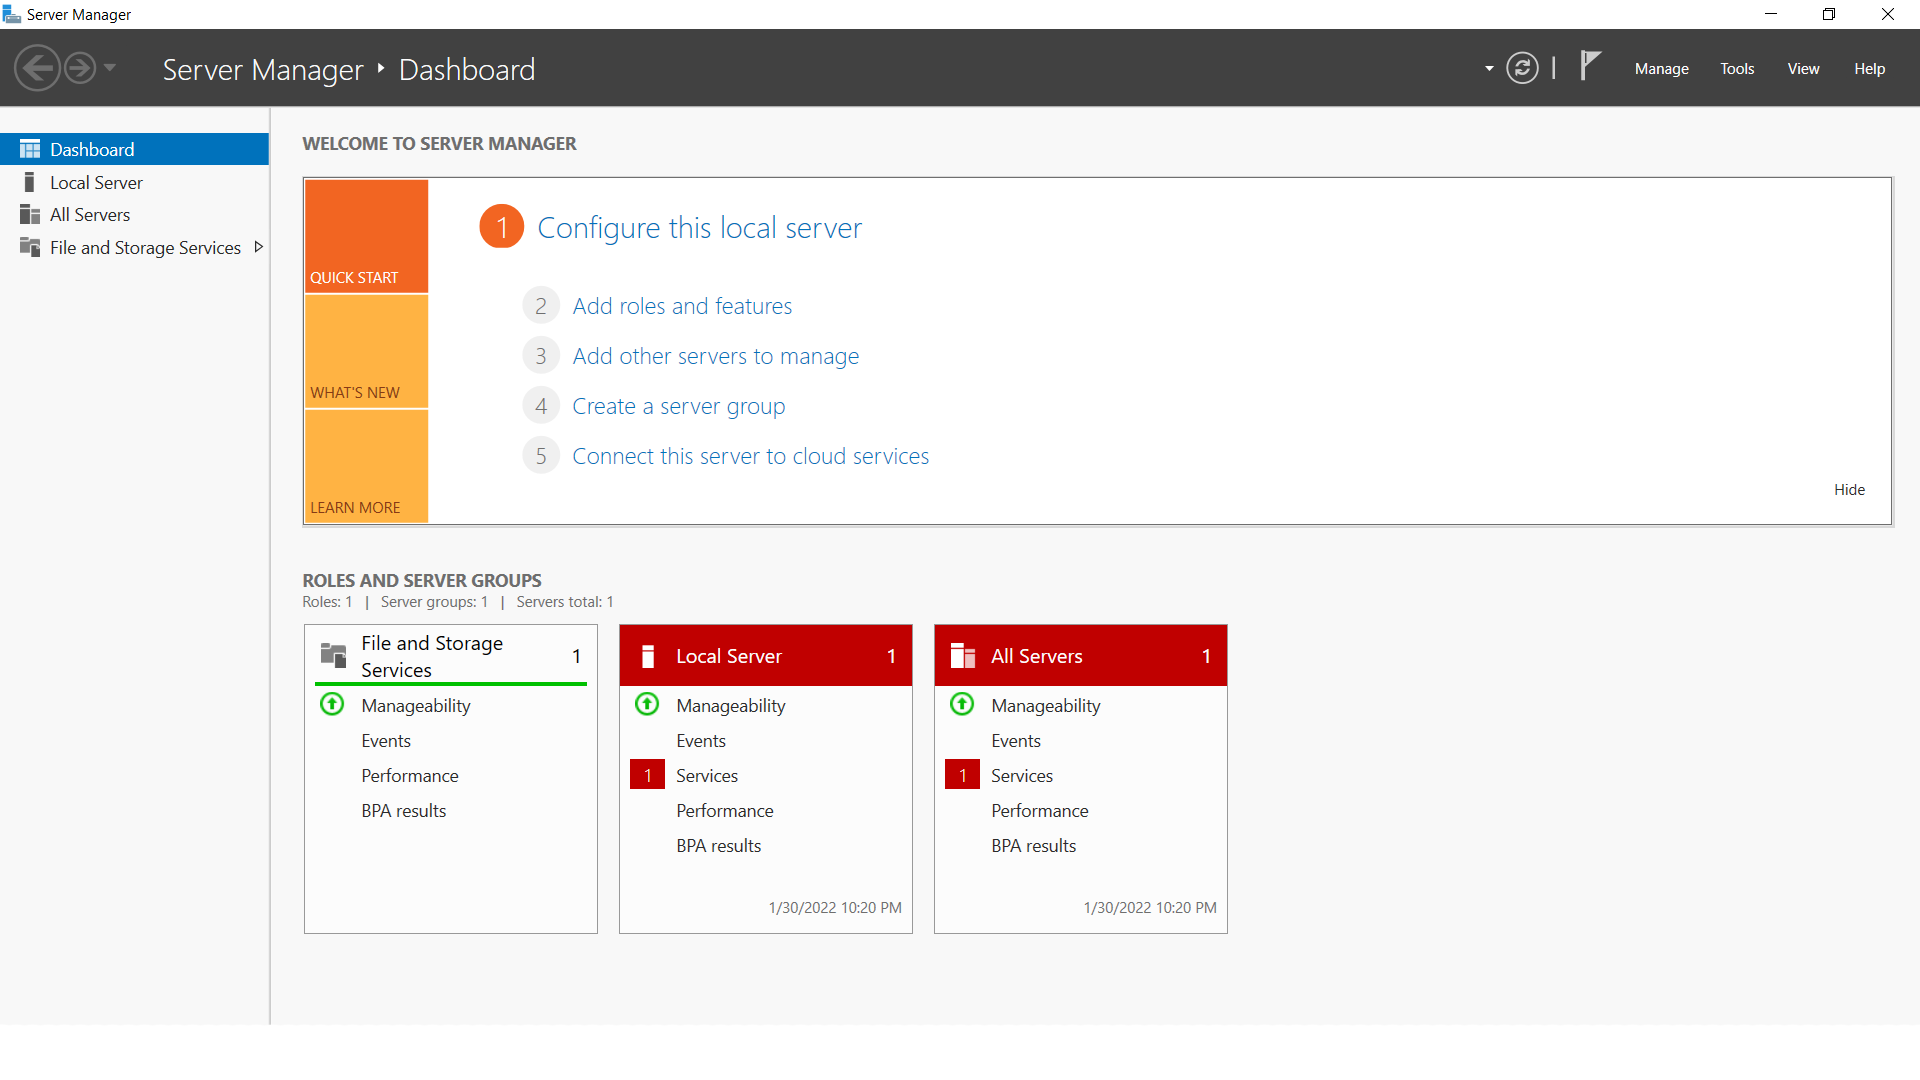
Open Server Manager, click Manage menu and select Add Roles and Features or click Add Roles and Features from quick menu in server manager home screen
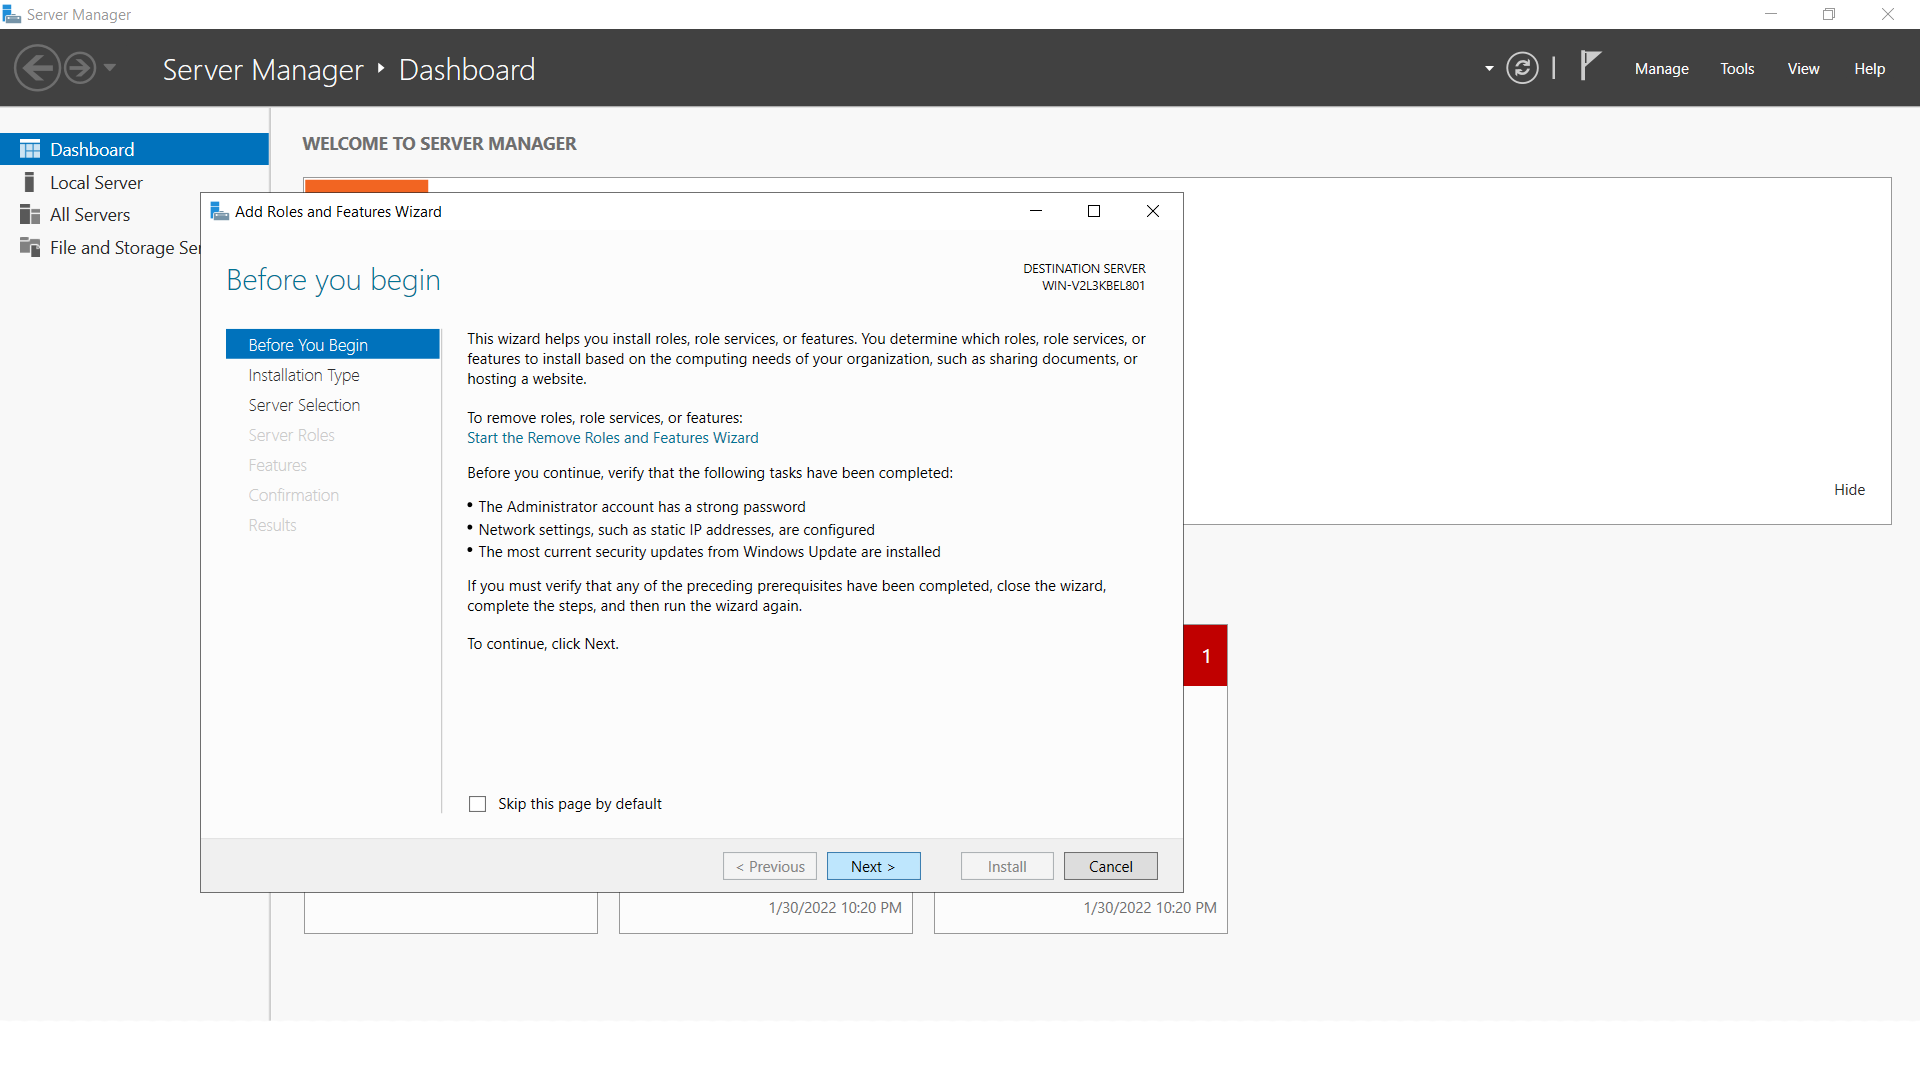
On Before you Begin page, click Next
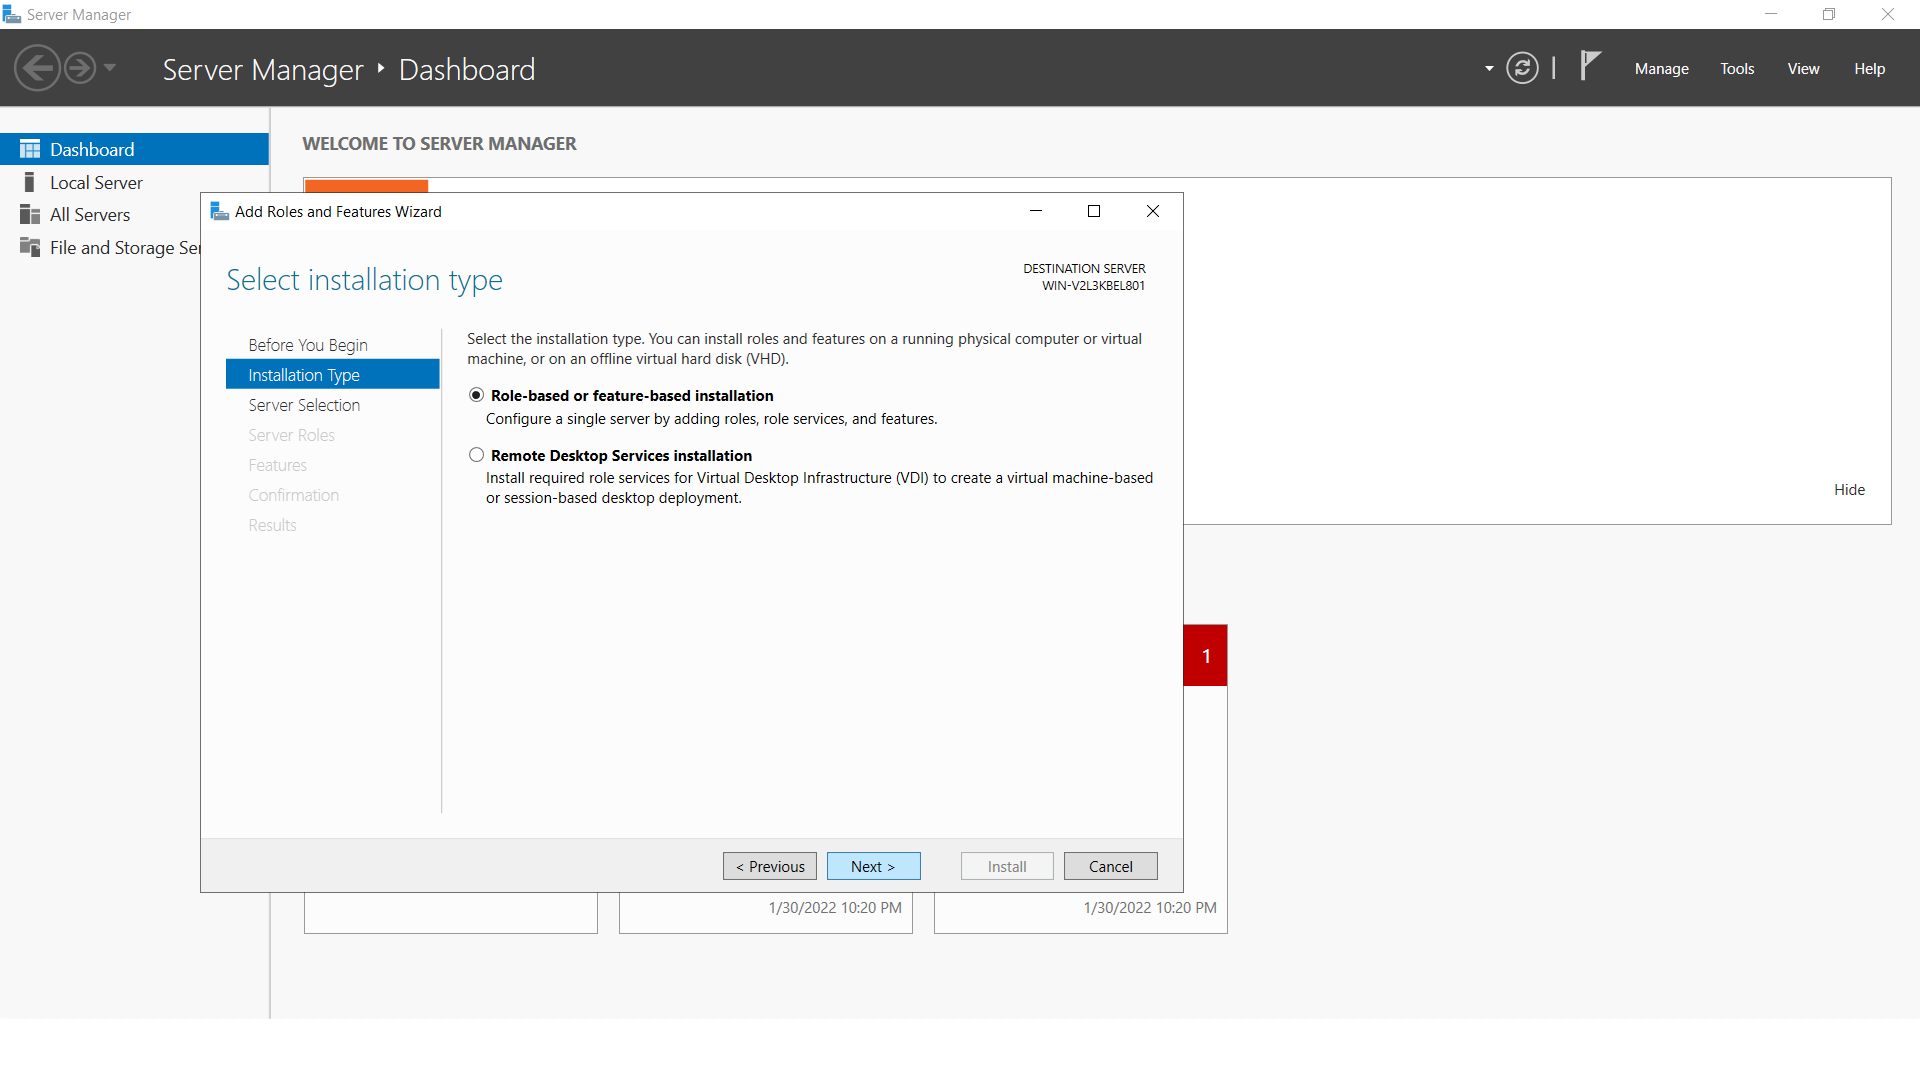
On select installation type page, select Role-Based or Feature Based Installation and click next
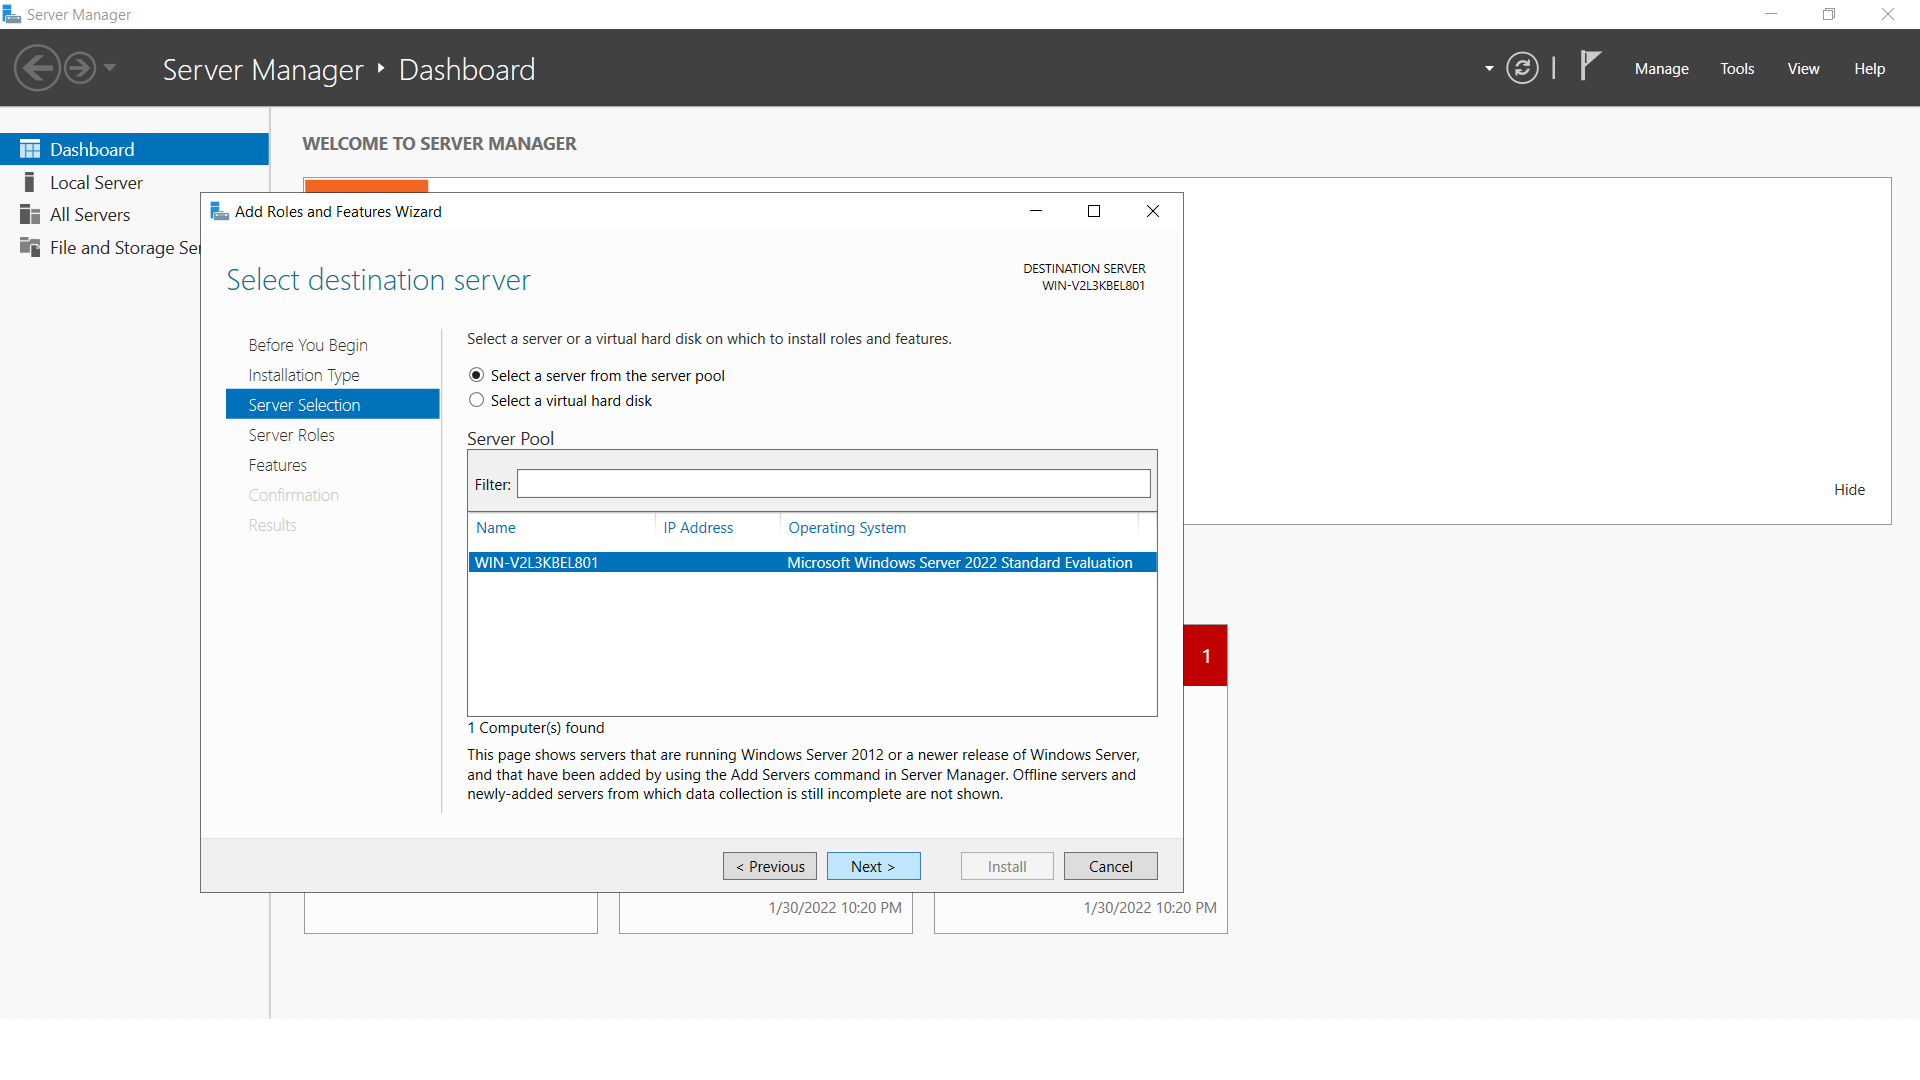
On Select Destination Server Page, Select server from the server pool and click Next
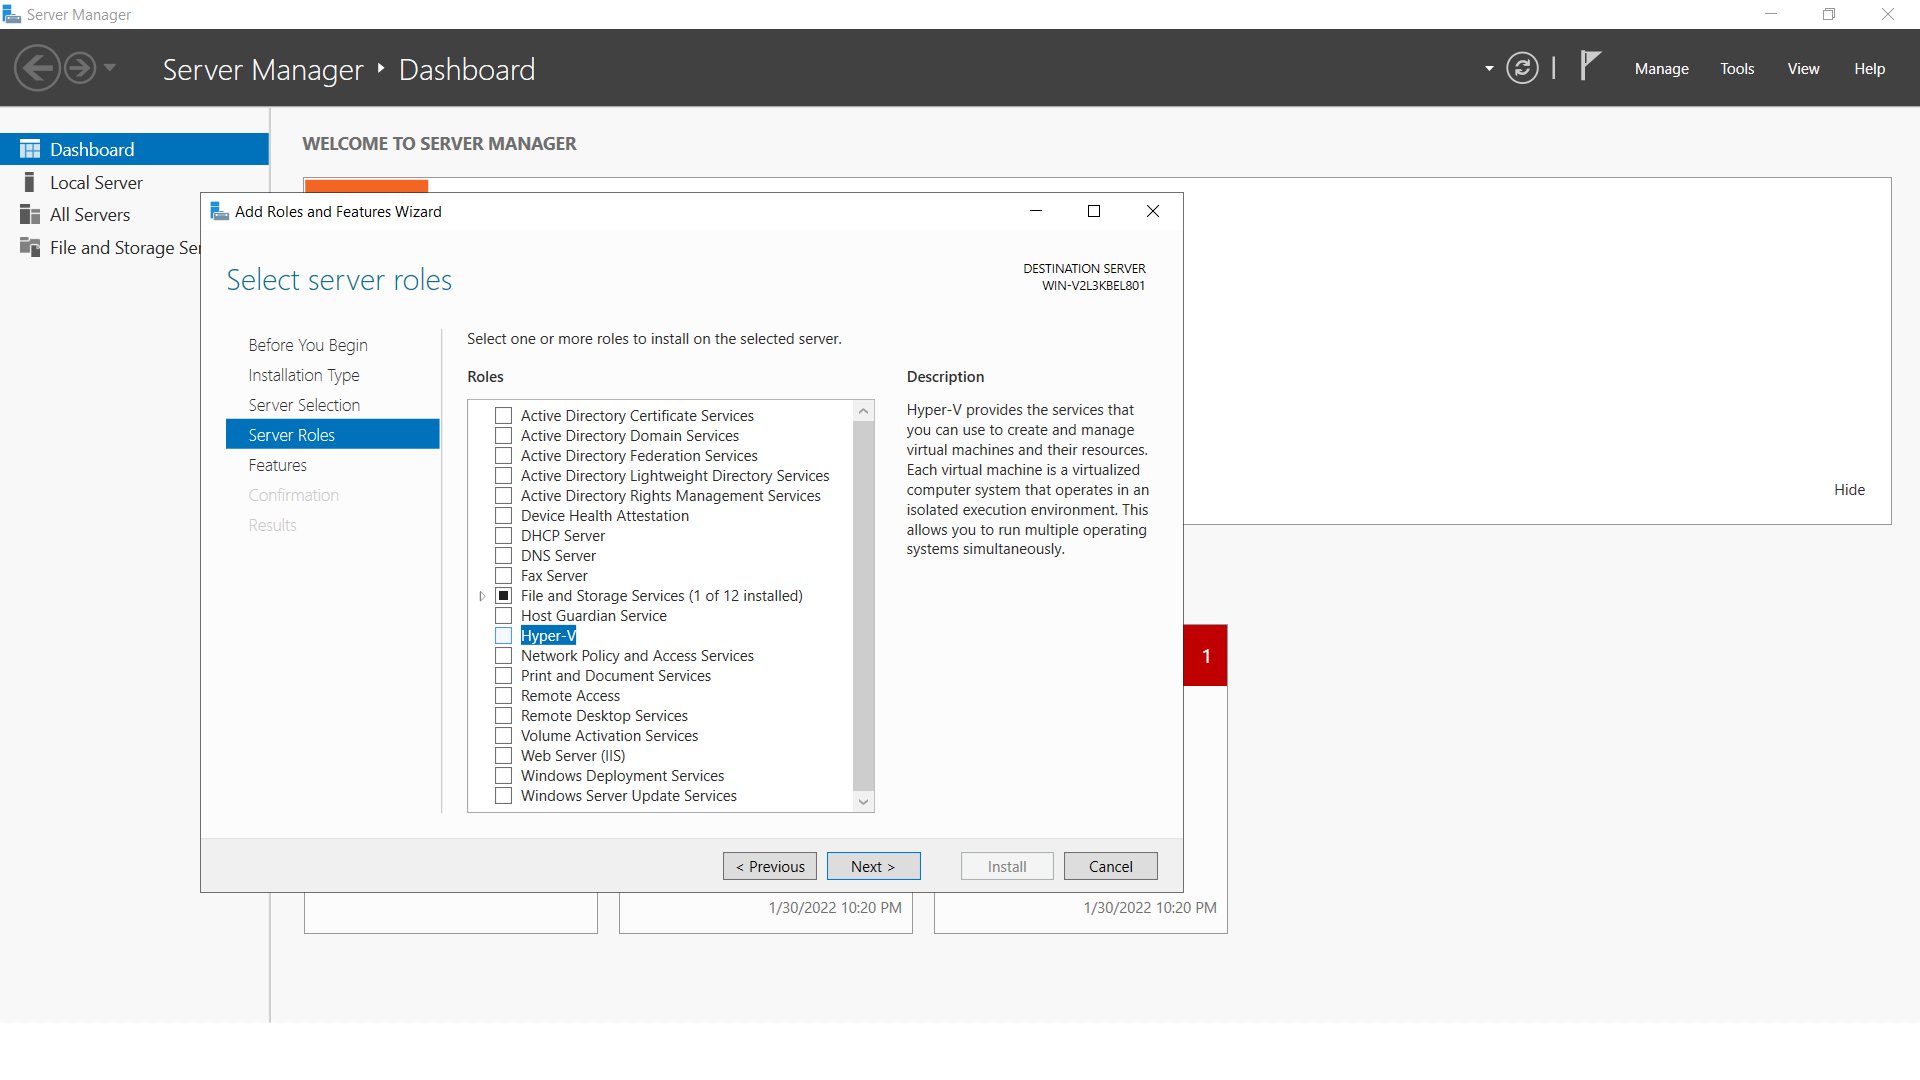
On the Server role page, Select Hyper-V
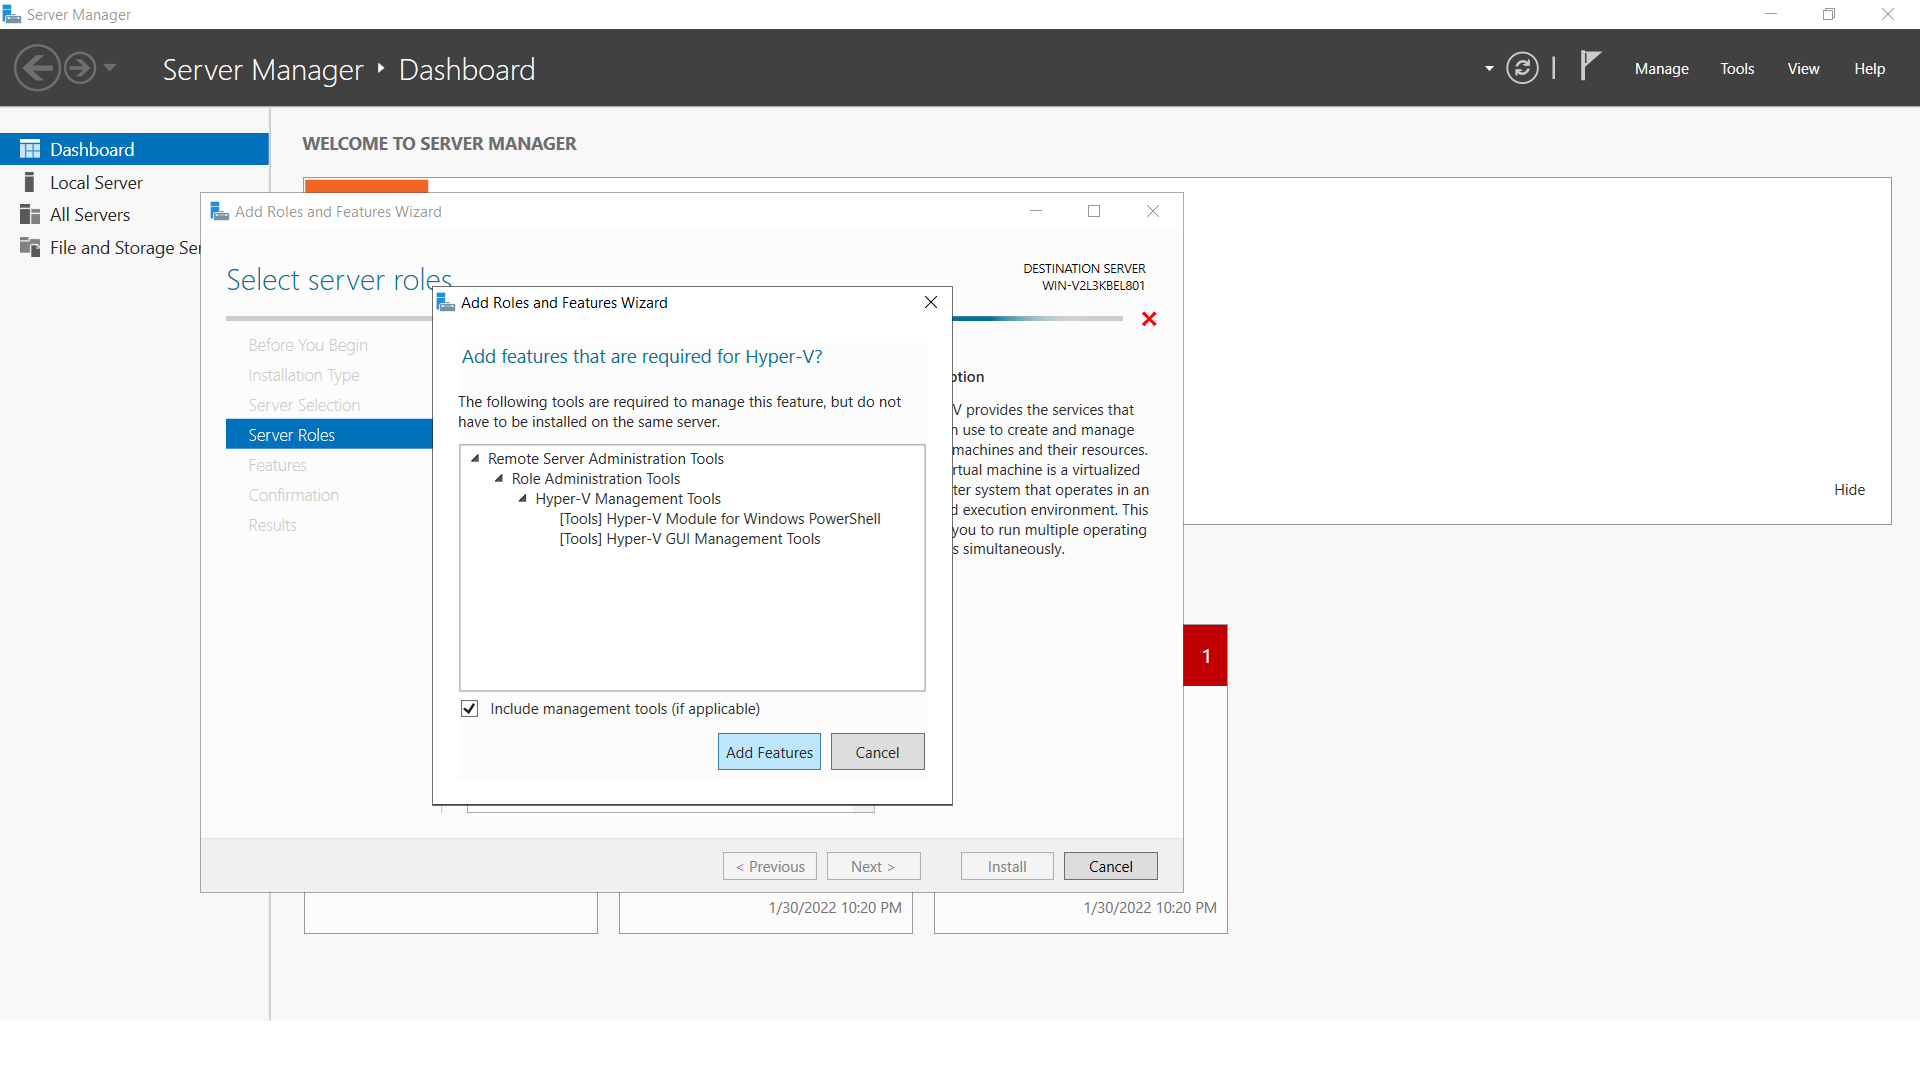
Click Add Features to add tool you want to create and manage Virtual Machines and click Next
On the Confirm installation selections page, select Restart the destination server automatically if required, and then click Install
Creating VM on Hyper V Manager
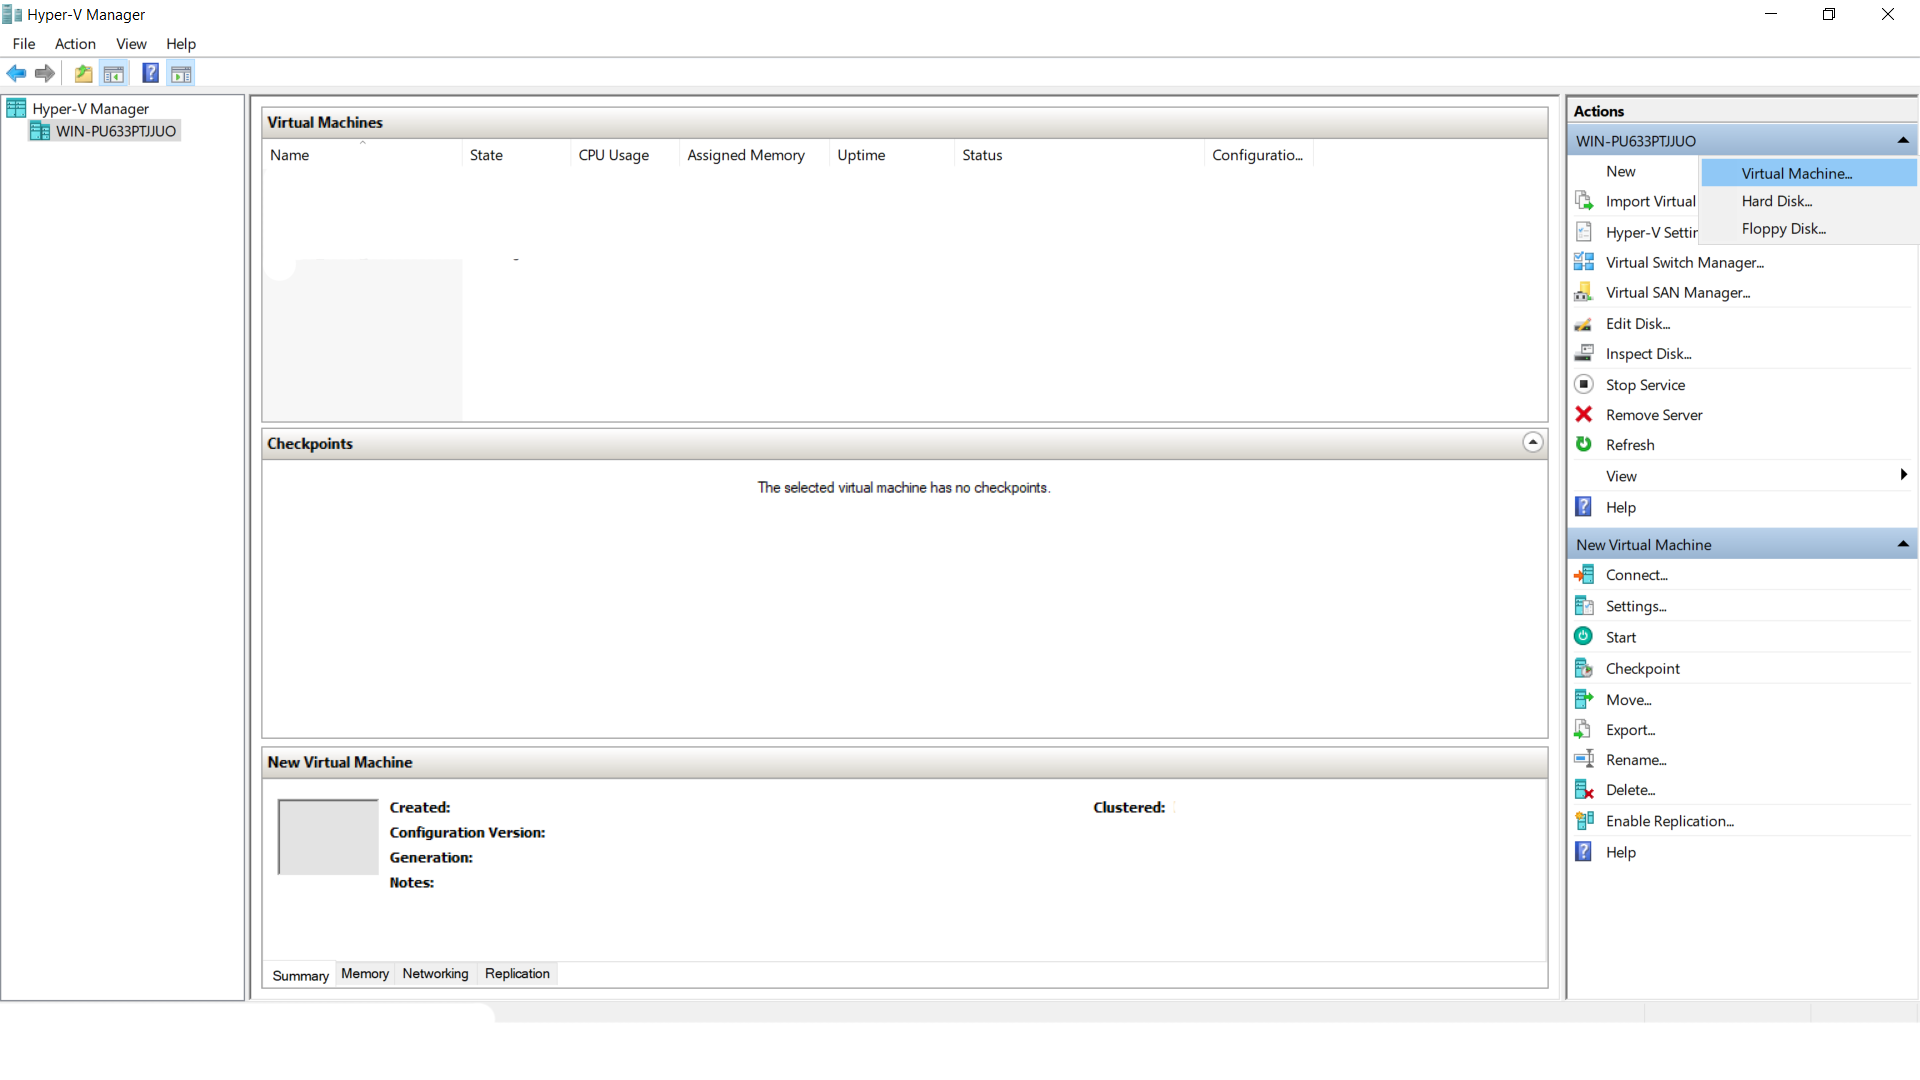
To Create a VM , Select New ->Virtual Machine from Action Tab on top right corner
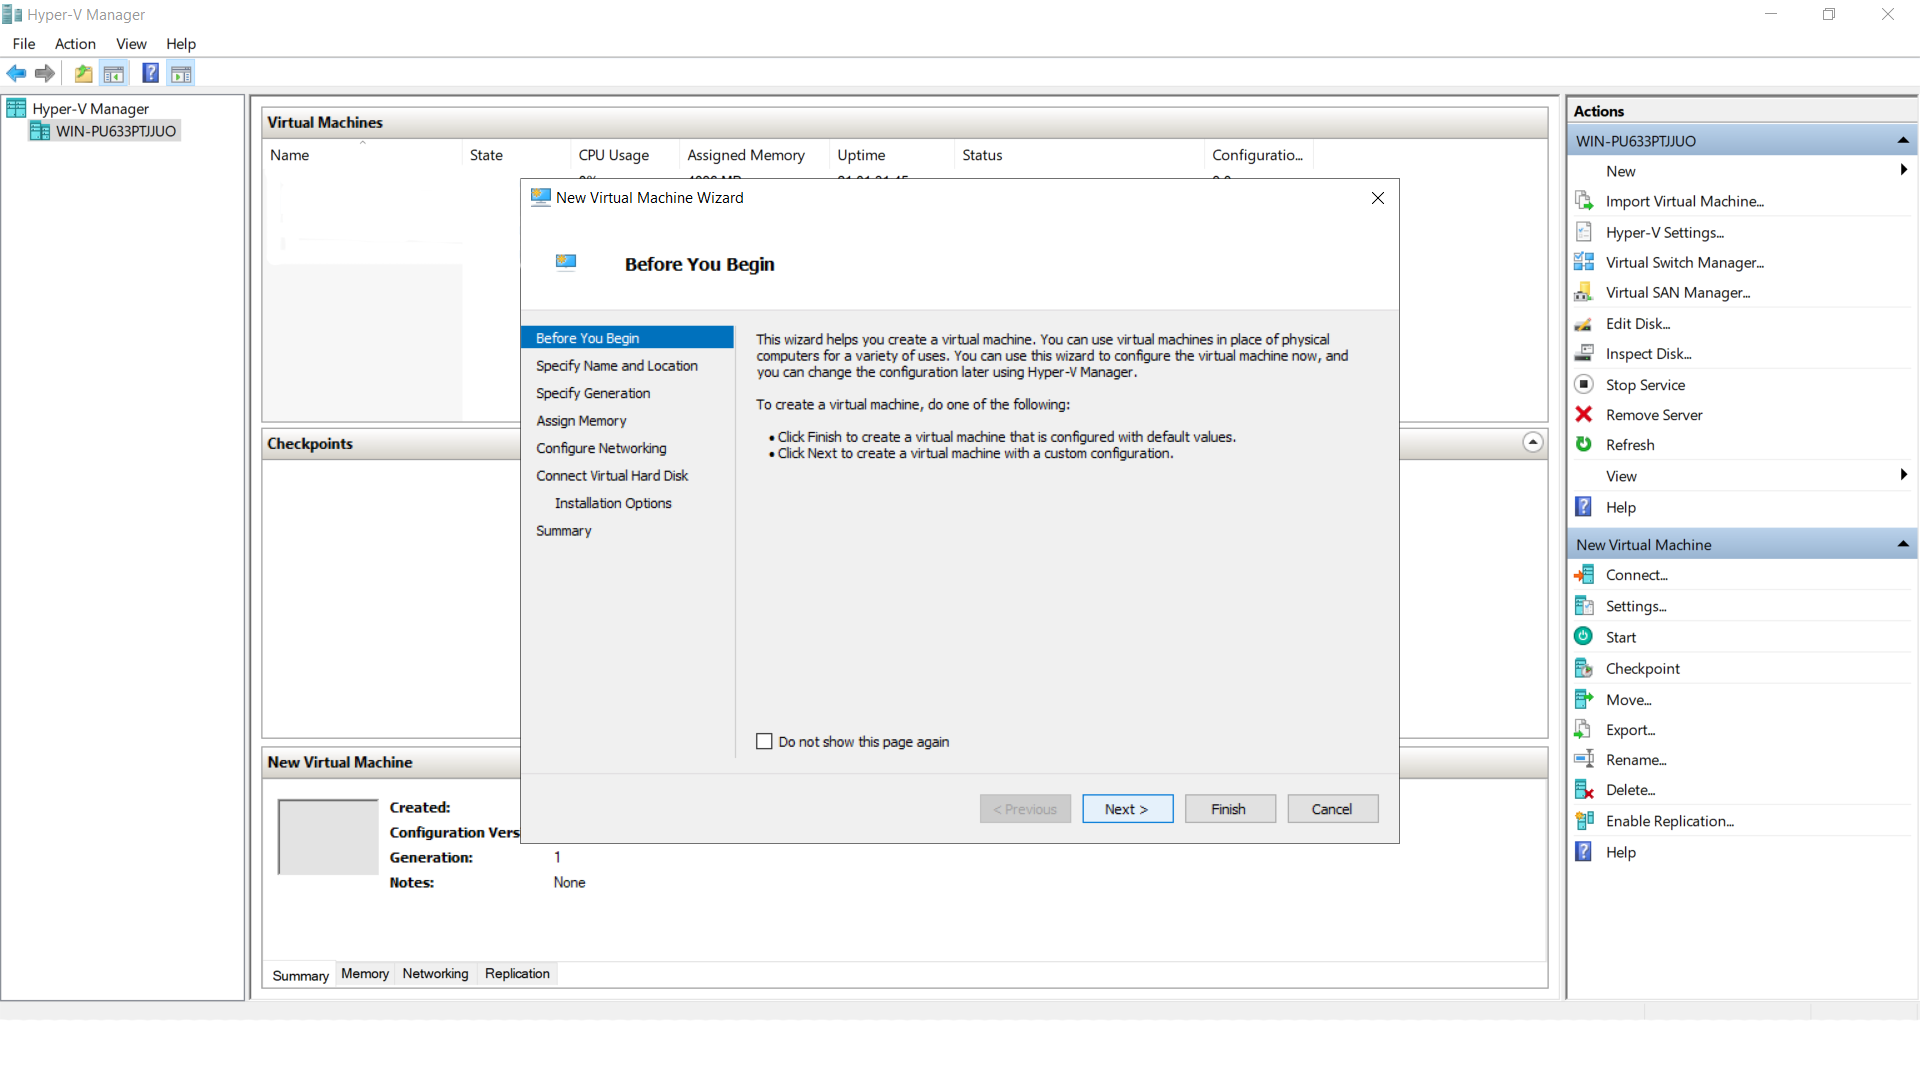
Click Next on Before you Begin Page
Specify the name of the VM and click Next
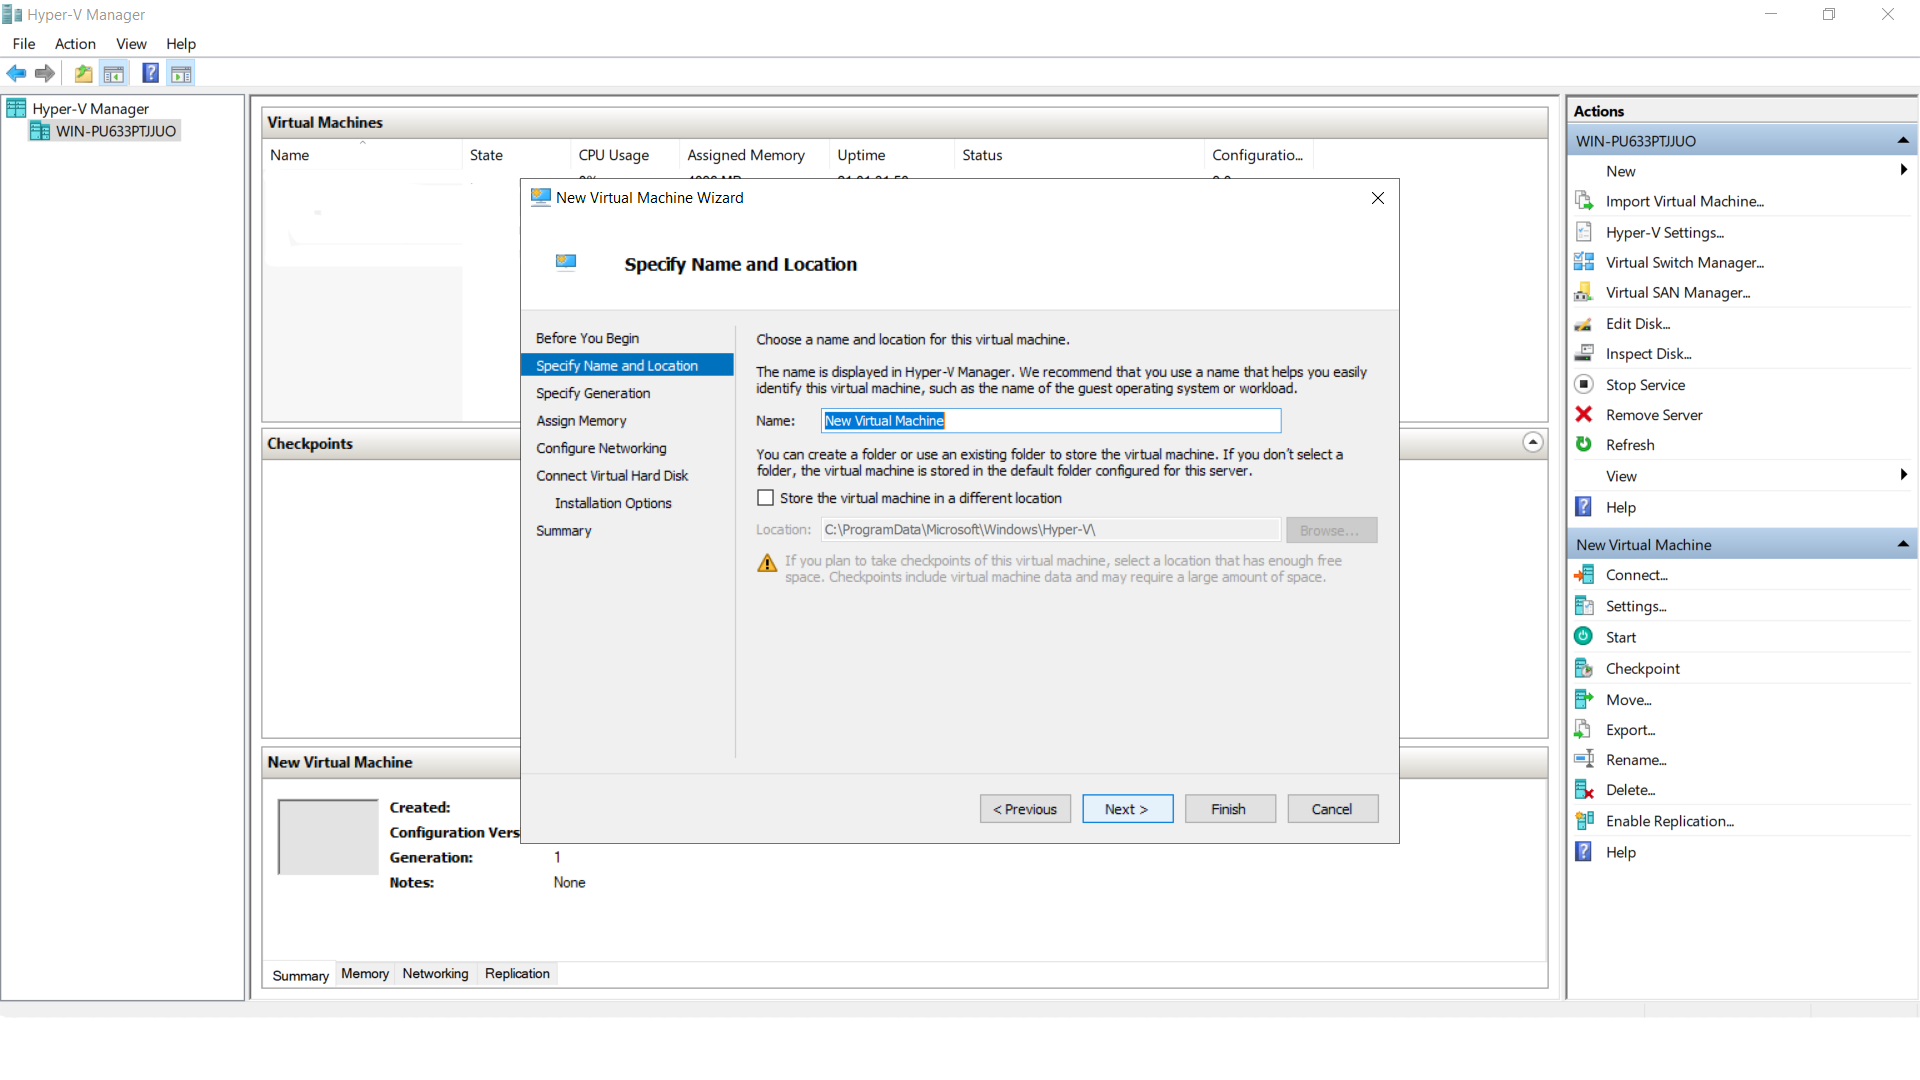
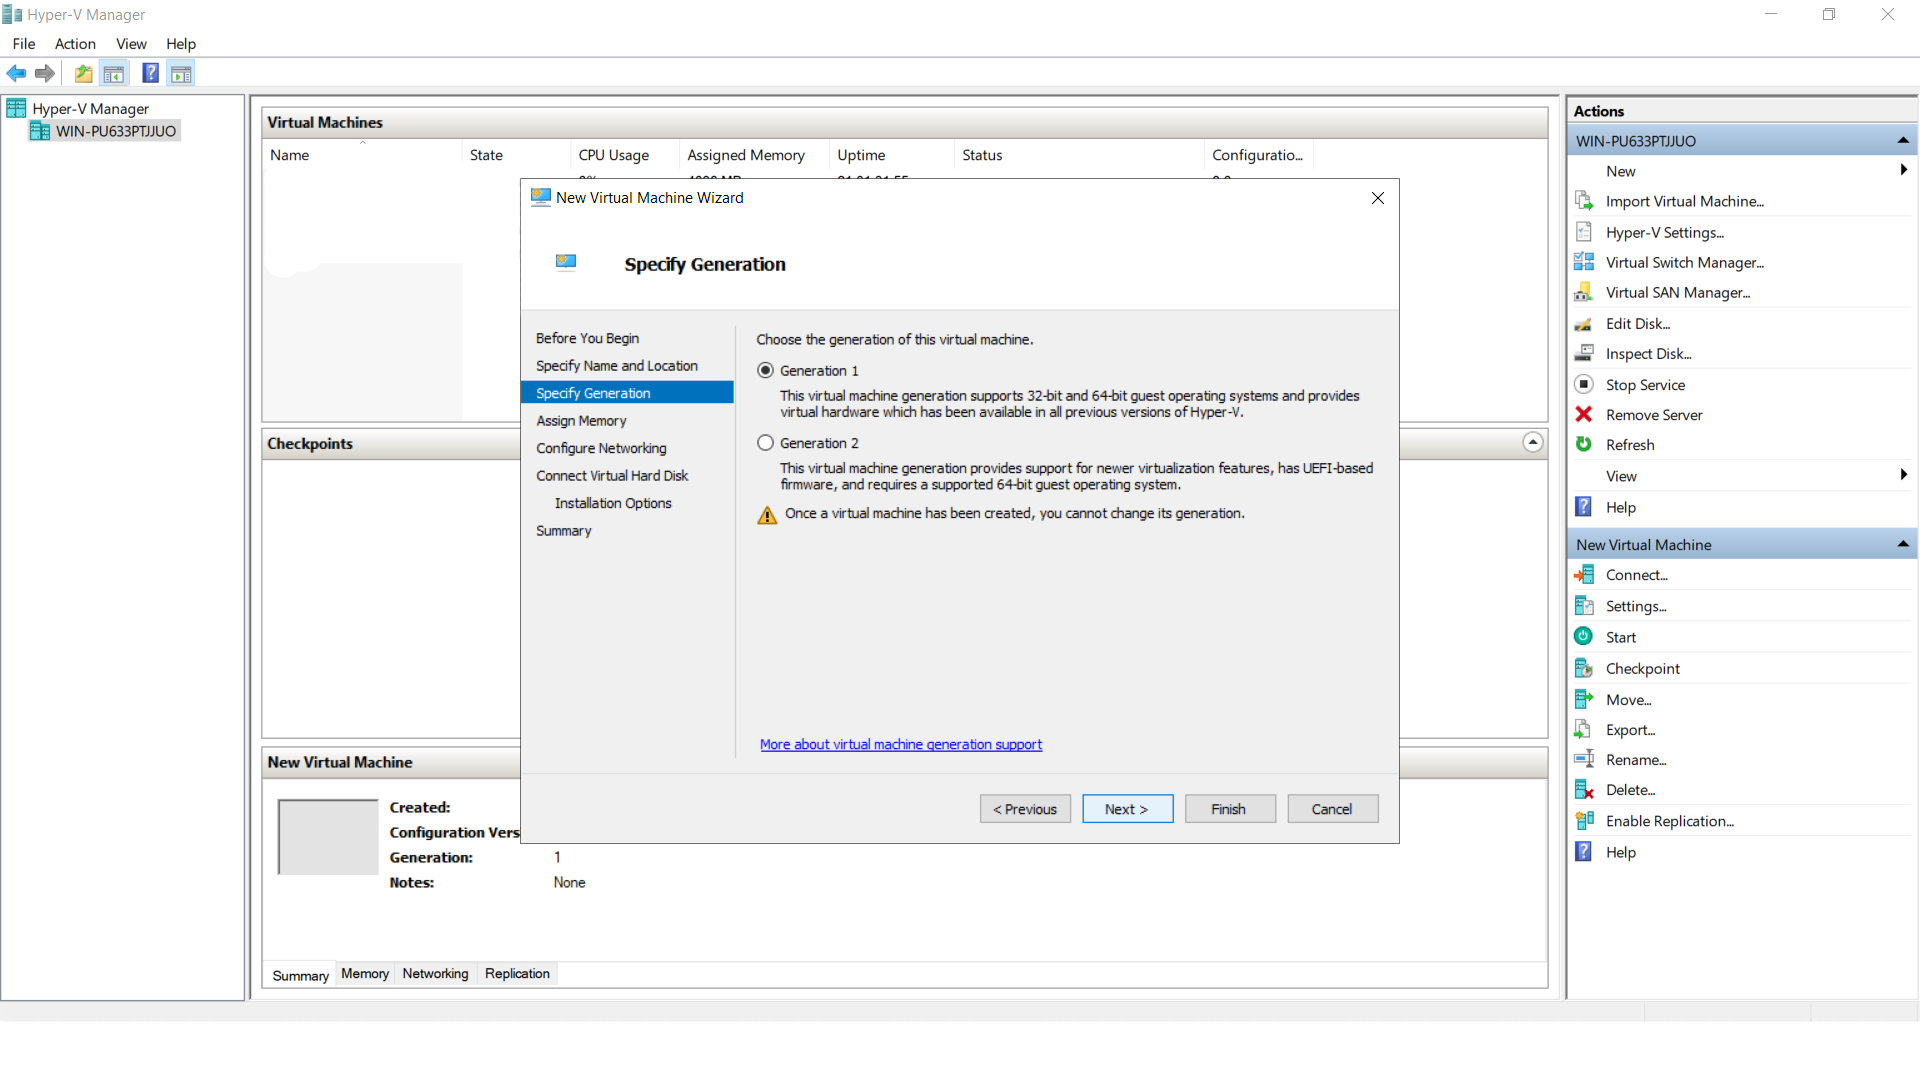
Choose the generation of the VM and click next
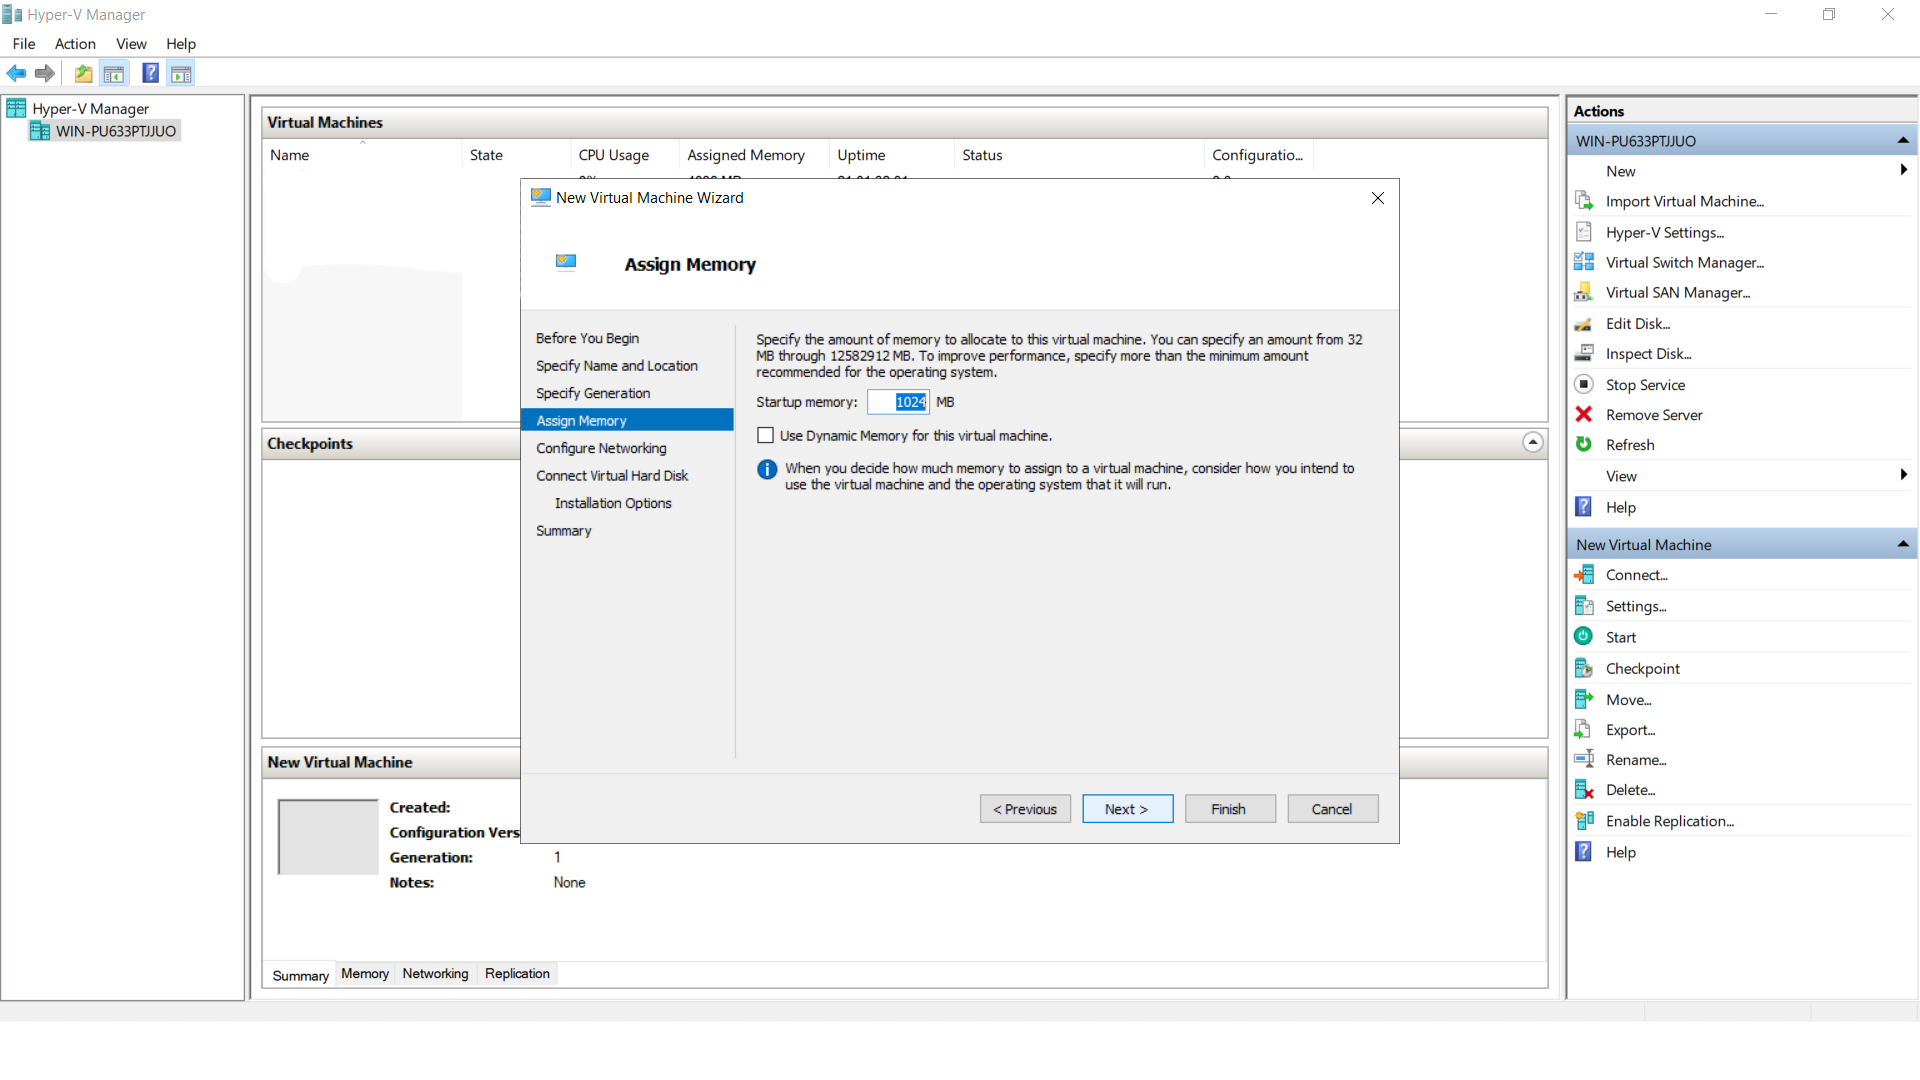
Assign required RAM Memory for VM and Click Next
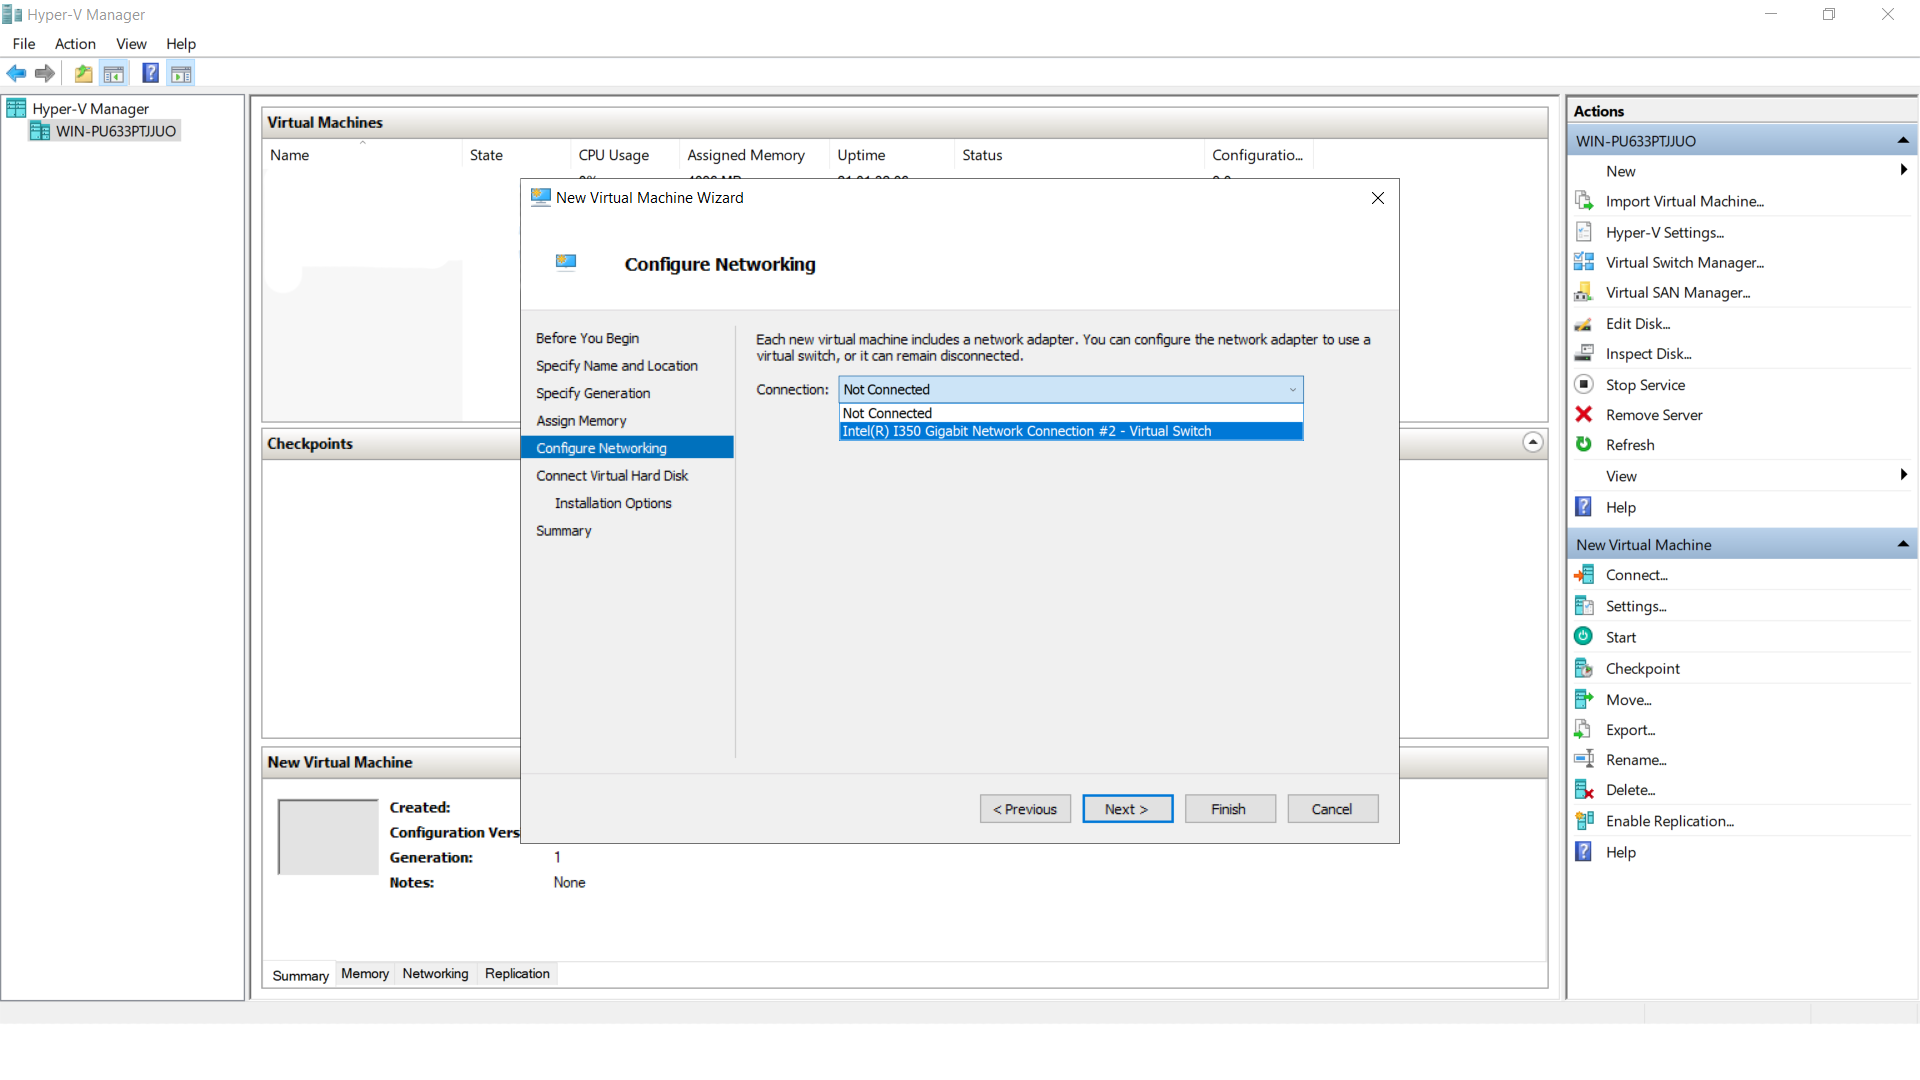
Select the Network Interface to connect VM to Internet and click Next
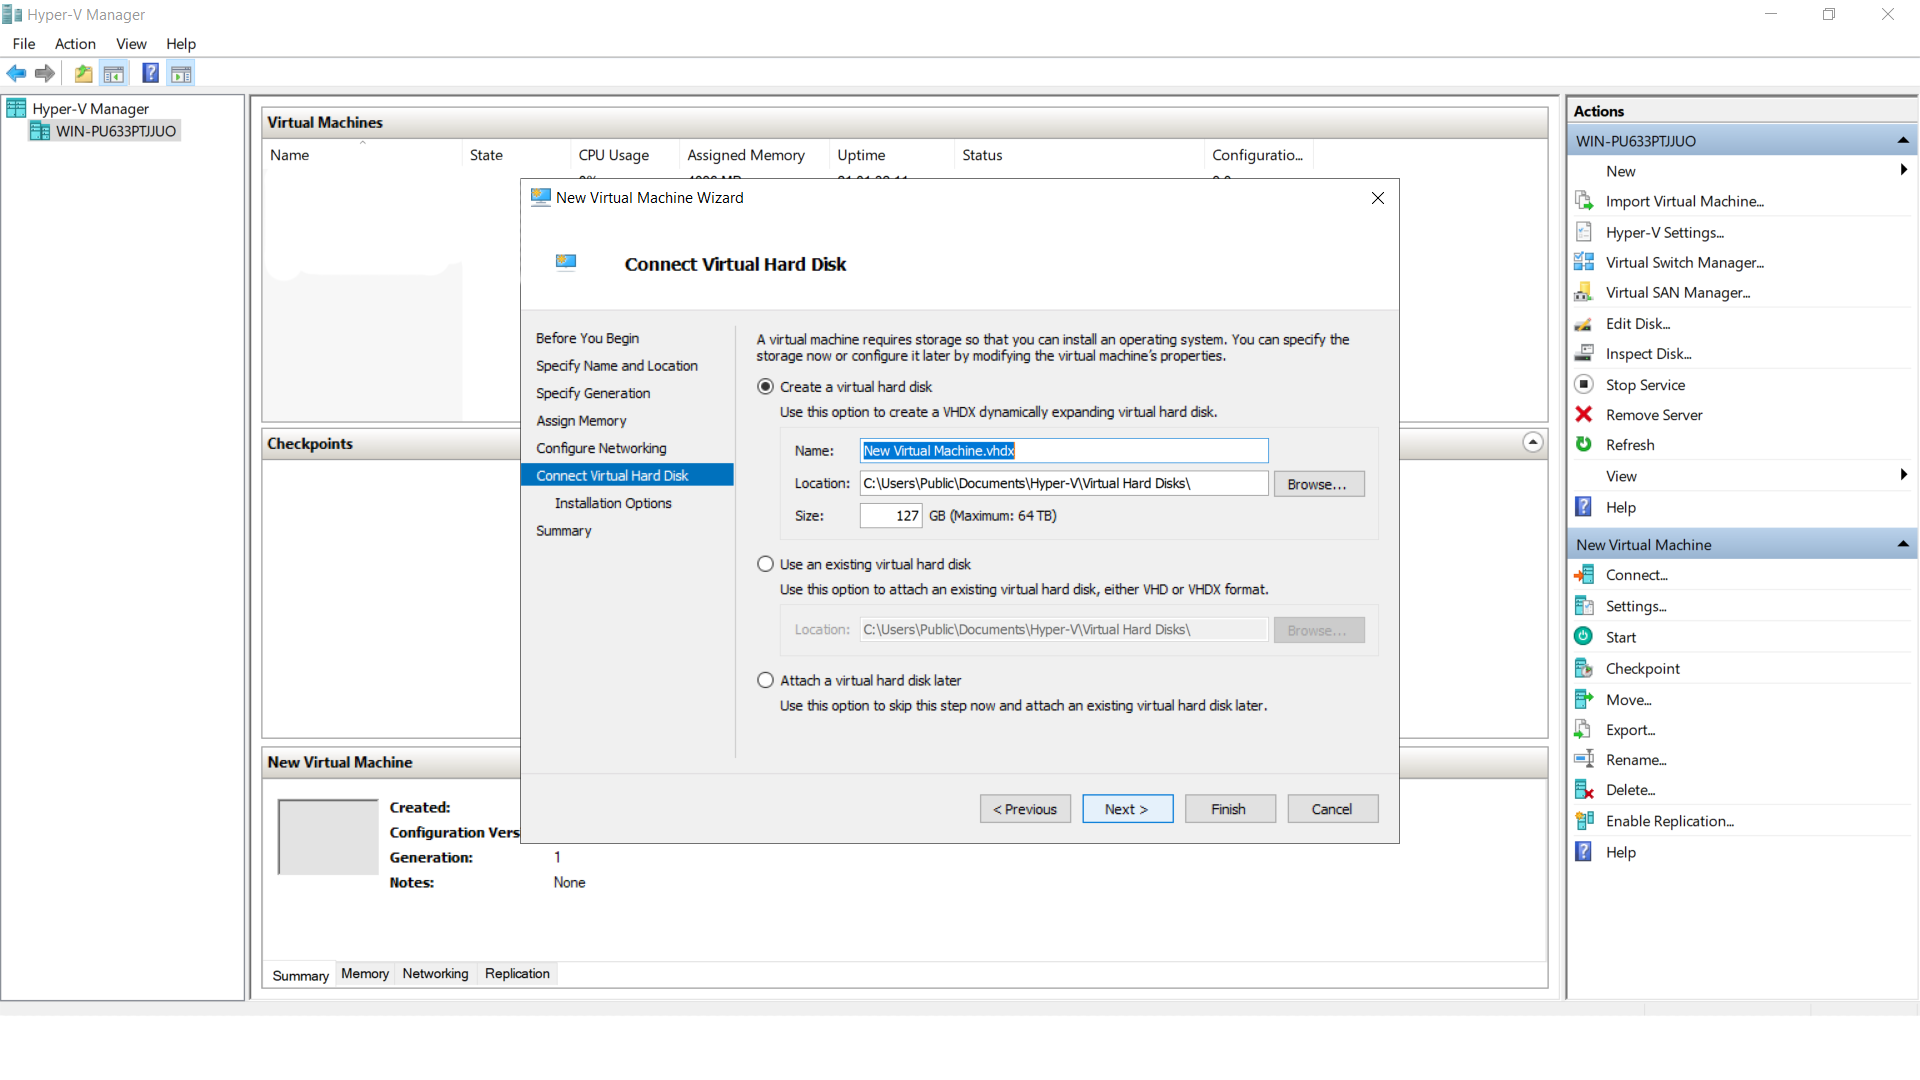
Create a Virtual Disk for VM with and select Storage destination and click Next
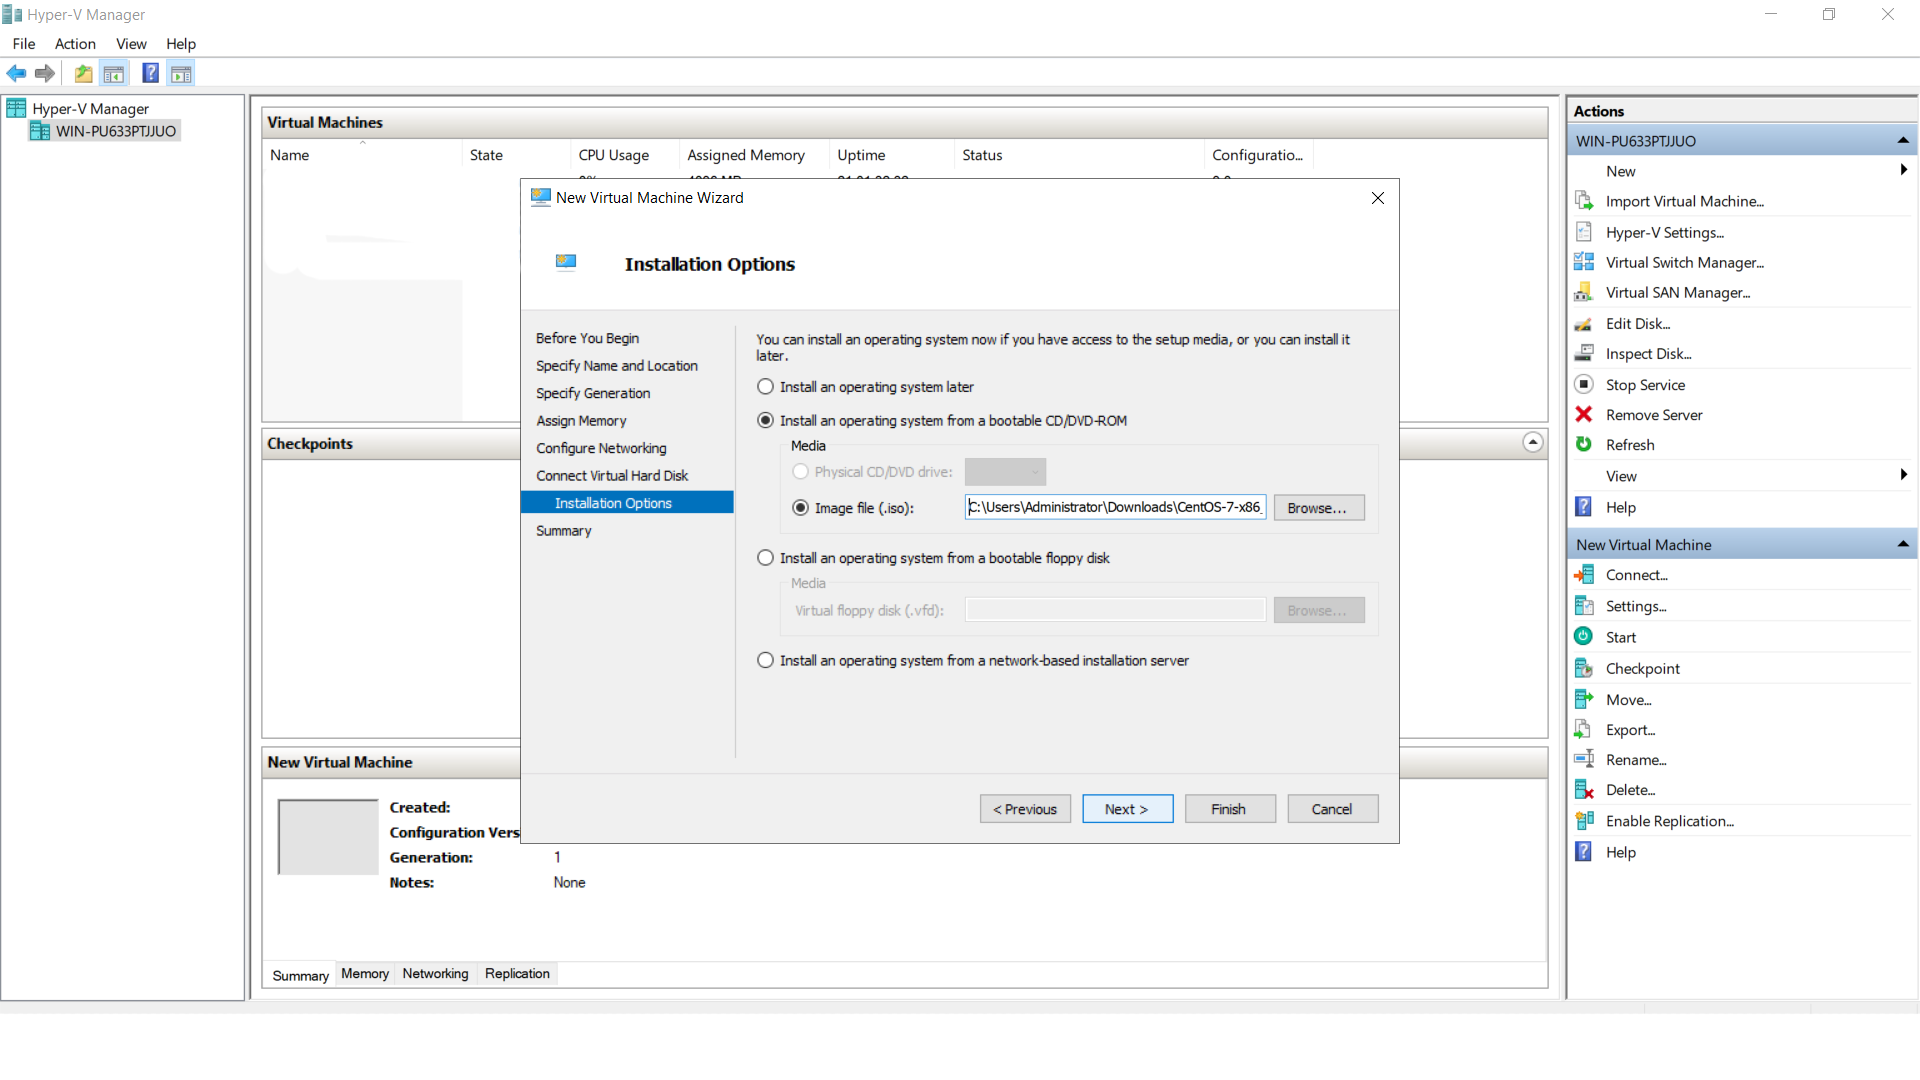
To Install a OS from ISO file , select Install an Operating System from bootable CD/DVD-ROM ->Select image file and click next
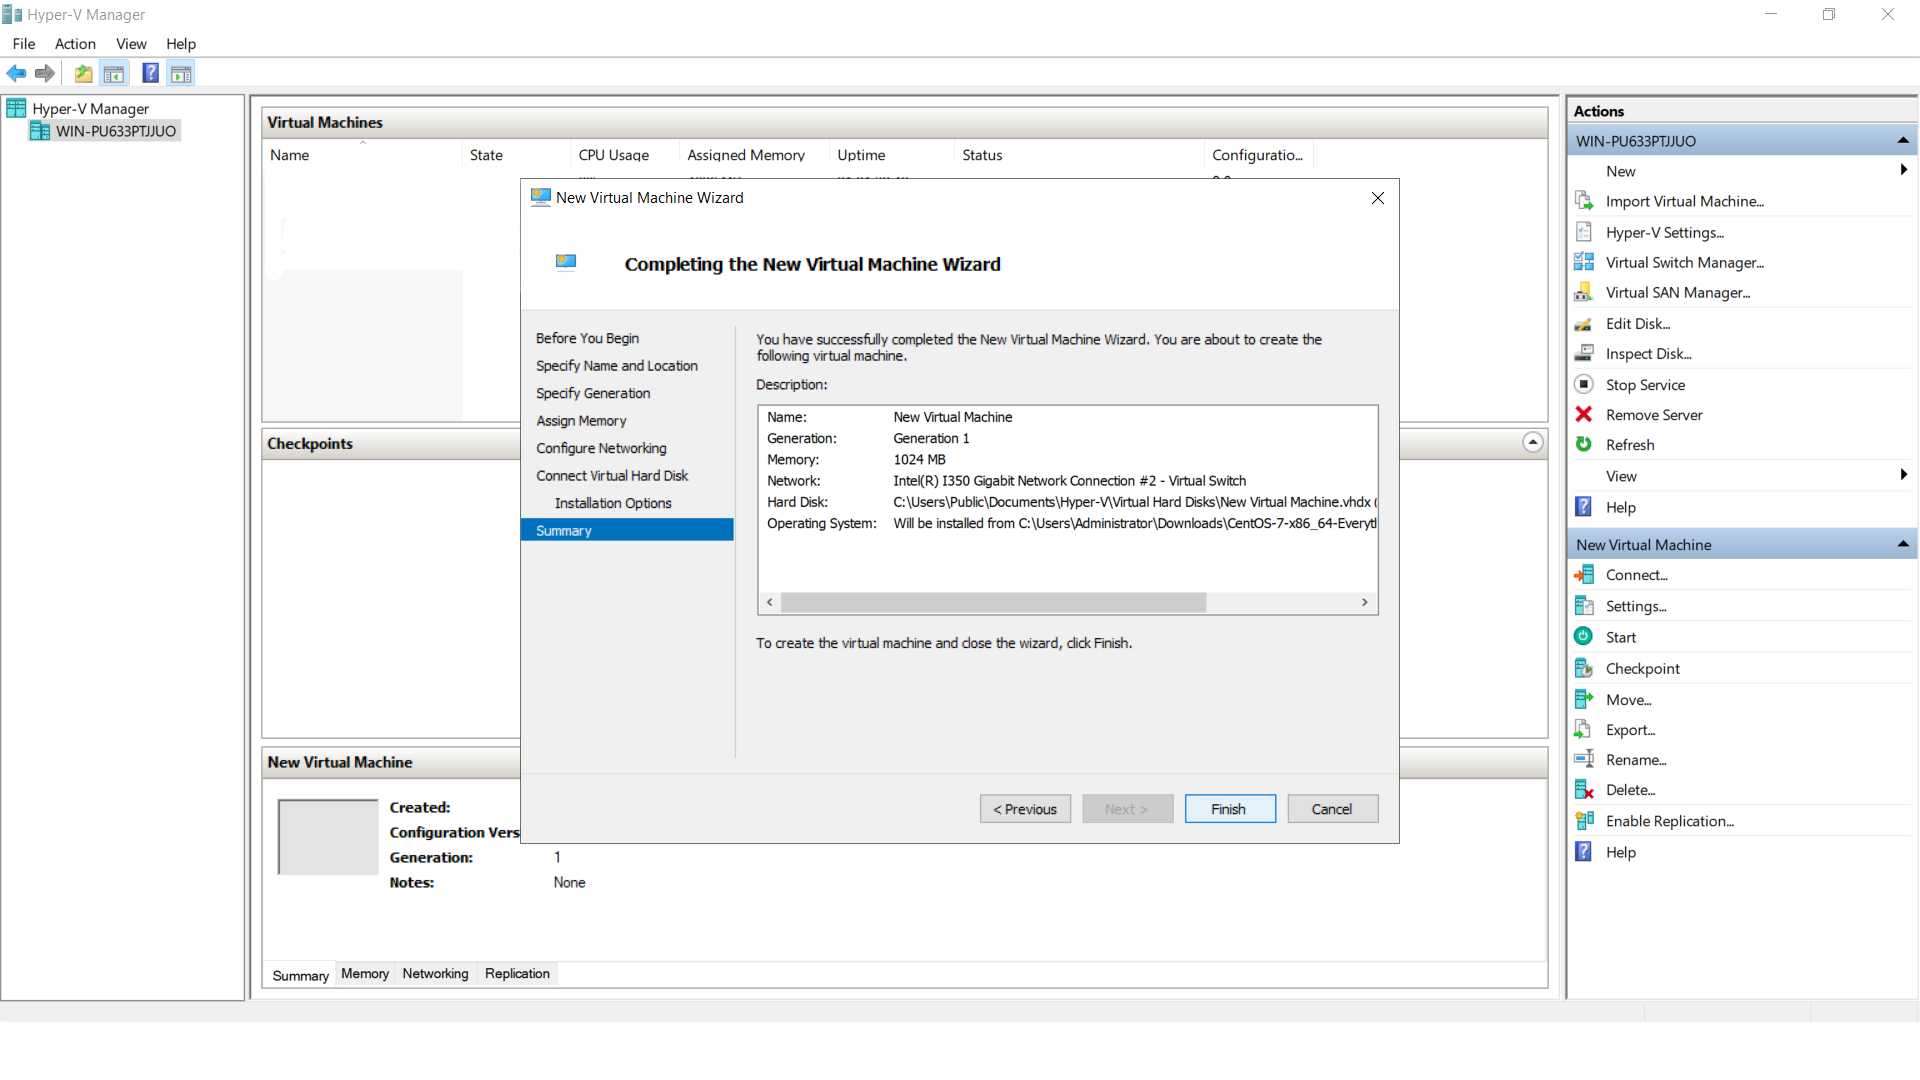
Click Finish on summary
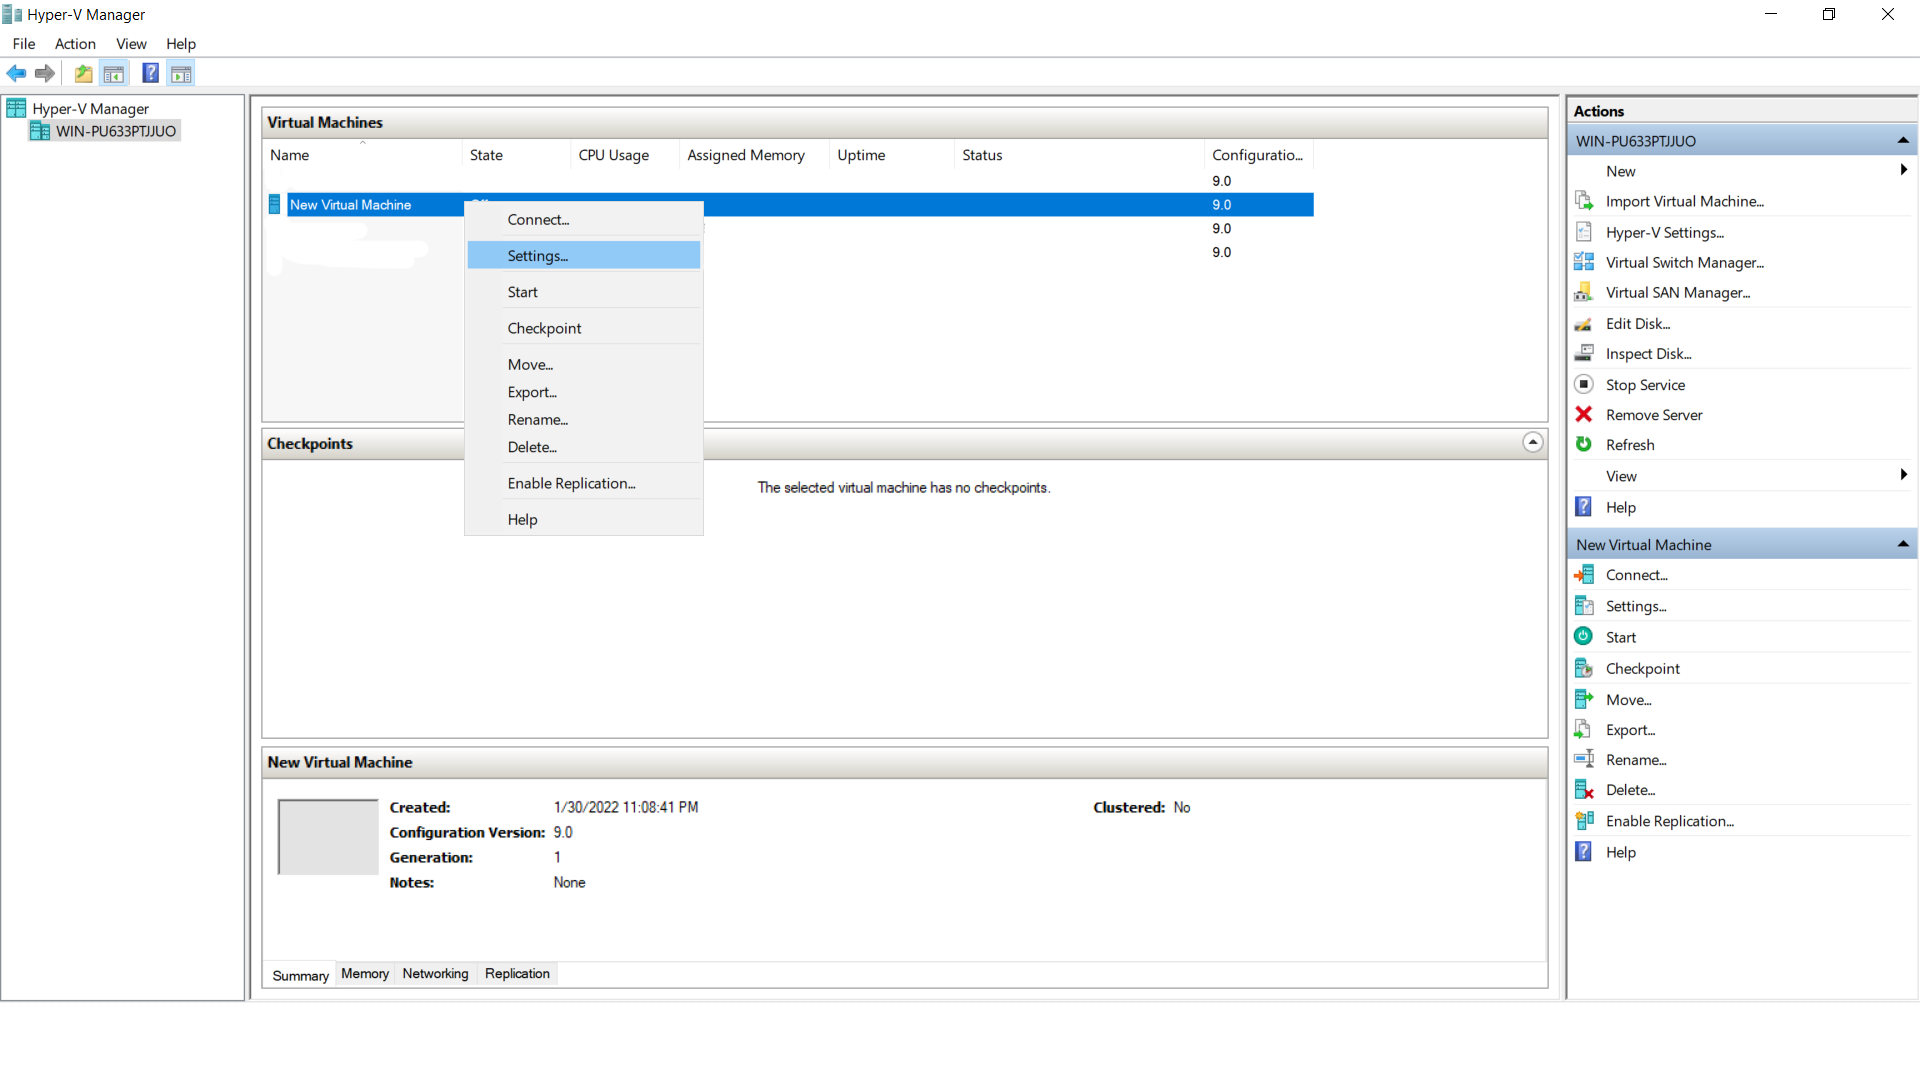
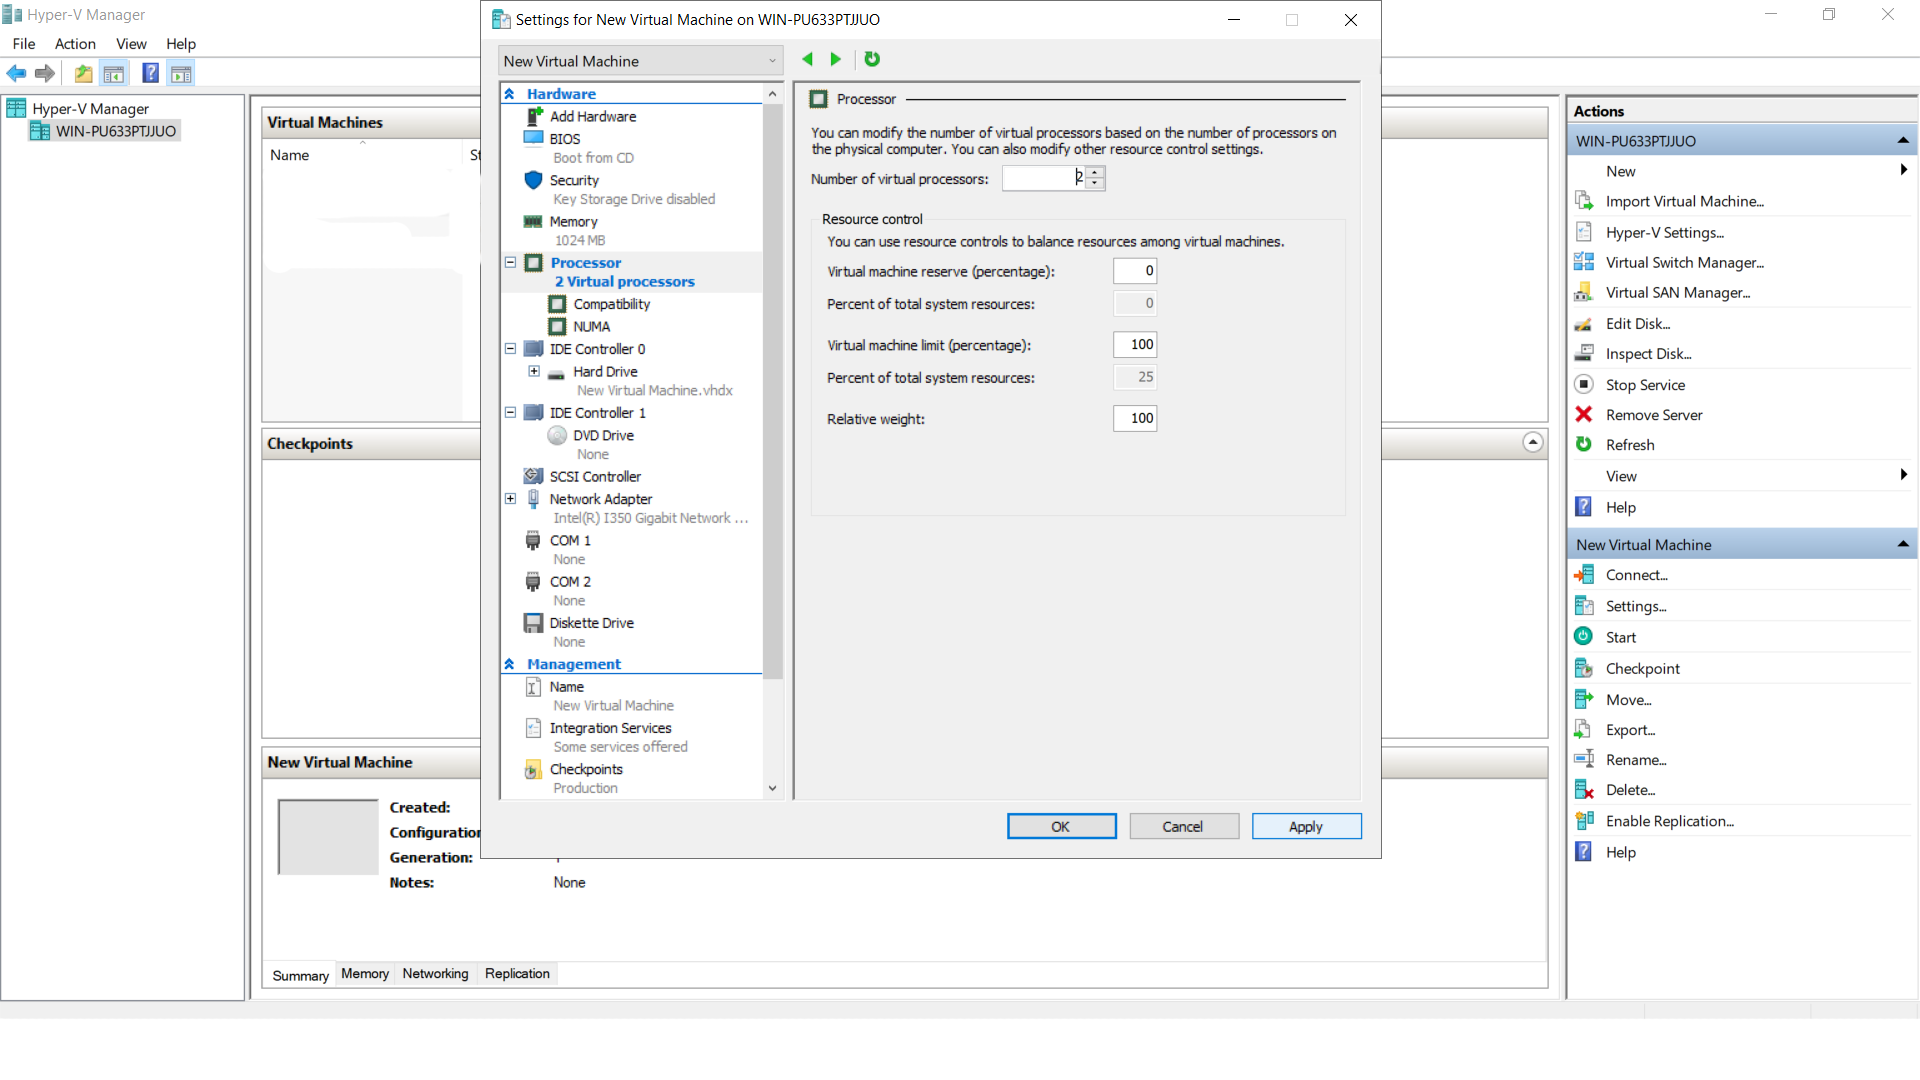
To Assign vCPU for VM, Right Click on VM name and select settings
in processor section , increase the number of processor for VM and click Apply and Click ok
Now start the VM and Complete the OS installation and VM is Ready.

