Remote Desktop in windows server is disabled by default. Using following step we can enable Remote Desktop Protocol (RDP) in windows server using GUI or Powershell
Enabling Remote Desktop in GUI
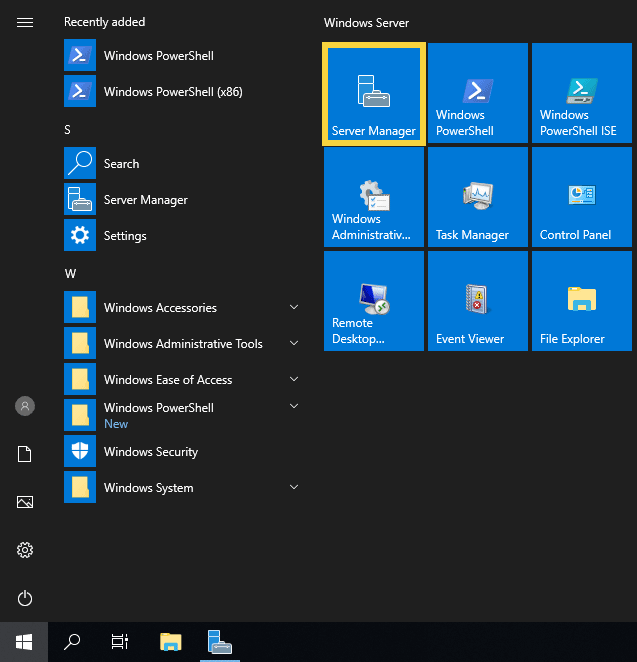
Step 1: Select server manager from start or search for server manager in start menu - > select server manager
Step 2: From the left side of the server manager panel select local server, where the server information is displayed and we can see that Remote Desktop has been disabled.
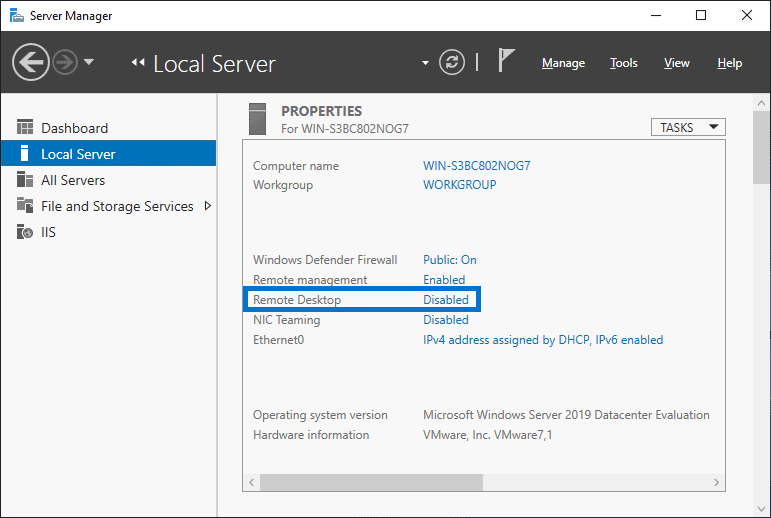
Step 3: Click the disabled text which will pop up the system properties windows – select remote tab
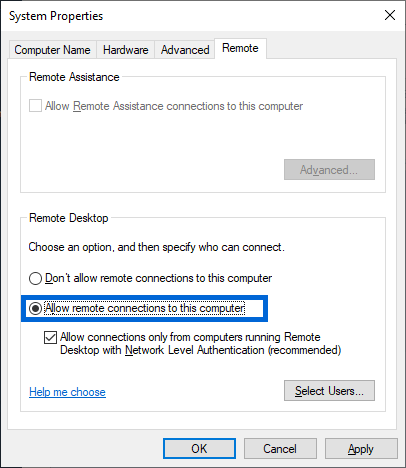
Step 4: select “Allow remote connections to this computer” from system properties
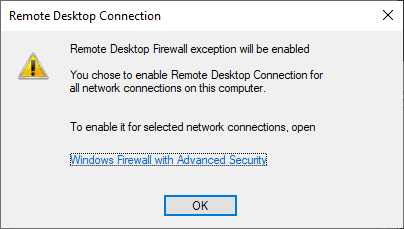
Step 5: Once “Allow remote connections to this computer” is selected a warning will pop up as below
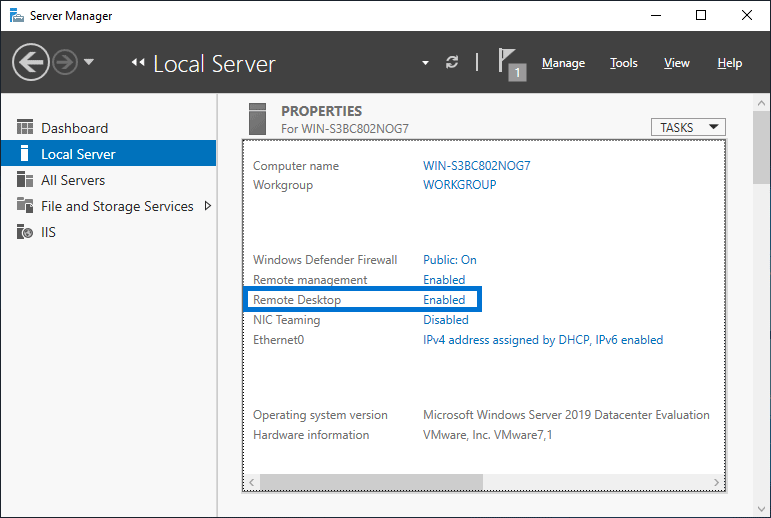
Step 6: Once the above steps are done return local server page to see remote desktop is enabled or not.
(At some times Remote desktop shows disabled after completing the above steps, simply refresh the server page using refresh button or F5 function key)
Enabling Remote Desktop in Power Shell
Since there is no explicit powershell command to enable or disable remote desktop, we can change the value in registry to enable or disable remote desktop
# Set-ItemProperty -Path 'HKLM:\System\CurrentControlSet\Control\Terminal Server' -name "fDenyTSConnections" -value 0
Once complete we can use the ‘Enable-NetFirewallRule’ to configure Windows Firewall to allow remote desktop connections in:
# Enable-NetFirewallRule -DisplayGroup "Remote Desktop"
Remote Desktop should now be accessible in Windows Server 2019.

